


A typical Autodesk Revit project will be set up with many different types of views – floor plans, ceiling plans, sections, elevations and 3D views. In sections and elevations, you can define what is shown in the view by the position of the section line or elevation marker, and utilise crop regions to be able to see more or less of the model.
View Range
When working in a Plan View, however, many users find it more difficult to show families that exist at different heights across the model. Utilising View Range (which we have also looked at in a previous blog post), allows you to define the range (height) as to what the whole Plan View can see.
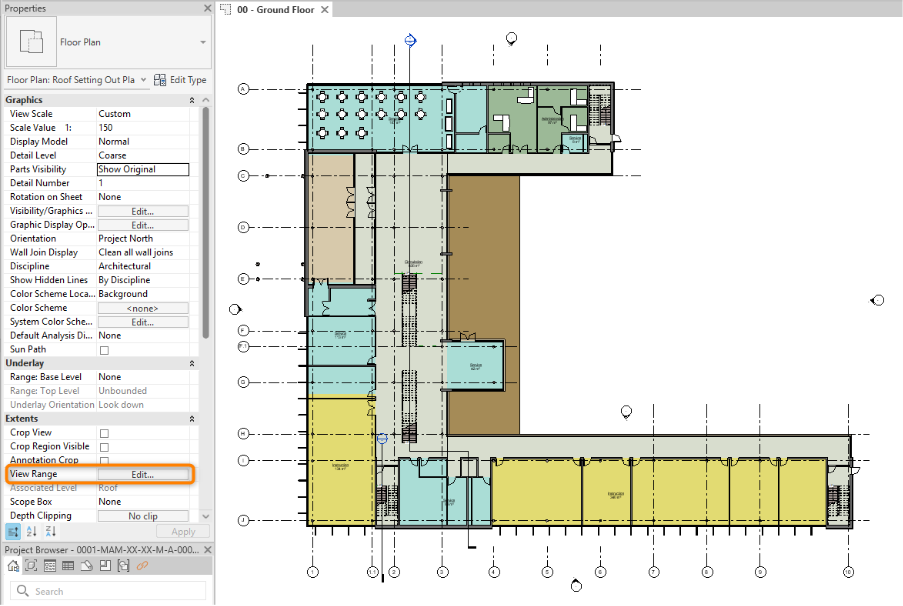
Architectural Example
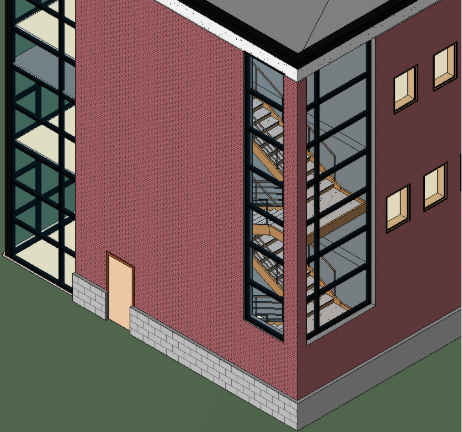
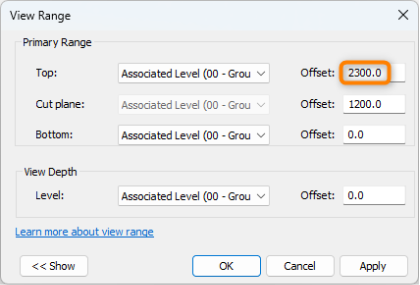
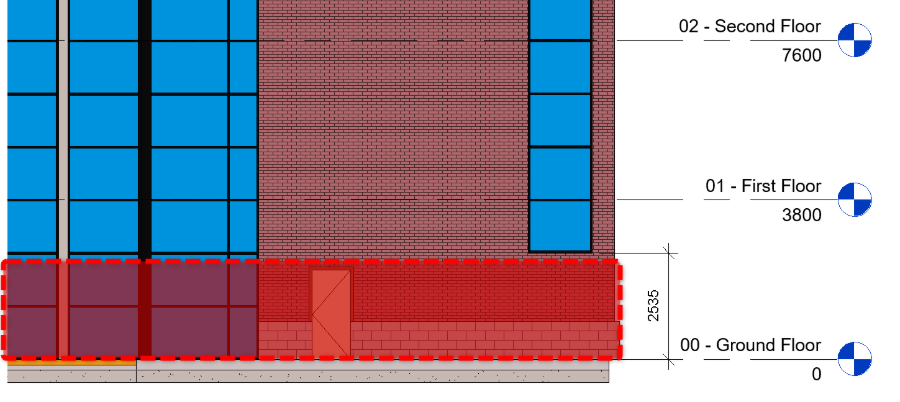
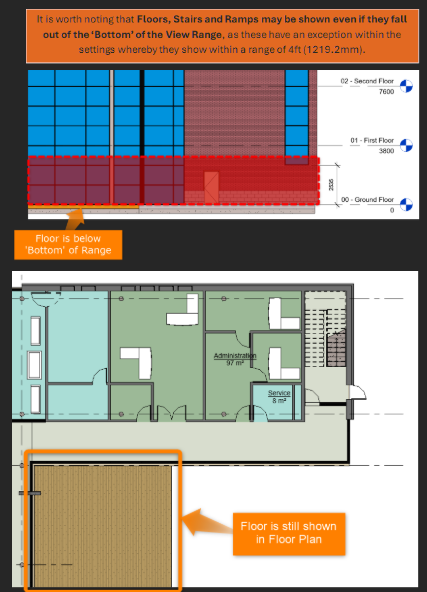
In this example, there is a requirement to show the Curtain Wall Windows for the stairwell, on the right-hand side of the elevation view. As you can see, based on the view range that is defined in the plan view, the window falls outside of the top range (2300mm) and is therefore not shown.
This image shows and elevation view with the red dashed box representing the view rang that is show in the plan view:
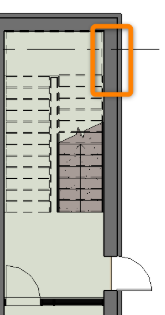
Even changing the top of the primary range to a height where the window would be included (3000mm), does not show it in the plan view.
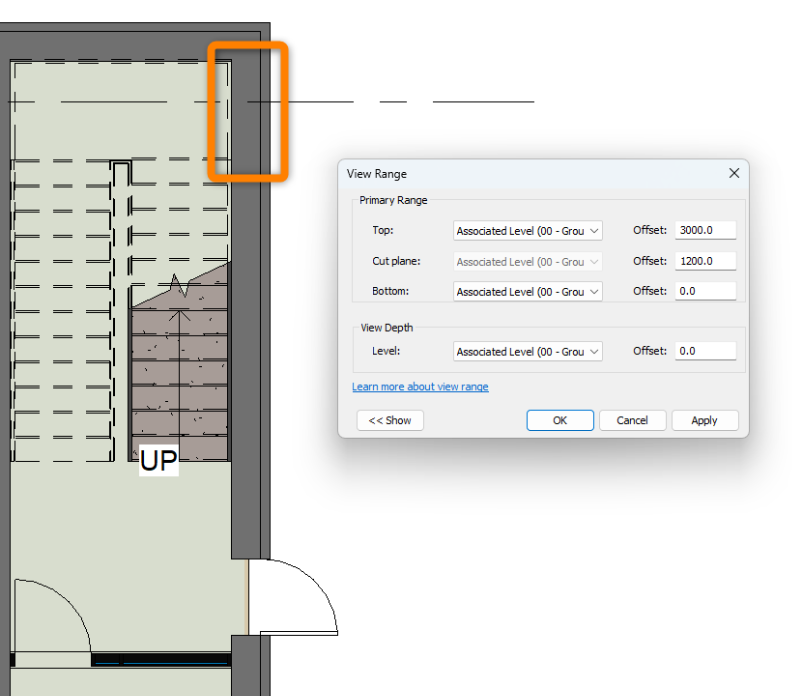
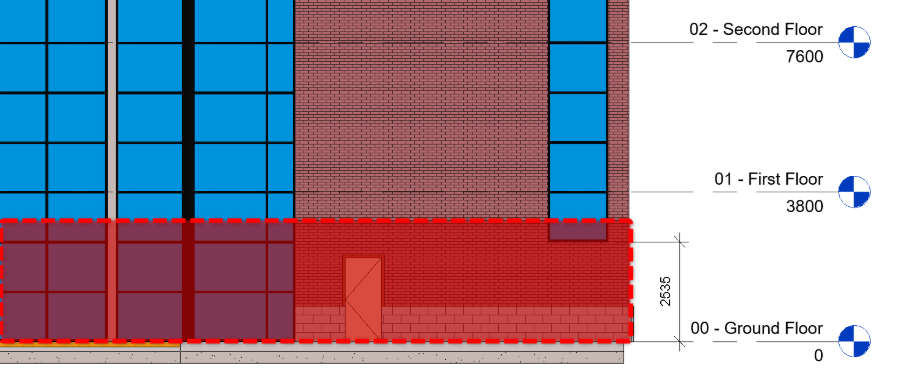
This is because the position of the hosted families (doors, windows, other wall-hosted elements such as light fixtures), relies on the cut plane height, which you may not wish to change on a whole plan view purely to get a single window family to show, as this may unexpectedly change the visibility of other families in your view.
Plan Regions
Utilising Plan Regions allows you to customise the view range on a plan view for a specific portion of your view.
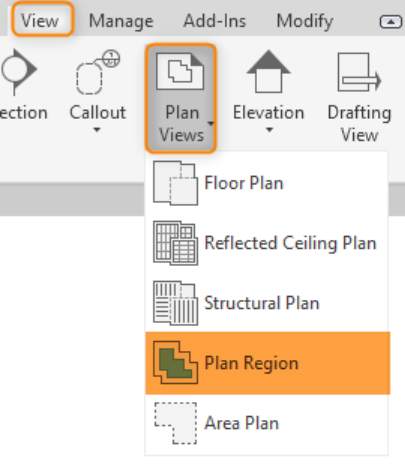
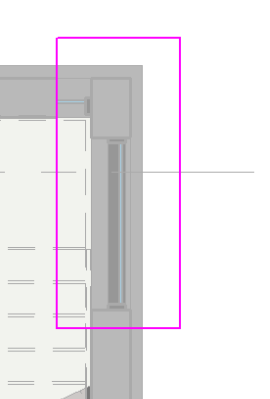
Draw a box around the portion of the plan that needs to use a different view range.
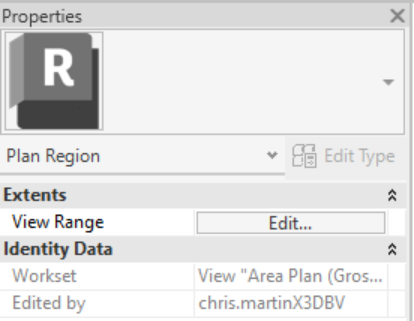
In Properties, set the required view range using the ‘Edit…’ button.
Set the cut plane to an offset from a level that shows the hosted family.
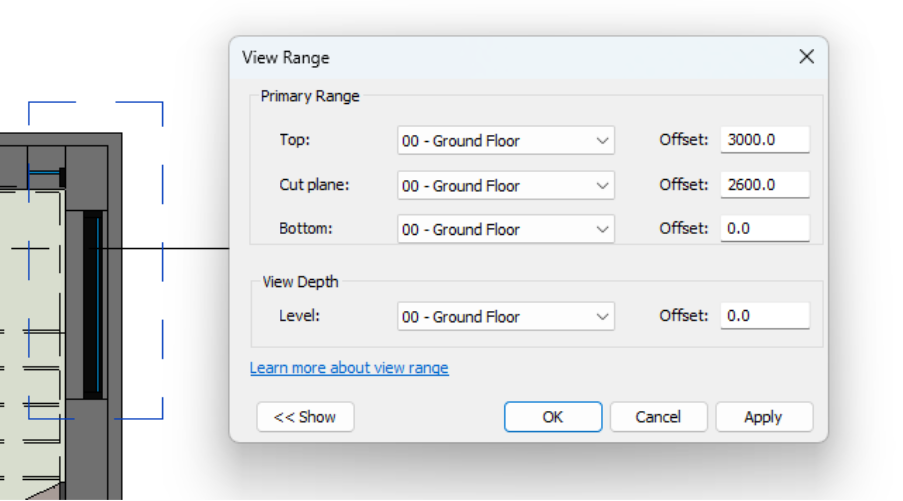
As shown, the window is now showing cutting the wall, without affecting the previously defined view range for the rest of the floor plan.
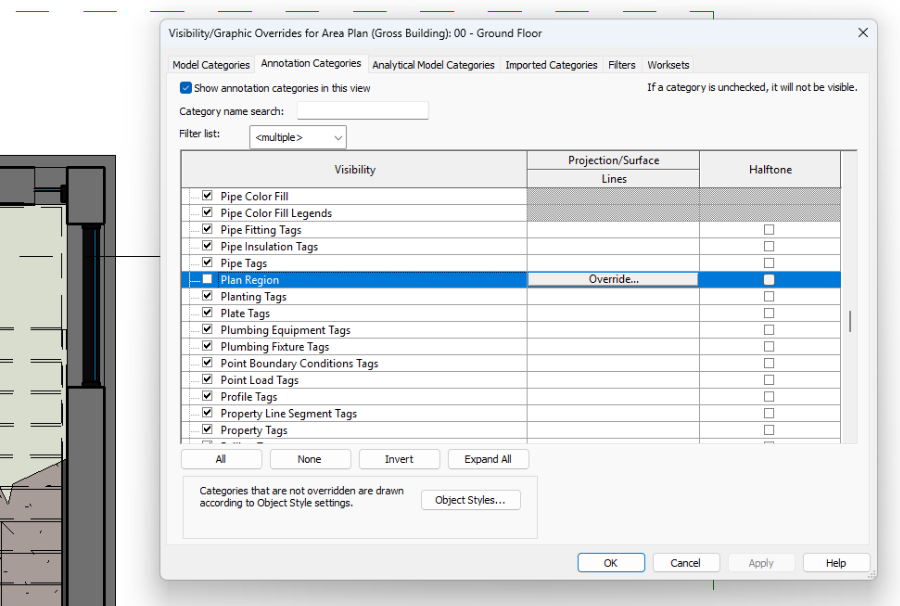
Ensure than plan regions are turned off using visibility/graphics > annotations categories tab, if you do not want to see the boundaries when you print/export the view. The view range is still applied to the portion of the view with plan views turned off – only the boundary if turned off.
Using view range and plan regions in a complementary fashion, helps to streamline design workflows to be able to quickly and easily visualise exactly what you want to see in plan views, whether that is during the design process, coordinating federated models with other disciplines, or for sharing information with your wider project teams.
For a similar blog which goes into working with underlays in Revit – a similar function which allows you to visualise and modify information on levels above and below you current working level – see here.
Still got Questions?
Book Training
Our Revit courses cover everything from the skills required to use the software, to design and share information between project teams, through to creating custom family elements.
Contact Us
We are here to ensure you receive a consistently high service and quality solutions for your business needs. We promise you won’t regret speaking to us, and if we can’t help you, we will try to find someone that can.