
To select elements with a filter in Autodesk Revit, you first create a selection window that encompasses all the elements you want to consider. You then apply the Filter tool to narrow the selection to only include the elements category of your choice.
Let’s go through the steps!
- Make sure no command is active (push esc twice).
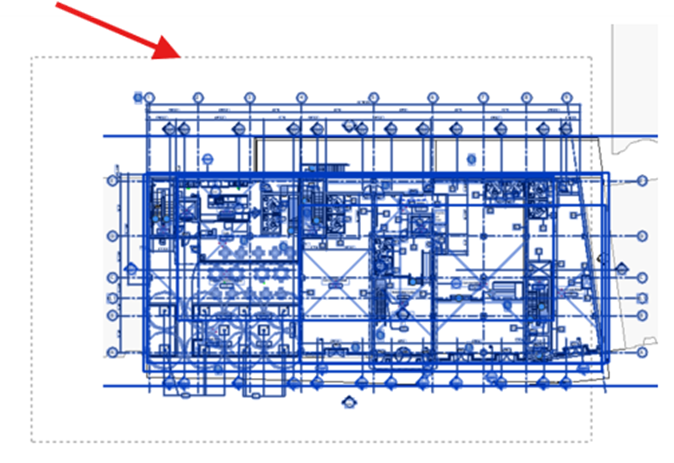
- Select all elements: Use a selection window to select all elements in the view, or simply tap ‘Ctrl + A‘.
- Open the Filter dialog: In the Revit ribbon, go to the Modify | Multi-Select tab, and click on the Filter panel:

- Deselect all categories: In the Filter dialog box that appears, click the ‘Check None‘ button to uncheck all categories.

- Select the desired category: Find and check the box next to the element category.

- Apply the filter: Click ‘Apply‘ to see your chosen selection behind the dialog box. Click ‘OK‘ to confirm and close the dialog box. Now, only the elements you checked within your initial selection will be selected.
Still got Questions?
Book Training
Our Revit courses cover everything from the skills required to use the software, to design and share information between project teams, through to creating custom family elements.
Contact Us
We are here to ensure you receive a consistently high service and quality solutions for your business needs. We promise you won’t regret speaking to us, and if we can’t help you, we will try to find someone that can.