
Being able to set custom work planes when working in 3D in Revit is indispensable, I will show you how you to change the work plane in Revit.
Viewing Your Current Work Plane
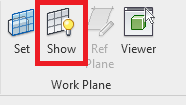
Before we look at changing the work plane you are first going to want to be able to see it.
We can make the work plane visible by clicking the ‘Show’ button in the Work Plane group on the Architecture tab.
Setting A New Work Plane
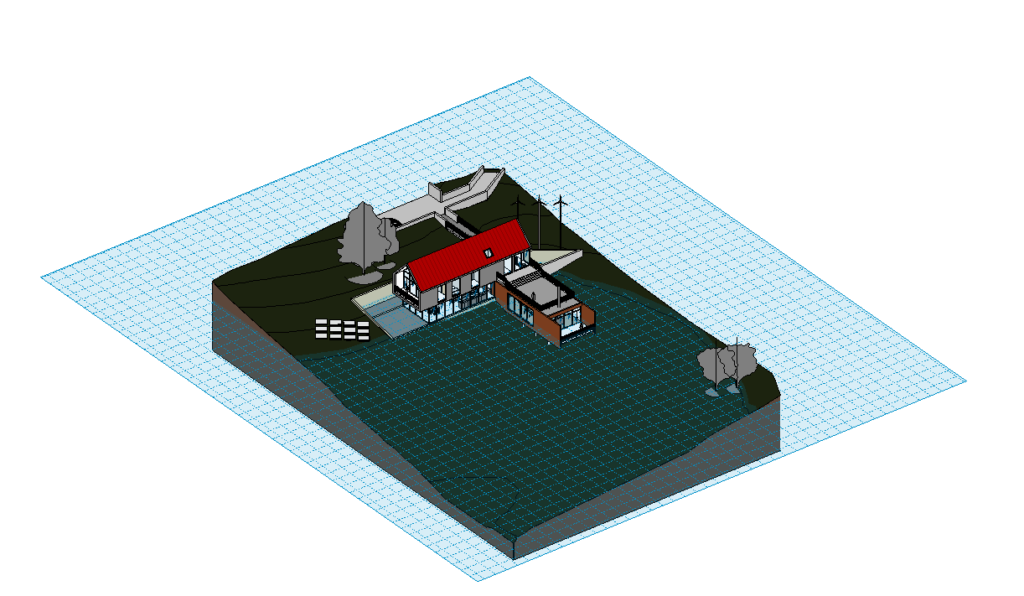
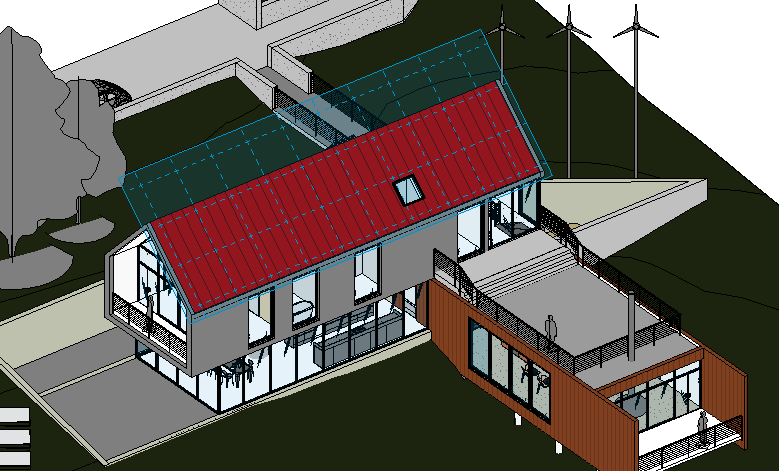
Now that we can see the work plane, next we want to change it. Lets set the roof face as our new work plane.
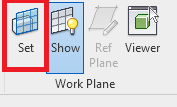
- On the Architecture tab, Work Plane group, click the ‘Set’ button.
2. In the Work Plane window, choose “Pick a Plane” and click OK.
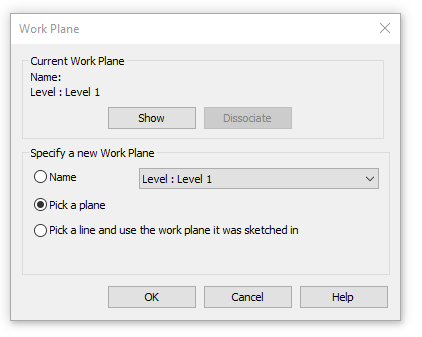
3. Now all you need to do is left click on the face of an element in the model to set it as the new work plane.
Congratulations, you have now set a new work plane on which to work on. Dont forget to turn off the visibility of the work plane when you do need to see it by clicking the ‘Show’ button again.
Still got Questions?
Book Training
Our Revit courses cover everything from the skills required to use the software, to design and share information between project teams, through to creating custom family elements.
Contact Us
We are here to ensure you receive a consistently high service and quality solutions for your business needs. We promise you won’t regret speaking to us, and if we can’t help you, we will try to find someone that can.