Autodesk Revit settings can be customised and rolled out to a large number of machines using a Revit.ini configuration file. Full details of how this can be achieved, and the settings supported by this can be found on the Autodesk Knowledge Network.
Generally speaking, this is only really useful when you are using deployments or administrative images, which will hopefully be clear by the time you have finished reading this post, however you can still roll out Revit.ini files between single user installations so long as you follow the correct process.
A Revit.ini file contains an installGUID reference.

This is a unique identifier created by the Revit setup at the time of the installation. The revit.ini file will only work for installations which match the installGUID (Global Unique Identifier) listed in the file itself.
When using deployments or administrative images, all installations created from these will always have the same GUID, meaning that the revit.ini file will always work for each client rolled out through these methods.
For separate installations from individual media, there will always be a completely different GUID. A GUID inside of a Revit.ini file will have to be changed to match that of the install in order for the file to work. This process is unfortunately quite manual, but relatively straight forward.
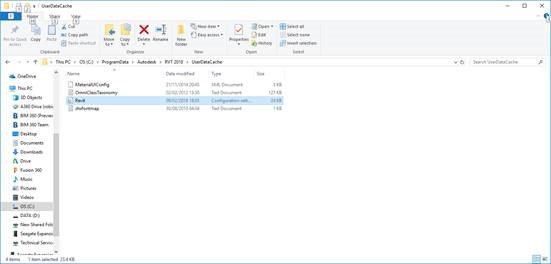
Before copying any new Revit.ini files over to the machine(s) in question, find the default Revt.ini file created by the installer, this is typically found under C:\ProgramData\Autodesk\RVT 2018\UserDataCache:
Open this file with a text editor, and locate the default GUID before copying this to your Windows clipboard:

Take the Revit.ini file that you wish to use on this machine and replace the listed GUID with that copied in the previous step before saving the file. Place this file back into the default Revit.ini location as mentioned above before running Autodesk Revit.
Note, if you have run Revit prior to this you will have to remove any existing user settings from the following location:
C:\Users\<username>\AppData\Roaming\Autodesk\Revit\<product name and release>