
Have you ever run into a viewing issue in Autodesk Revit, whereby you are on a level and cannot see the elements in levels below or above and need to see these elements as reference points. It is very frustrating, so let’s dive into how we can change this.
In this blog we will explore solving the issue of not being able to see elements in lower or upper levels. Hopefully this will save you some frustration!
- Start a new model using an Architecture template.
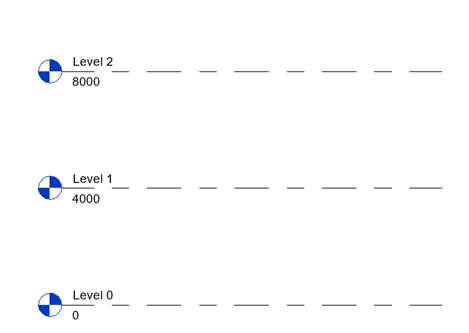
- Go to the East Elevation view, and create an additional level.
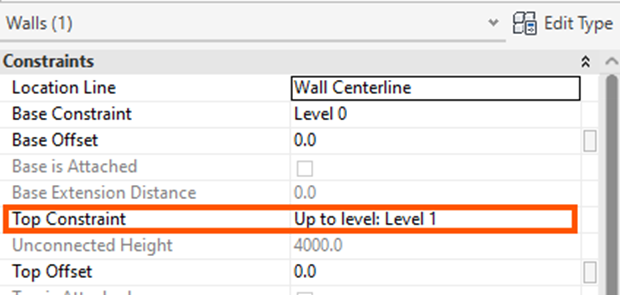
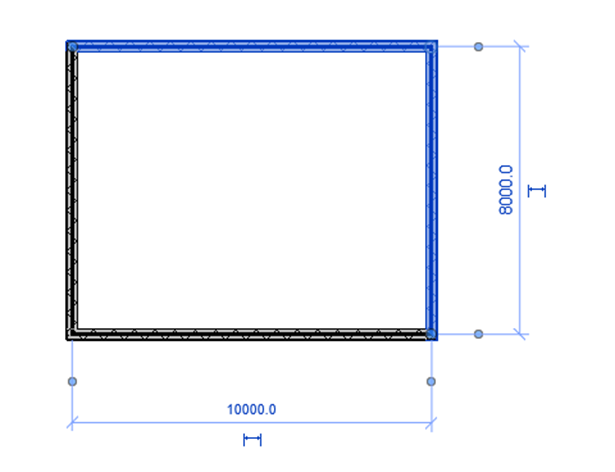
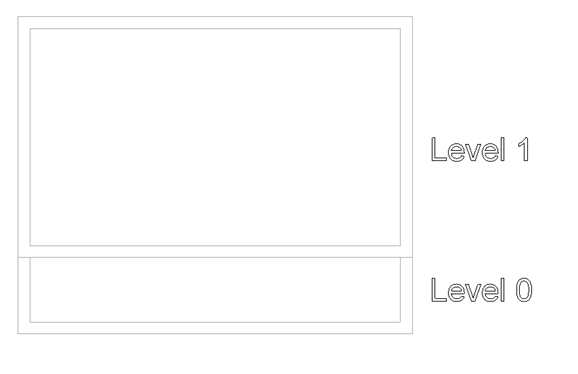
- On Level 0, place 4 walls measuring 10000mm x 8000mm. Make sure the walls constraints are set in Top Constraint to Up to Level 1, as per the below.
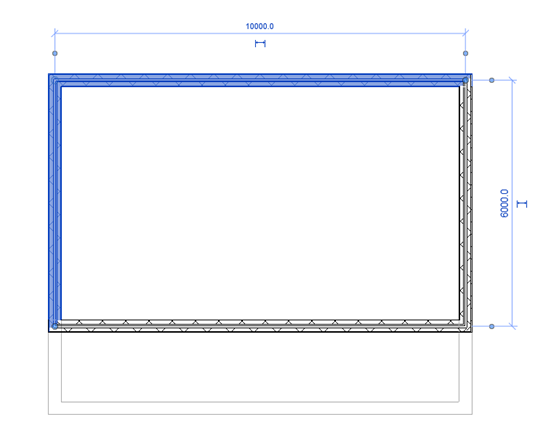
- Go to Level 1, please 4 walls above the walls on level 0, measuring 10000mm x 6000mm. Make sure the walls constraints are set in Top Constraint to Up to Level 2, as per the below.
On Level 2, we want to place more walls using the walls below as a reference point. But frustratingly when we activate level 2, we cannot see any of the walls we have just created. Let’s sort this out – it’s really quick and easy.
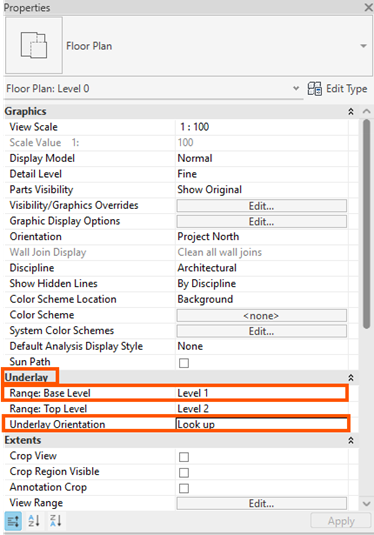
- In the Properties palette, go to Underlay and in Range: Base Level, change from None to Level 0 and click Apply.
Notice: the Underlay Orientation is set to Look Down.

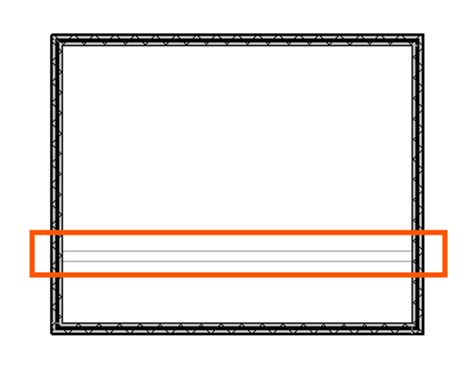
You can now see the walls on level 0 and Level 1.. frustration gone!
Change the Range: Base Level to Level 1 and notice the walls on level 0 are no longer visible. Select the option that works for you to see elements in the below levels.
In a similar way, you can be on a lower level and need to see elements in levels above.
- Go to Level 0.
- In the Underlay area, change Range: Base Level to Level 1.
- Change Look Down to Look up.
Now you can see the elements above in Level 1:
Using Underlay in Revit is a simple but powerful way to reference information from other levels or views without cluttering your main drawing. By understanding how to control what appears and how it’s displayed, you can work more efficiently, coordinate designs more easily, and avoid common visibility issues. With thoughtful use, Underlay becomes a helpful tool for creating cleaner, more accurate Revit documentation.
Keep an eye out for a future blog where we will look at a similar way to do this using the View Range option.
Still got Questions?
Book Training
Our Revit courses cover everything from the skills required to use the software, to design and share information between project teams, through to creating custom family elements.
Contact Us
We are here to ensure you receive a consistently high service and quality solutions for your business needs. We promise you won’t regret speaking to us, and if we can’t help you, we will try to find someone that can.