
Here is how to create a new Title Block in Revit explained in 6 simple steps.
6 Steps on How to Create a Revit Title Block
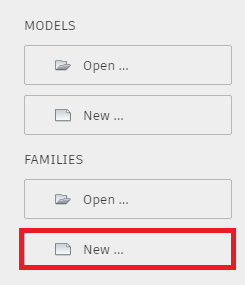
Step 1: Click “New” under Families on the Revit home screen.
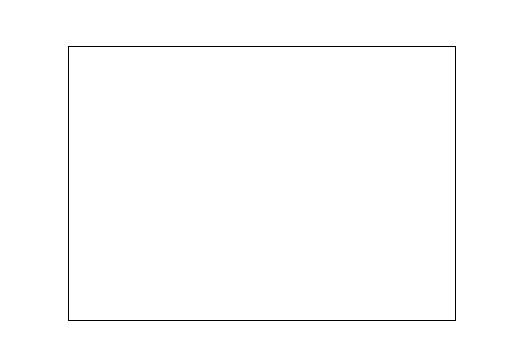
Step 2: From the list of Template files open the folder “Titleblocks” and choose a paper size (or “New Size” for a custom paper size).

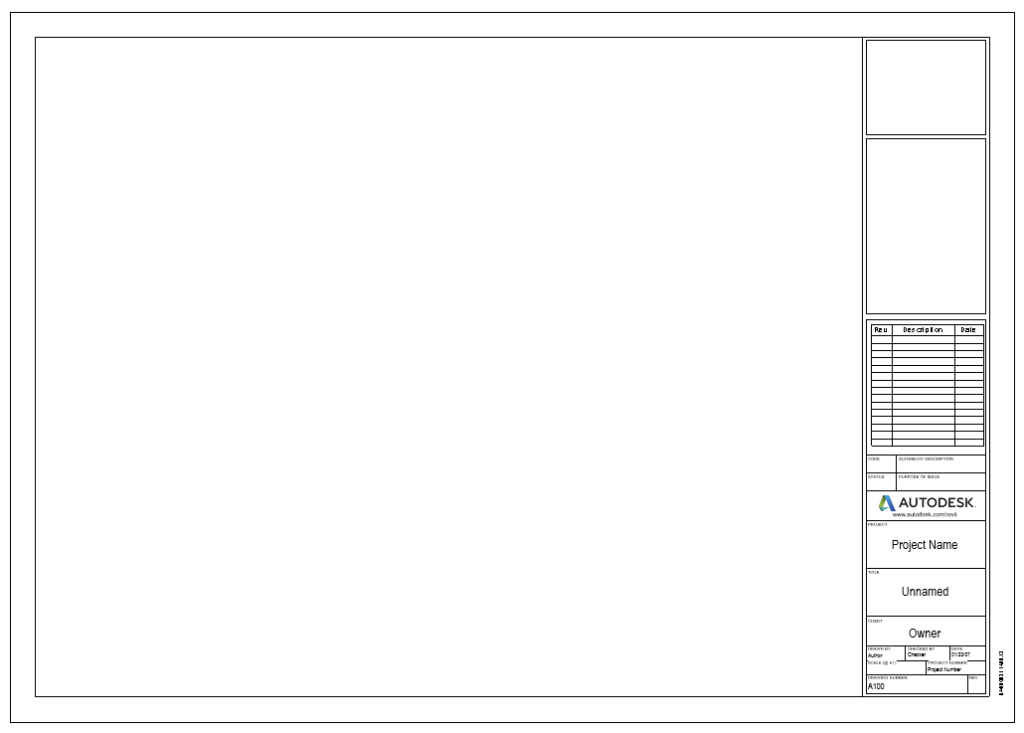
You will be provided with an area the size of the paper you choose:
Step 3: Using the Line tool on the Create tab draw out your title block, you can modify the lines later once you have added text and labels if necessary.
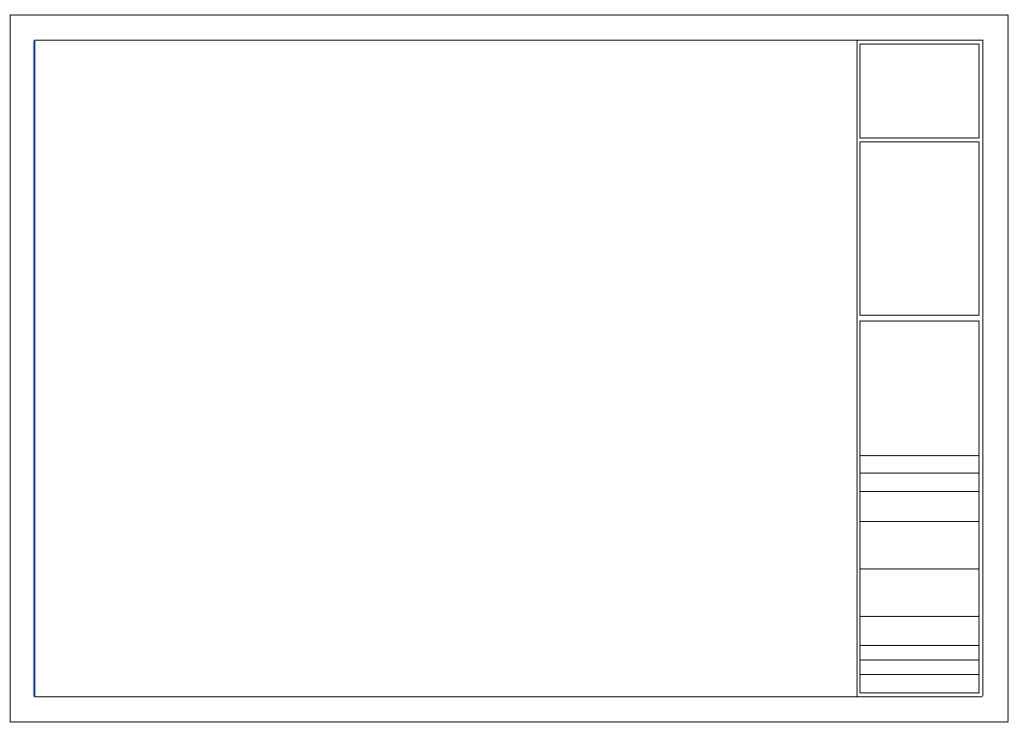
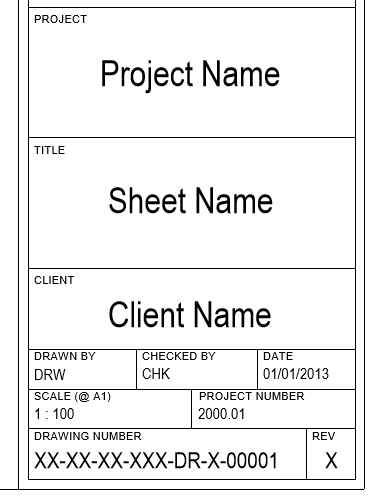
Step 4: Add titles using the Text tool also found on the Create tab and add any logos using the Link Image tool on the Insert tab.
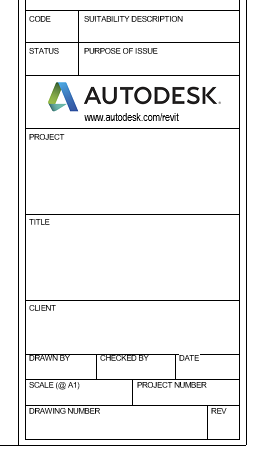
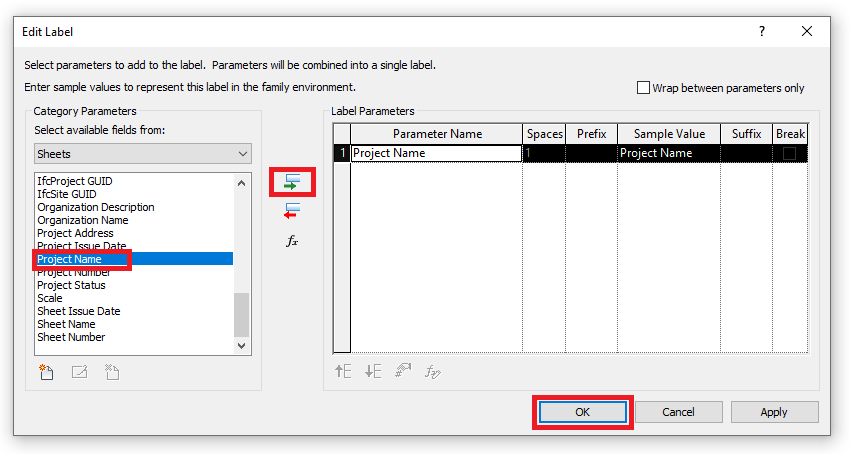
Step 5: You can make the sheet smart by using lables to display information from the project it is used in such as the Project Name.
To add a label go to the Create tab and click the Label tool and left click where you want to place it. After left clicking the Edit Labile window will appear with a list of parameters which you can use. Highlight a parameter and click the add button (green arrow) to add it to the Label Parameters table on the right. You can add more than one if you wish.
Step 6: Make any adjustments as necessary and save the Title block.
Congratulations, you have no created a new Title Block.
Still got Questions?
Book Training
Our Revit courses cover everything from the skills required to use the software, to design and share information between project teams, through to creating custom family elements.
Contact Us
We are here to ensure you receive a consistently high service and quality solutions for your business needs. We promise you won’t regret speaking to us, and if we can’t help you, we will try to find someone that can.