
Using groups in Autodesk Revit can often lead to performance slowdowns, especially when they accumulate unnecessarily. By default, the Array command in Revit automatically groups the copied elements. Even if you manually ungroup them afterward, the group definition remains in the project. Over time, this requires additional clean-up, like purging unused groups.
A more efficient approach is to set up the Array command correctly from the beginning, avoiding unnecessary groups altogether. This small change can help streamline your workflow and keep your project cleaner.
Important Note: It is worth noting that if the elements are ungrouped, you will lose the array functionality like dynamic numbers and start/end spacing etc, thus having elements function as families or elements. So, make sure you apply the correct function in the beginning for what you need later in the project.
Let me walk you through the steps:
- Select the object, then start the Array command from the Modify tab.

- In the options bar, uncheck the Group and Associate checkbox, and enter the number of items you want in the array.

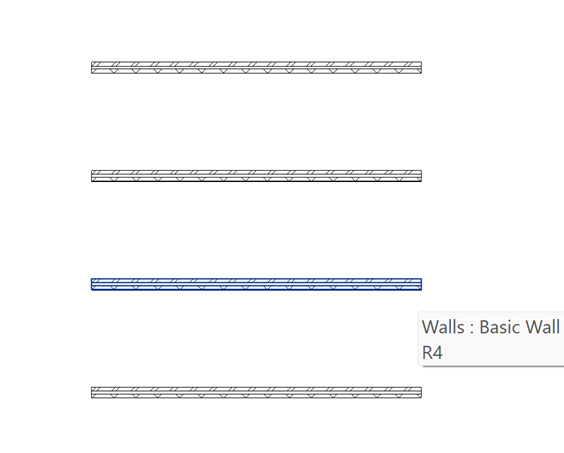
- The result: a completed array where the elements are not grouped.
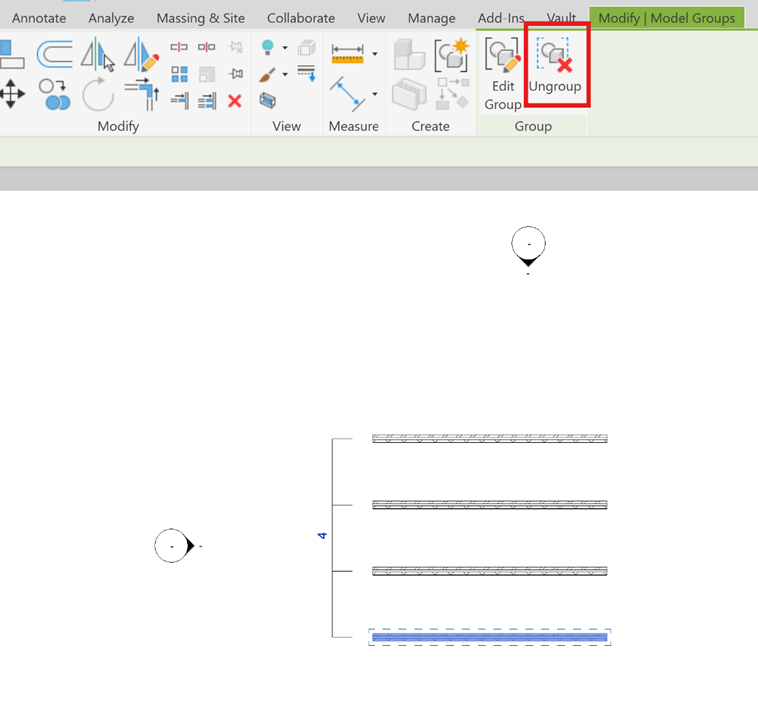
- In contrast, if you leave ‘Group and Associate’ checked, you’ll need to manually ungroup the array afterward, and the group remains in Revit’s history, requiring a larger purge to fully remove it.
Using the correct settings from the start keeps your file lighter and your workflows more efficient!
Still got Questions?
Book Training
Our Revit courses cover everything from the skills required to use the software, to design and share information between project teams, through to creating custom family elements.
Contact Us
We are here to ensure you receive a consistently high service and quality solutions for your business needs. We promise you won’t regret speaking to us, and if we can’t help you, we will try to find someone that can.