
In 4 simple steps I will show you how you can copy and monitor elements in a linked model with your Revit project.
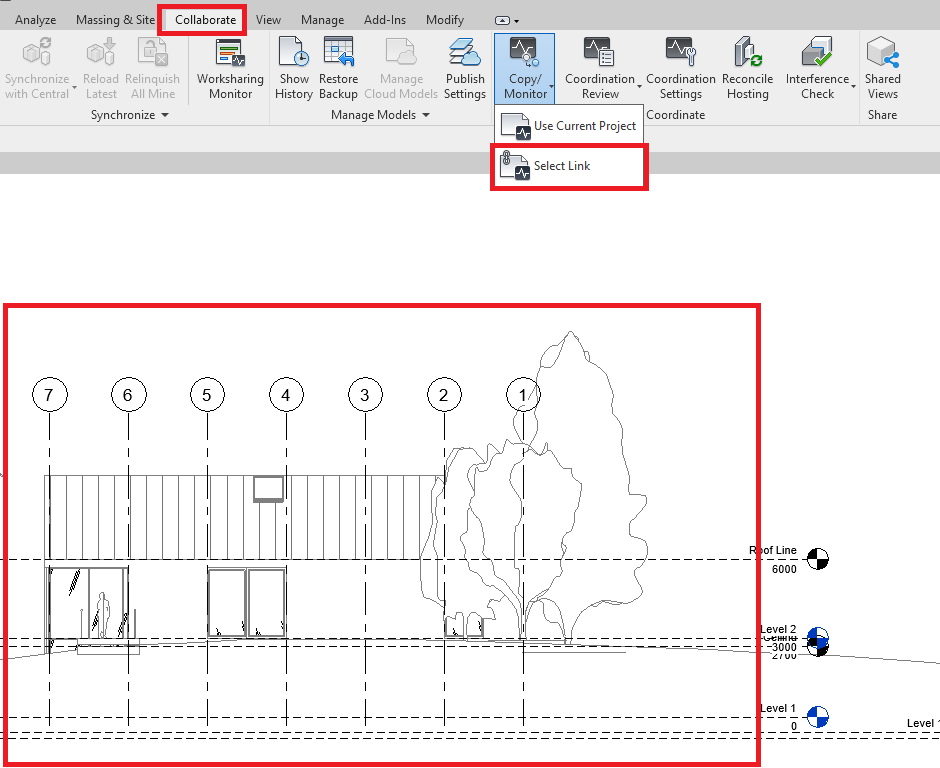
Step 1: On the Collaborate tab select “Choose Link” from the “Copy/Monitor” tool and select the linked model.
Step 2: To monitor two existing elements select “Monitor” in the ribbon and left click on the two elements to monitor (you will get a little heartbeat icon on the monitored element if successful).
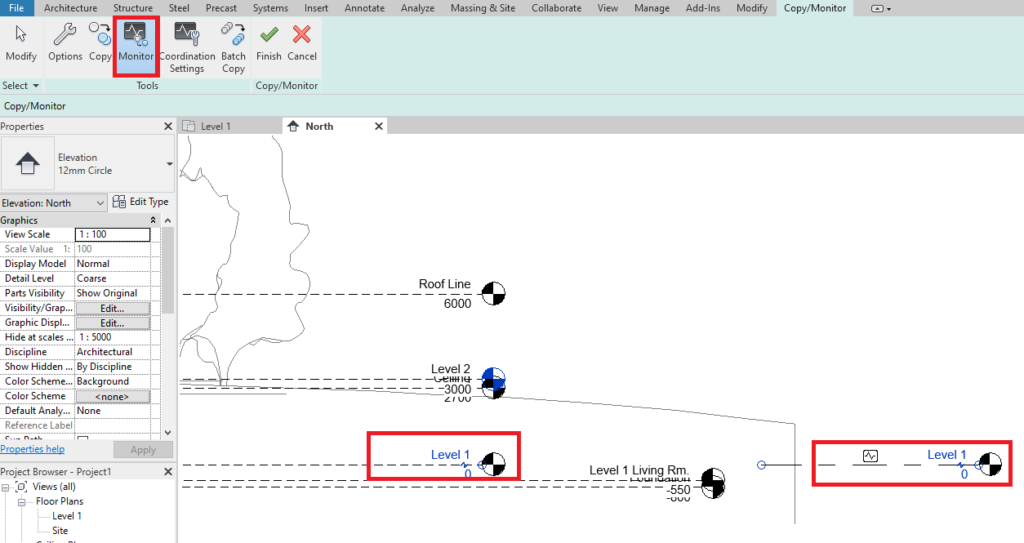
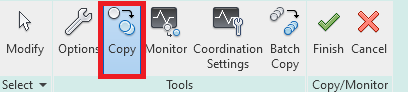
Step 3: To copy an Element from a linked model to your project and then monitor it, use the “Copy” tool and click the element to copy & monitor.
Again you will get the heartbeat icon to indicate the new element is monitored with the linked model.
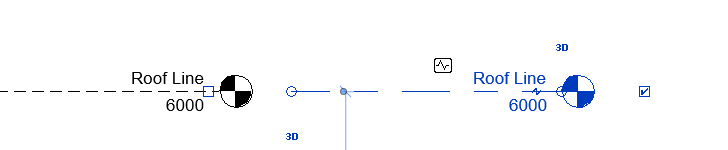
Step 4: Click the Green Tick icon in the ribbon bar to complete the command. Now if any of the monitored items change in the linked model you will get notified.
Summary
This tool is great if any of your modelling is dependent on the locations of elements within the linked model, the elements don’t even have to be in the same location.
Still got Questions?
Book Training
Our Revit courses cover everything from the skills required to use the software, to design and share information between project teams, through to creating custom family elements.
Contact Us
We are here to ensure you receive a consistently high service and quality solutions for your business needs. We promise you won’t regret speaking to us, and if we can’t help you, we will try to find someone that can.