
In this blog I am briefly going to show you the Revit Thin Lines tool. This is a simple yet powerful tool which can largely go un-noticed.
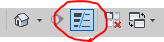
Where to find the Thin Line Tool
The thin line tool can be accessed on the quick access tool bar in the top left of the Revit window.
What Does it do?
The thin line tool turns on and off line weights in Revit, the result is that lines will always remain thin no matter how far you zoom in on them.
Here I have an example of two wall makeups, one with thin lines turned off and one with it turned on:
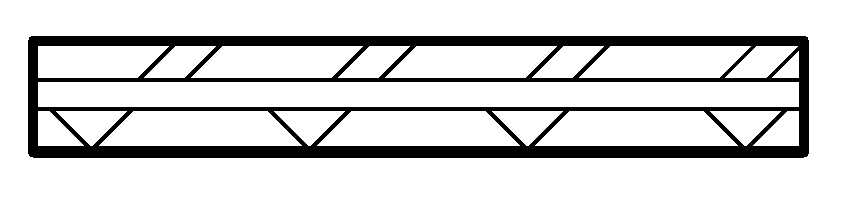
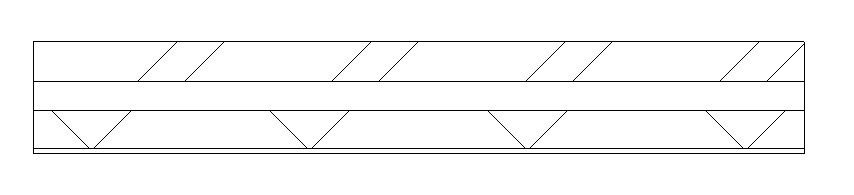
We can see the difference this has made, with the thin line tool turned on I can now see the plaster layer on the wall.
Conclusion
It is advised to have this turned on when working in Revit so that you can see all the detail clearly and to make it easier to make selections when two lines are very close.
Still got Questions?
Book Training
Our Revit courses cover everything from the skills required to use the software, to design and share information between project teams, through to creating custom family elements.
Contact Us
We are here to ensure you receive a consistently high service and quality solutions for your business needs. We promise you won’t regret speaking to us, and if we can’t help you, we will try to find someone that can.