
In this article I will explain how to use phases within Revit. We are all familiar with 1D, 2D and 3D, but 4D adds time into Revit allowing you to plan different phases of your project.
For example, you can have an existing development with a wall which needs demolishing and a new wall that needs to be built. Phases allow you to do this all within the same model.
Phases aren’t limited to just an existing and new phase, in Revit you can add as many phases as you like for the various stages of your project. You can then choose whether an object is existing in that phase, demolished during a phase or is a new construction during a phase.
Once you have setup your project with phases you can control how this information is displayed. For example, within the same project you could have two views, one to show how it currently looks and another to show how it looks once demolition/construction work is complete.

How to setup phases
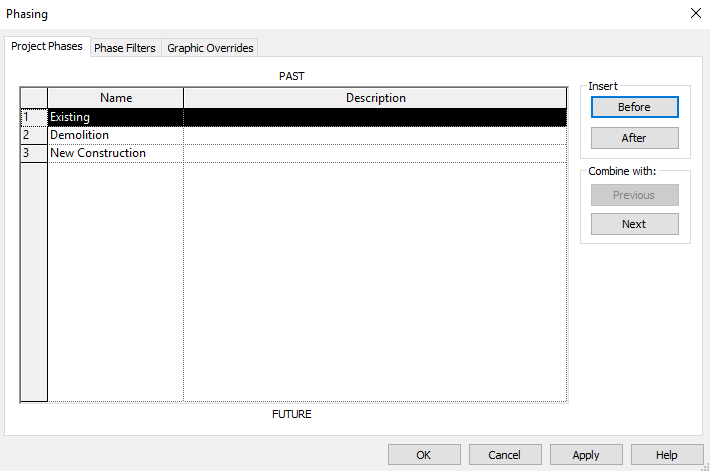
Phases can be accessed in the “Manage” tab by clicking on the “Phases” button.
In here we can create new phases, for this example I am going to have an Existing phase which everything will start off on. Then a Demolition phase to remove an existing wall, and then a New Construction phase in which we are going to build a new wall.
Now that I have my three phases created, I can control which phase I am looking at in the view properties window under the Phasing section.
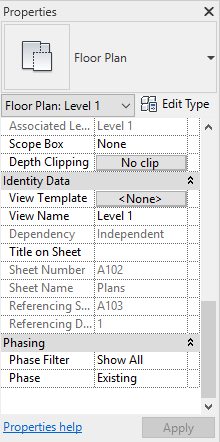
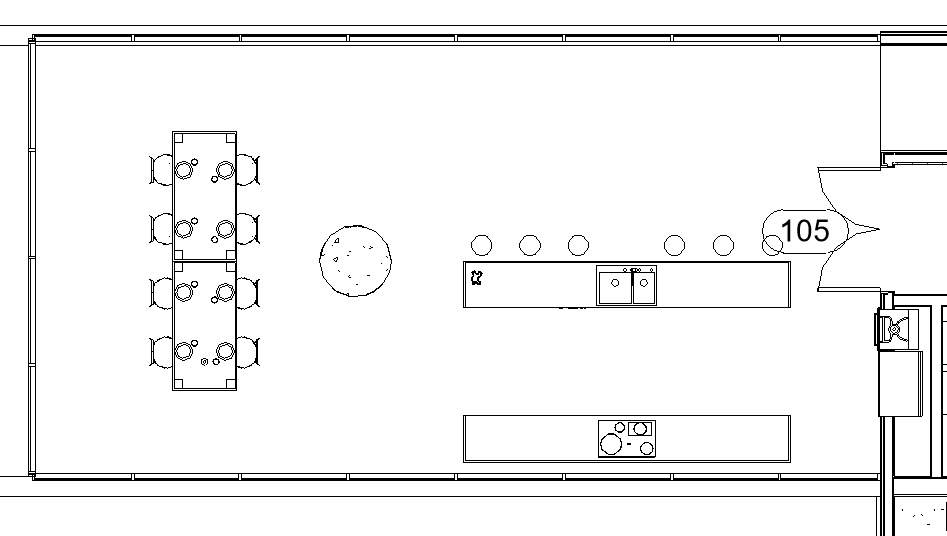
With the phase on my floor plan set to existing I can see all the existing construction.
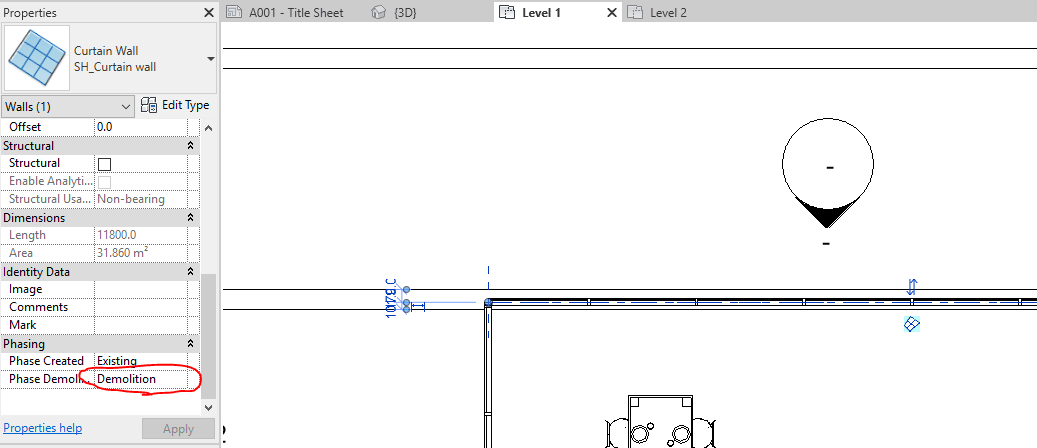
In this example I am going to demolish the north curtain wall and replace it with an Architectural wall type. With the curtain wall selected I will change the property for “Phase Demolished” from none to the “Demolition” Phase. This will tell Revit that in the Demolition Phase this wall will be Demolished.
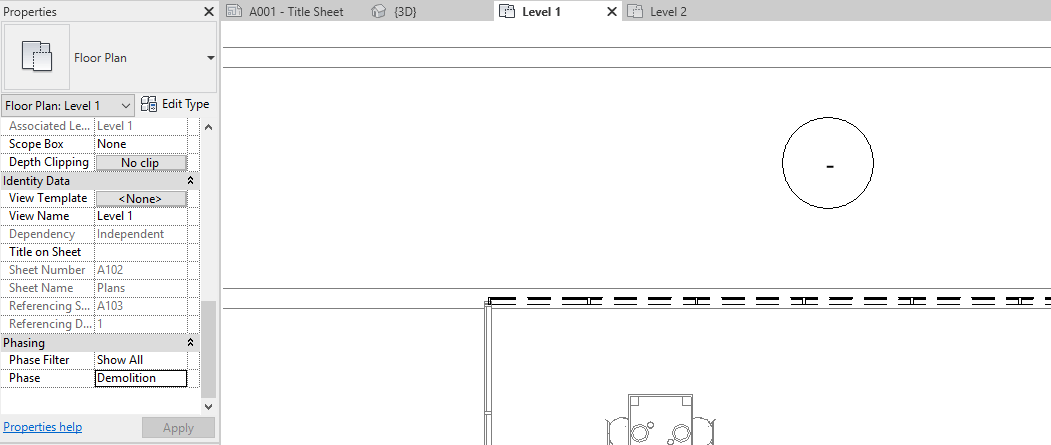
With that set, I can change my view properties from showing existing construction to show me the demolition phase. I can now see that in this phase the wall is marked for demolition and is now represented by the dashed linework, everything else in the Existing phase is now also half tone.
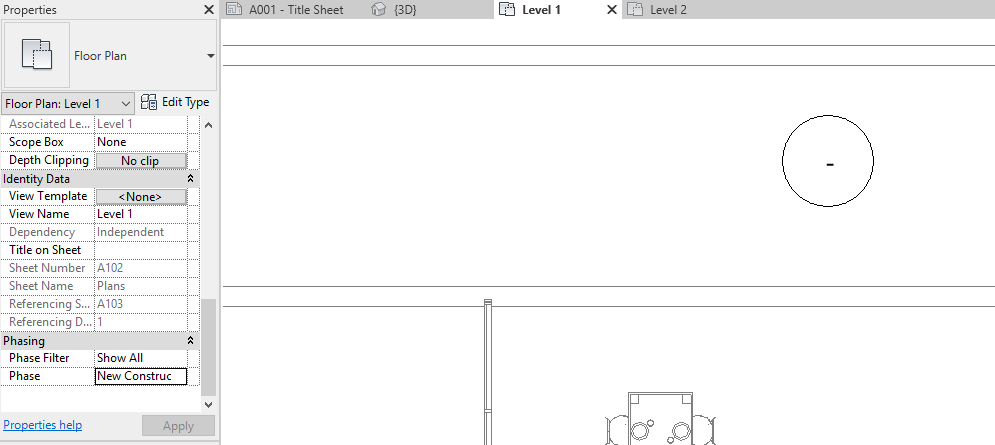
Next to build the replacement wall I will need to change my view properties to show me the new construction phase, you will notice that the curtain wall no longer exists in this phase. This is because Revit knows that the curtain wall was demolished in the previous phase.
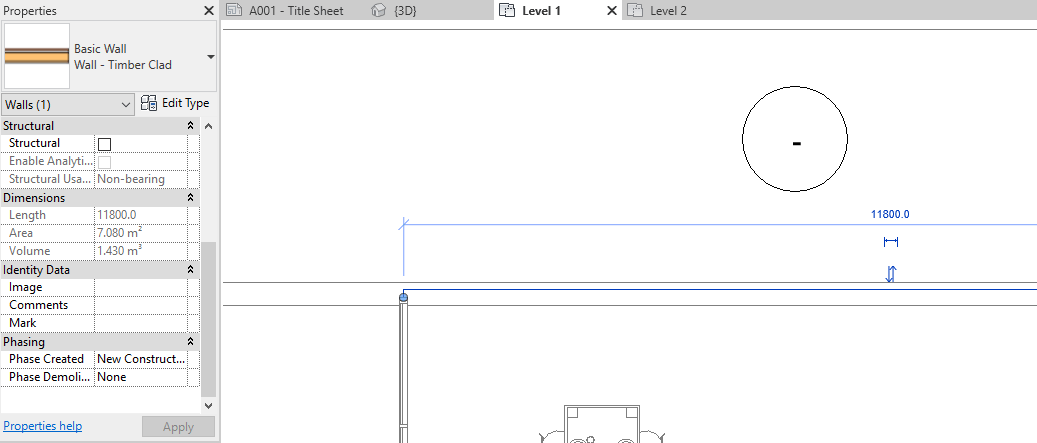
Now that the curtain wall is gone I can now draw my new architectural wall in this new Construction phase.
I have now successfully planned the demolition of an existing wall and the construction of a new wall over the three phases.
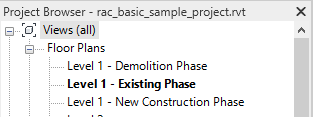
If I wanted I could now duplicate the view in the project browser and create a new view to show each phase.
Conclusion
The example I have provided above shows how quickly and easy it is to demolition an existing wall and construct a new wall within Revit and to start added 4D into my project. Phases are very useful and can be used in much more complex work such as house extensions and order of construction work to be done.
Still got Questions?
Book Training
Our Revit courses cover everything from the skills required to use the software, to design and share information between project teams, through to creating custom family elements.
Contact Us
We are here to ensure you receive a consistently high service and quality solutions for your business needs. We promise you won’t regret speaking to us, and if we can’t help you, we will try to find someone that can.