
Cut profiles allow you to extend the outline and hatch of an object in a 2D view. This can be extremely useful in Revit when you need to show more detail then what is usually provided in the 3D model.
Cut Profile
The cut profile button can be found under the view tab on the ribbon bar.
In this example I will customise the shape of a wall foundation.
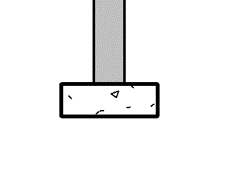
Firstly after clicking the Cut Profile button I need to click on the object I am editing the profile of.
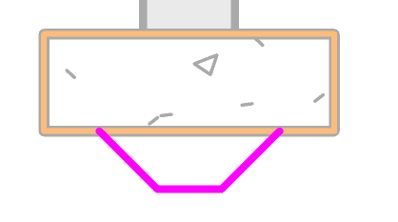
Once selected I go into draw mode. I now starting on the edge of the object draw the extension as seen in the image below (pink lines). You will notice that I don’t need to close the linework, only that it starts and ends on my object.
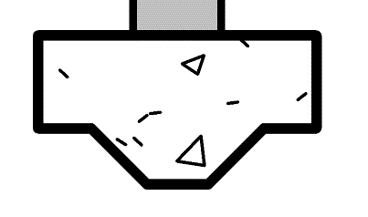
Once drawn I can click the green finish button and Revit will alter the profile of the foundation.
Conclusion
Cut Profiles allow you to show additional detail without having to make the 3D geometry of the Revit project more complicated than it needs to be.
Still got Questions?
Book Training
Our Revit courses cover everything from the skills required to use the software, to design and share information between project teams, through to creating custom family elements.
Contact Us
We are here to ensure you receive a consistently high service and quality solutions for your business needs. We promise you won’t regret speaking to us, and if we can’t help you, we will try to find someone that can.