
As we have seen in previous posts there are many different ways to apply reinforcement within Revit. In this post we will look at how we can apply path reinforcement and again the process is quick and simple.
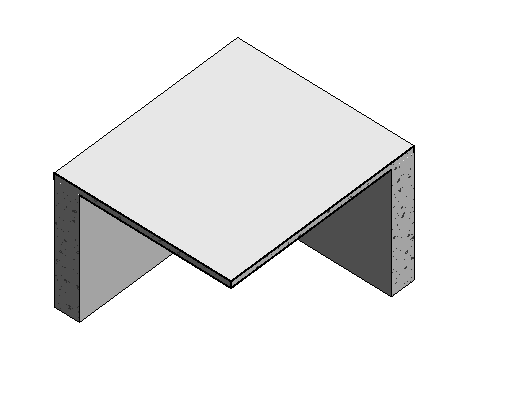
Path reinforcement is a method of applying reinforcement along a given path, in this example we have a concrete floor slab and where it meets a structural wall we want to add some additional reinforcement.
First of all on the ribbon bar go to the Structure tab, Reinforcement group and click the Path button.
Revit will want you to select a host, in this case I will click the floor slab. If any messages pop up just click OK or No for now.
Revit will take you into sketch mode, here we need to draw the path where the reinforcement is to be placed, in this case the edge of the floor slab. Using the Draw tools on the ribbon bar draw the path.
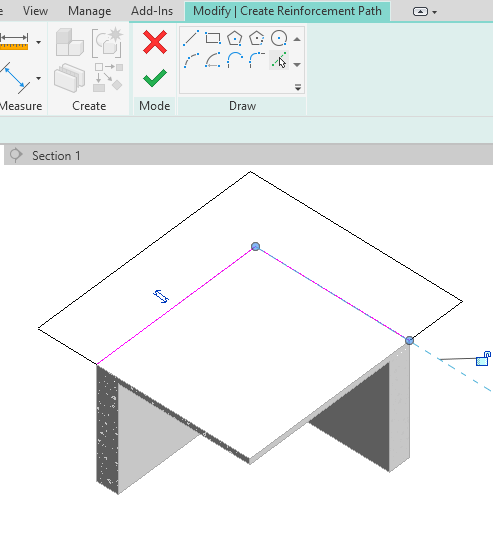
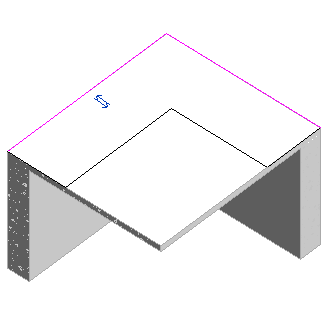
If your rebar sits outside the floor, flip the path using the icon which looks like two opposites arrows sat next to the line you have drawn so the rebar sits inside (The black linework).
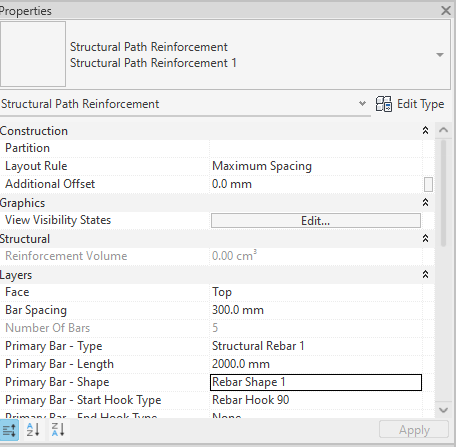
You can choose to set the properties for the reinforcement now or later in the properties window such as the rebar shape, spacing and hooks. but once you are happy click the green tick finish button on the ribbon bar to complete the Path reinforcement in Revit.
Still got Questions?
Book Training
Our Revit courses cover everything from the skills required to use the software, to design and share information between project teams, through to creating custom family elements.
Contact Us
We are here to ensure you receive a consistently high service and quality solutions for your business needs. We promise you won’t regret speaking to us, and if we can’t help you, we will try to find someone that can.