
Revit has a number of structural reinforcement tools and in this post I will show you how to add Area Reinforcement. Like most things within Revit the process is quiet quick and simple. Firstly, we need something suitable, such as a structural floor or wall, to add the reinforcement to. Make sure the element has the “Structural” property enabled.
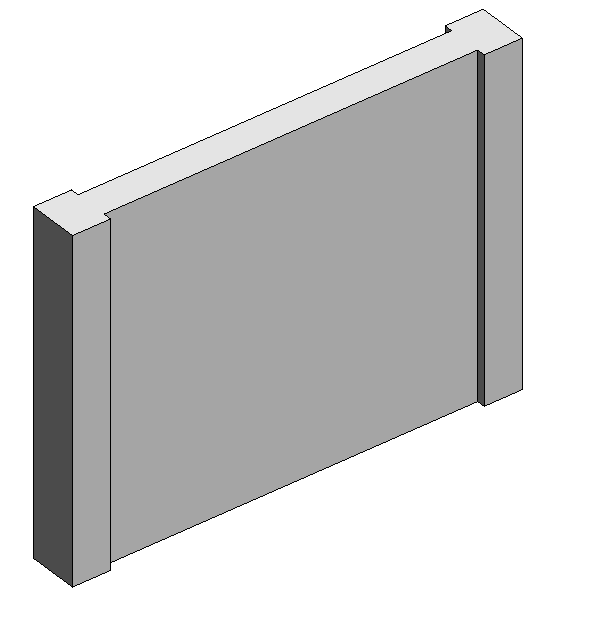
In this example I have a structural wall.
To start the Area reinforcement command simply head to the Structures tab > Reinforcement group > Area.

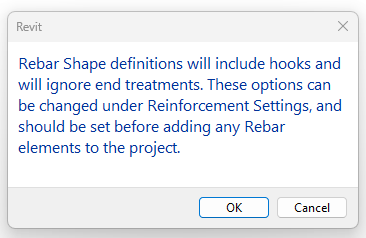
Once in the Area command, you will need to left click and select the structural element you want to add the area reinforcement to. This will take you into sketch mode, if you get any messages click OK or NO for now.
At this point it might be easier if you are in a view which is face on with the element.
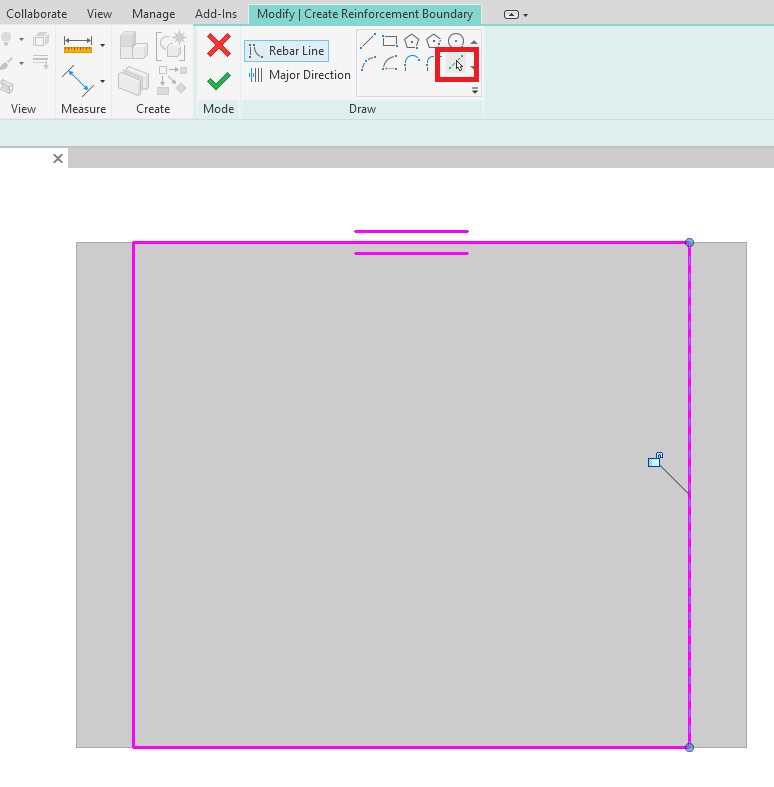
We need to draw the boundary line for the extent of the area reinforcement. On the Modify tab on the ribbon bar, I am going to select the Pick Lines draw tool and click the four edges of the wall and then click the green finish button.
This will create the area reinforcement inside the wall so if you can’t see it change the view style to Wireframe. You can now select the area reinforcement and change the properties as required.

Still got Questions?
Book Training
Our Revit courses cover everything from the skills required to use the software, to design and share information between project teams, through to creating custom family elements.
Contact Us
We are here to ensure you receive a consistently high service and quality solutions for your business needs. We promise you won’t regret speaking to us, and if we can’t help you, we will try to find someone that can.