
Are you wanting to have Vault control your revisions, but are worried about the manual process of moving all your files over various revisions? This workflow will assist you in the transition and save you some time in adjusting all your parts revisions too.
You will first need to allow Vault to see your files revision number within Inventor, to do this you will need to navigate to Tools>Vault Settings>Behaviors>Categories.
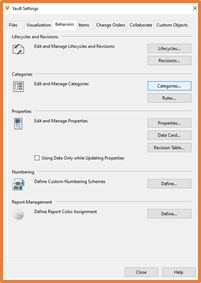
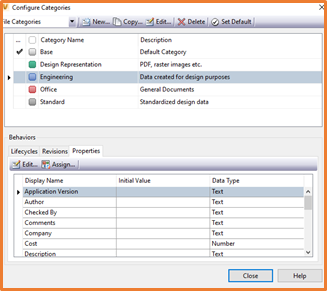
In the drop down in the top right, select File Categories. In the list of categories select the category where the files will be saved to or already are saved to (Engineering in the example). In the Behaviors section, under the Properties tab Assign… a new property.
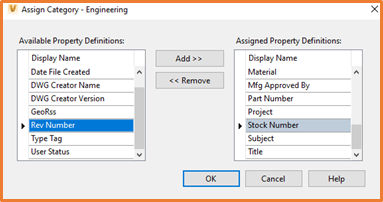
Within the Available Property Definitions find Rev Number and Add > > it to the list on the right. This will bring the Inventor Revision Number into the Vault properties. Once added, you can OK, and close these windows down.
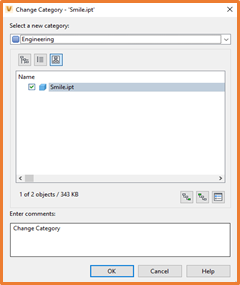
With the parts you are editing select, Change Category to newly edited category (Engineering in this example). You can then proceed to check out and open the file, bearing in mind you will want it to be the Parent file so that all children are included in the changes.
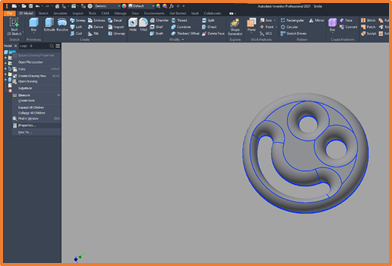
Once Checked out and opened, you will need to run through each Assembly, Sub Assembly and Part that needs to have its revision updated and make the relevant changes to the Part Number and Revision Number.
This is done by going into the iProperties of the Part/Assembly, you can get to this by right clicking the name of the Top-level Part/Assembly in the Model Browser on the left.
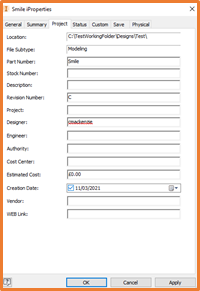
In iProperties, go over to the Project tab, amend the Revision Number, Apply and OK this
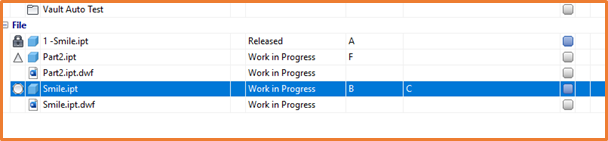
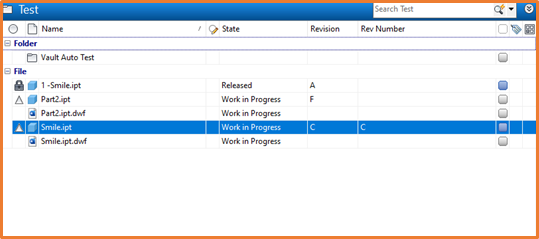
Once you have updated them, you can check them into Vault, and ensure that the Rev Number has been updated correctly.
You can then select the Parent, choose to Change Revision. In the Select Next Revision drop down select <From User Defined Properties>, scroll through the Available Property Definitions for Rev Number, click Add > >, and OK
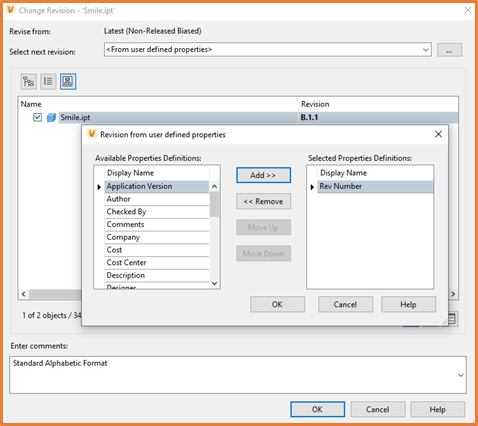
This will give you a preview of the revisions that are changing and allow you to accept them.
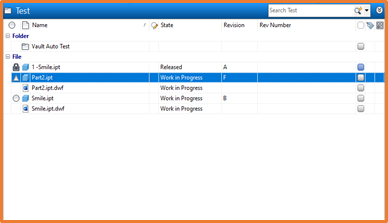
Once complete the Vault Revision should match the Inventor Rev Number, and your revisions will continue sync through Vault.
Still got Questions?
Book Training
Our range of Autodesk Inventor training courses will teach you how to create production-ready parts and assemblies through hands-on learning experience. Make sure you contact us to find out which course is best for you.
Contact Us
We are here to ensure you receive a consistently high service and quality solutions for your business needs. We promise you won’t regret speaking to us, and if we can’t help you, we will try to find someone that can.