
Revit is setup to make most tasks quick and simple to use, and foundations are no different. Using one of the standard project templates, everything should be configured ready to go. In the short example I will show you how to add a simple foundation to the base of a wall.

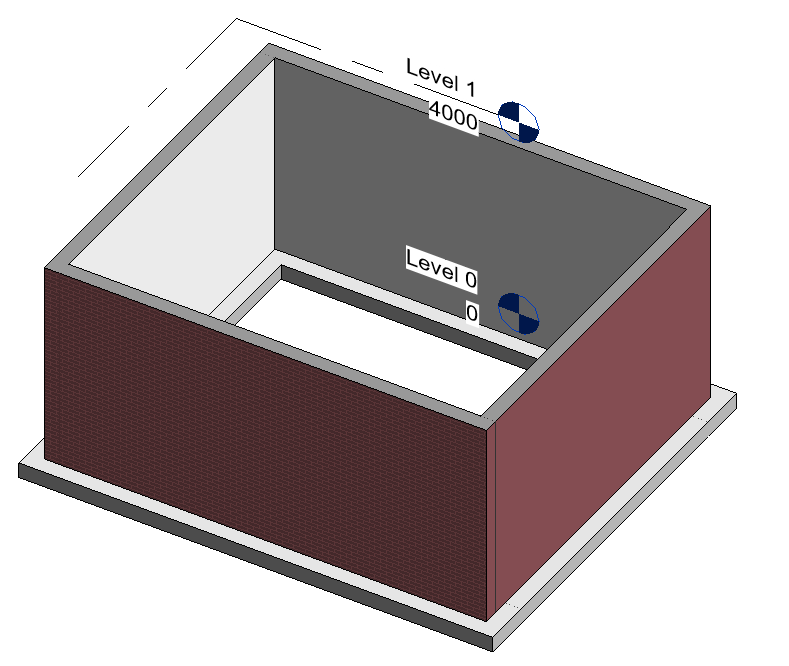
In the below image we have four exterior walls extending below ground level, we need to add a simple concrete foundation to the base of these four walls. First of all, ensure you are in a suitable view, in my case I am in the default 3D view. Then on the ribbon bar go to the “Foundation” group on the “Structures” tab where we can find the “Wall” button to add a wall foundation.

With the wall foundation command started, we next need to check the type of foundation we will be creating. As mentioned the default project templates will have some loaded, in my case we have a foundation family called Wall Foundation Standard.
The next step is easy… simply move your mouse and highlight a wall you want to add the foundation to and left click on it. Keep clicking walls and Revit will add the chosen foundation to the base.
Of course we can create our own custom foundations if we wish, customise the shape, size and material used but as far as adding the wall foundation goes that is all there is to it.
Still got Questions?
Book Training
Our Revit courses cover everything from the skills required to use the software, to design and share information between project teams, through to creating custom family elements.
Contact Us
We are here to ensure you receive a consistently high service and quality solutions for your business needs. We promise you won’t regret speaking to us, and if we can’t help you, we will try to find someone that can.