
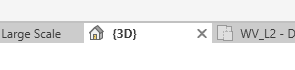
In Revit we have 2D views and 3D views. The 2D views can come in the form of Plan Views & Sections, to name just a few. When it comes to 3D views, we can start off with the default 3D view, simply named {3D}.
This is okay if you just need a working 3D view for modelling. If, however, you want to start creating multiple 3D views with different purposes you need to create new views. Creating a new 3D view is a little different to creating 2D views. In the instructions below I will show you how easy it is to do this.
1. First, you will need to be in a 3D view. In this case, we will use the default 3D view {3D}.
2. Next, right click on the View Cube in the top right. In the context menu click Save View.

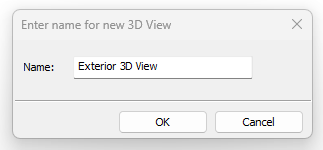
3. Name the new 3D view.
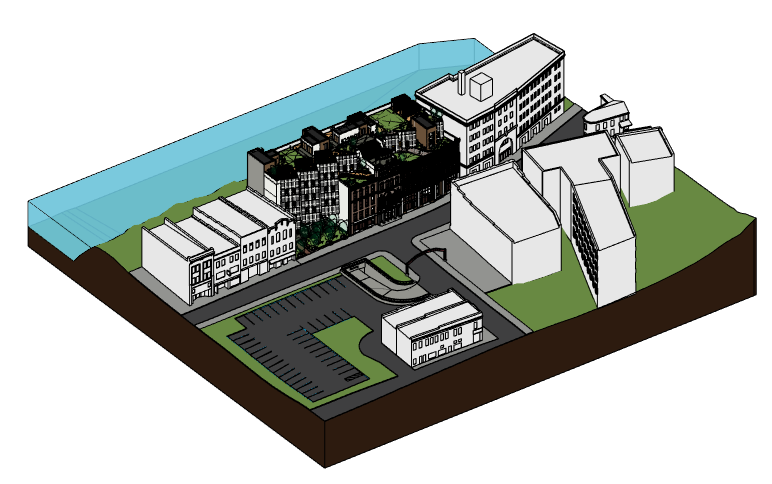
4. You can now customize your new named 3D view.
Conclusion
Even though you may be working in 2D most of the time, Revit is a 3D application. Having saved named 3D views can be useful for checking your model and design, and for creating renders.
Still got Questions?
Book Training
Our Revit courses cover everything from the skills required to use the software, to design and share information between project teams, through to creating custom family elements.
Contact Us
We are here to ensure you receive a consistently high service and quality solutions for your business needs. We promise you won’t regret speaking to us, and if we can’t help you, we will try to find someone that can.