
Using the Enscape plugin for Autodesk Revit, I will show you in 5 simple steps how to create a basic flythough video animation you can save and share.
Here we go, 5 steps to create a Revit Enscape flythrough animation…
Step 1 – In Enscape Open the Video Editor:
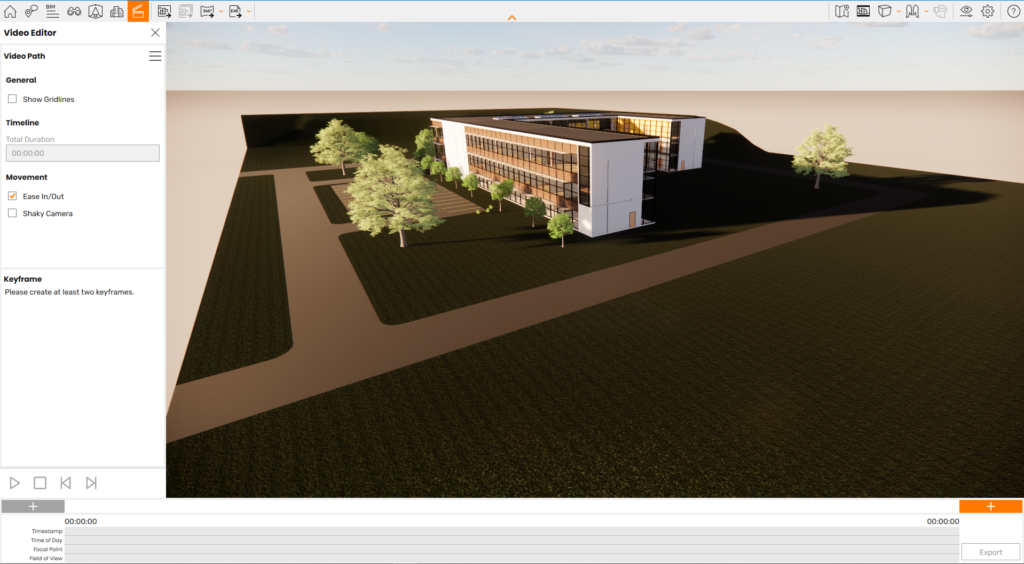
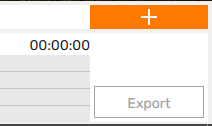
Step 2 – Position yourself and Click the Add Keyframe Button:
Step 3 – Move to your next Postion and Add Second Keyframe:

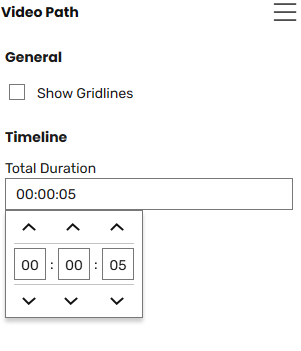
Step 4 – Customise the Time it takes to Move to the Keyframe:
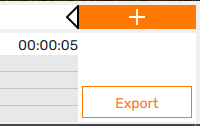
Step 5 – Click the Export Button when you have Added all the Required Keyframes to Save:
And its as easy as that, with a bit of time adding keyframes to smooth out the path and adjusting the time to get the speed and feel right you can easily create and export video flythroughs in Revit using Enscape.
Still got Questions?
Book Training
Our Revit courses cover everything from the skills required to use the software, to design and share information between project teams, through to creating custom family elements.
Contact Us
We are here to ensure you receive a consistently high service and quality solutions for your business needs. We promise you won’t regret speaking to us, and if we can’t help you, we will try to find someone that can.