
**Please note, as of 24th March 2026, Autodesk Forma has been rebranded to Forma Site Design.**
Autodesk Forma is a conceptual design application which allows you to quickly get the shape and design of a new building together, which can then be imported into Autodesk Revit for further development and detailing.
One of the core tools you will need to use is the geometry tool. In this blog we will take a quick look at how to add some simple geometry and how to add levels/floors to the design.
Adding Generic Geometry
Firstly, once inside Forma, head over to the Generic tools as shown in the below image.
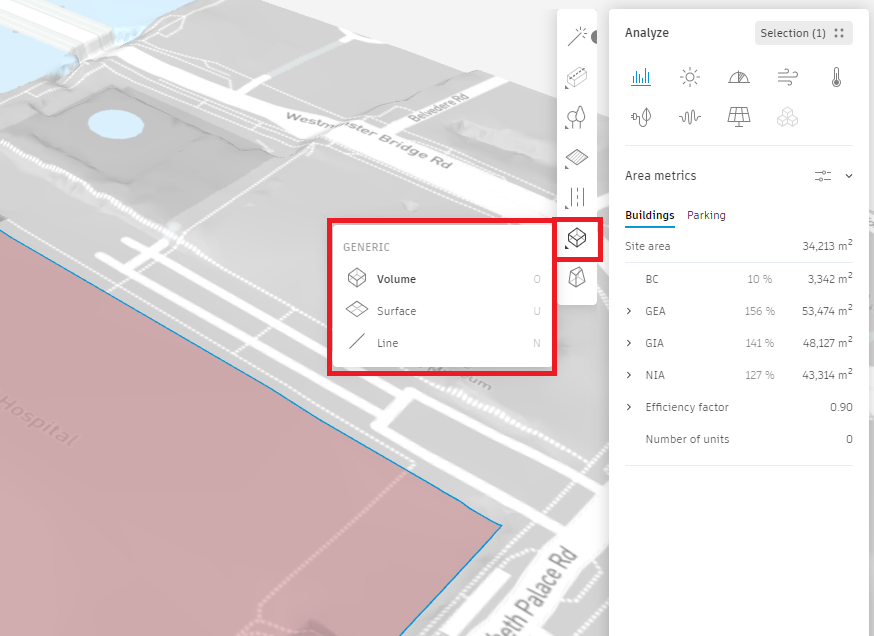
We have 3 options, however it is the Volume tool which we are interested in for now.
With the Volume tool selected we get a new tool bar. This time we have 4 options:
- Freeform
- Cube
- Cylinder
- Trace Existing Shape
For this example we will take a look at the Freeform tool. With the Freeform tool selected, we can now draw the boundary line for the geometry by clicking two points on the map.
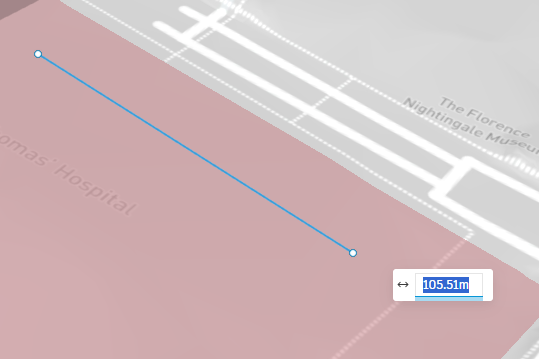
Forma will now allow you to draw a chain of lines for the boundary of the geometry, which will require a minimum of 3 points.
Forma will also allow you to work precisely by using the value box, as seen in the above image, to specify any specific values. Once happy with the footprint, press the return key on your keyboard.
After pressing return, we can now work on the height of the geometry. Again, you can manually click a point or enter a specific value.
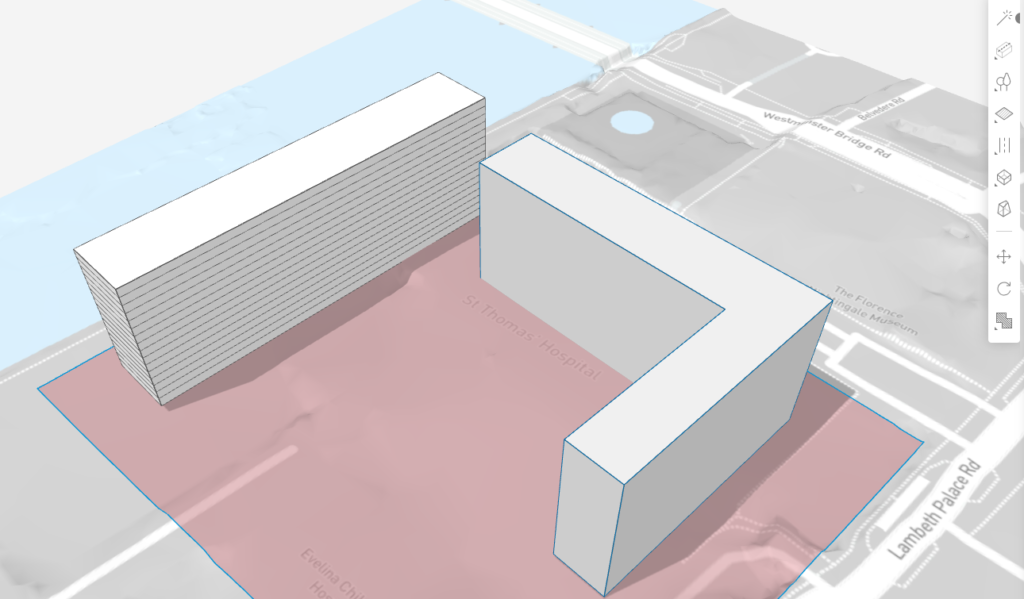
At this point, we should now have a simple geometry to work with.
Adding Floors To Geometry
Once the geometry is complete and we are happy with it, we can start adding floors to the concept building ready for exporting to Revit.
We can do a fair bit of customisation with floors, such as adding layouts, but for this example we will simply add some floors.
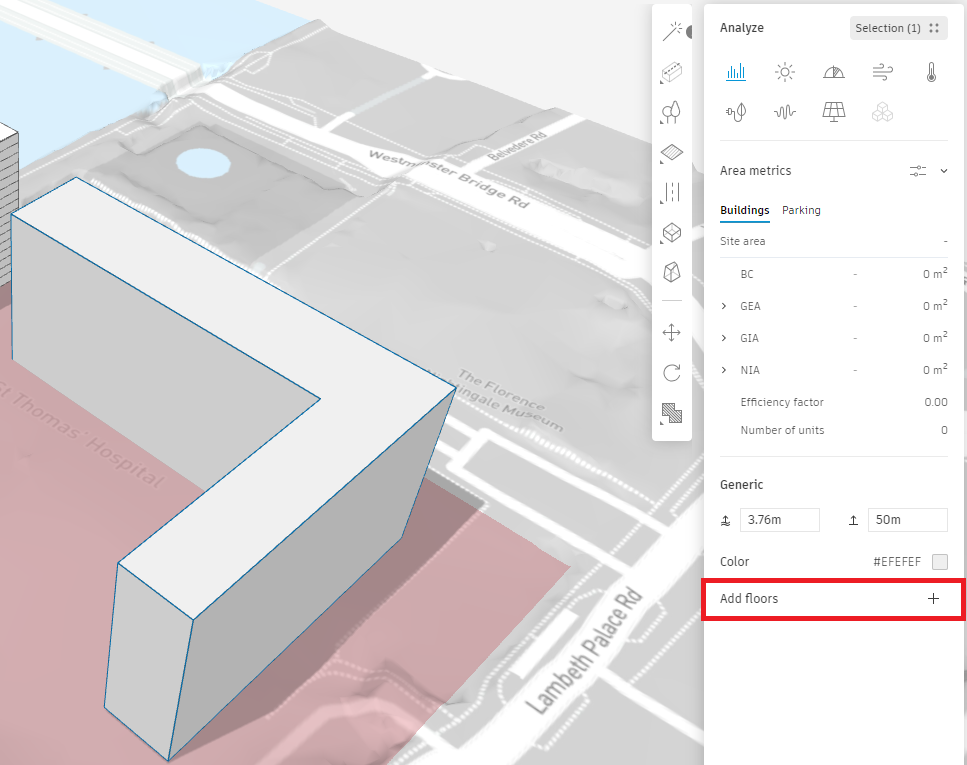
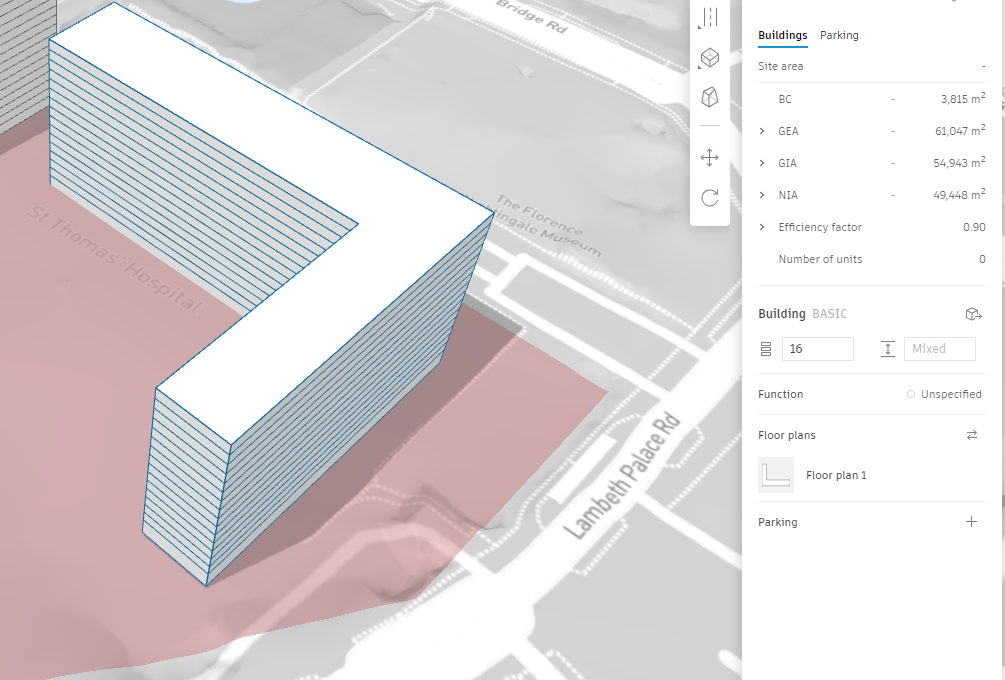
Firstly, left click and select the geometry you have created. On the Analyse tool bar on the right, you will find the button Add Floors as per the image below. Simply click the ‘+’ button next to Add Floors and Forma will divide the geometry up into floors.
With the floors now added, should you wish to customise the number of floors or the story height of the floors, you can do so on the Analyse tool bar.
Conclusion
Congratulations we have added our custom geometry and divided it up into floors. Further work can be done within Forma, and a 2 way relationship can be established with Revit, so that you can work in both applications to develop your models.
Still got Questions?
Buy Collection
The Autodesk AEC Collection offers a comprehensive set of tools designed to support your project needs no matter how complex. When great minds have great tools they can accomplish great things!
Contact Us
We are here to ensure you receive a consistently high service and quality solutions for your business needs. We promise you won’t regret speaking to us, and if we can’t help you, we will try to find someone that can.