
Issue
You want to create multiple layer state ‘themes’ that have different properties from the default layer properties, you want to be able to revert backward to the default properties and return to the custom themed properties quickly with one click.
Solution
It is possible, using the layer states manager, to create multiple layer states and save them to refer back to on the model or even in different viewports, this enables you to change the visibility and colour states of groups of layers and re-call the states as and when you need.
The procedure is described in the example.
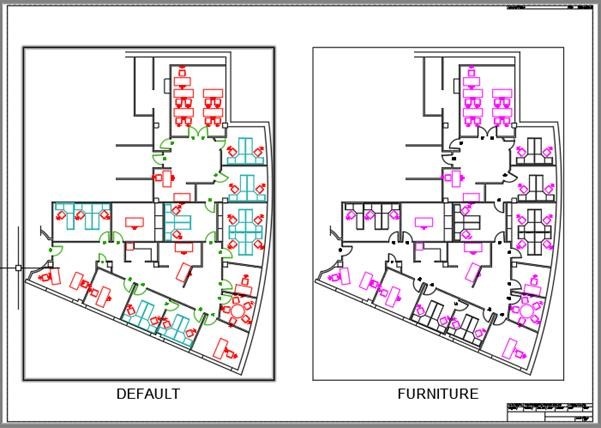
Starting situation: All layers are turned on. The drawing contains an office floor plan with furniture.
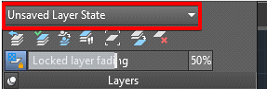
Note: The Layer Status Manager can be called up in the Home Tab in the Layer Panel.
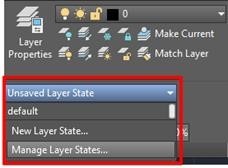
The command can also be called up with the following possibilities.
Multi-function bar: Tab Home > Panel Layer > Layer Properties Manager > Button ![]()
Multi-function bar: Tab View > Panel Palettes > Layer Properties Manager > Button ![]()
Command: LAYERSTATE
Example:
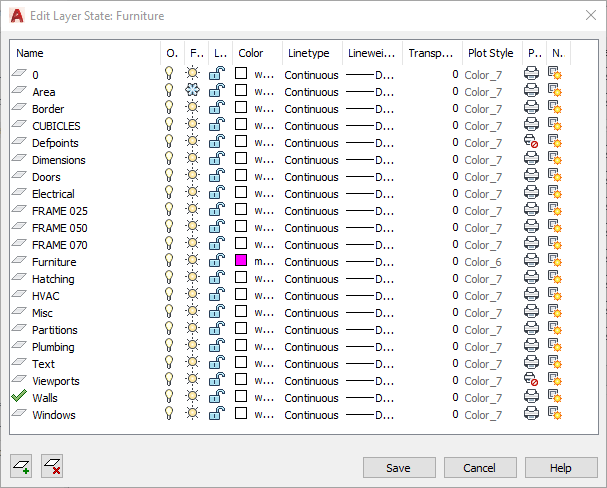
Once the command has been called you are confronted with a dialogue box that will allow you to create new layer states and edit the visual style of these states using certain themes. In my example I have a ‘Default’ layer state and a ‘Furniture’ layer state.
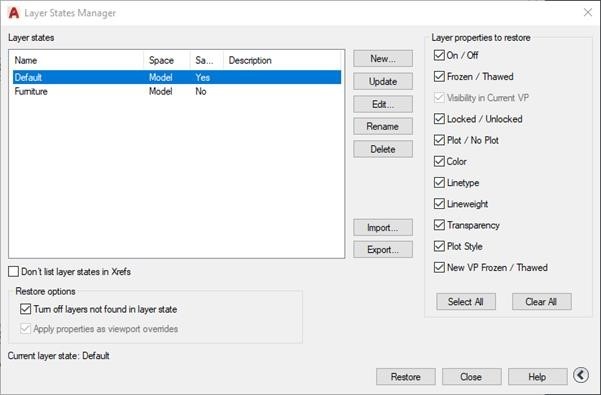
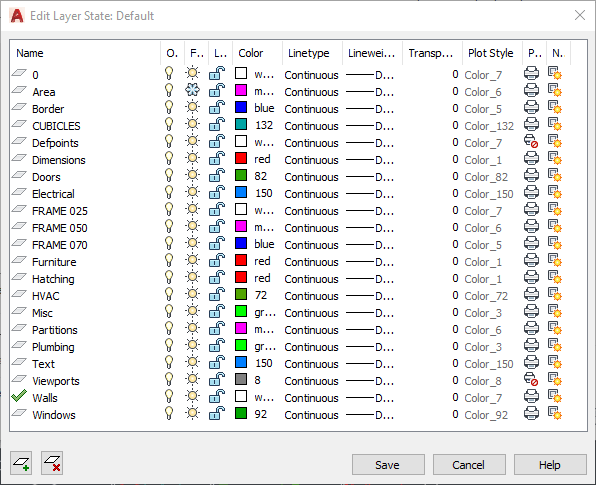
The ‘Default’ layer state keeps all the layer settings as they are originally.
The ‘Furniture’ layer state sets the colour of every layer to white/black except for the furniture layer which is set to Magenta.
You can see the results in the two viewport below.
Conclusion
You can use layer states to create visual themes to switch between either in your model for presentations or in viewports to change the appearance of drawings.
Still got Questions?
Book Training
With our range of AutoCAD courses we can teach you best-in-class 2D and 3D design skills. This includes drawing, taking measurements, producing templates and everything required to create your designs.
Contact Us
We are here to ensure you receive a consistently high service and quality solutions for your business needs. We promise you won’t regret speaking to us, and if we can’t help you, we will try to find someone that can.