
Being able to properly rotate your view in Autodesk Inventor is paramount to working efficiently. In this lightning-blog, we will explore the different ways of achieving this without a 3D mouse.
Cheat-Sheet
- Freeform camera rotation: quickest method
- Hold Shift + Middle Mouse Button > Drag mouse
- Orbit: slower, more precise
- Hold F4 > Click and drag mouse inside and around the orbit circle
- View Tab > Orbit > Click and drag mouse inside and around the orbit circle
- ViewCube: one-handed convenience.
- Click on faces, edges or corners of the cube
- Click and drag on the cube
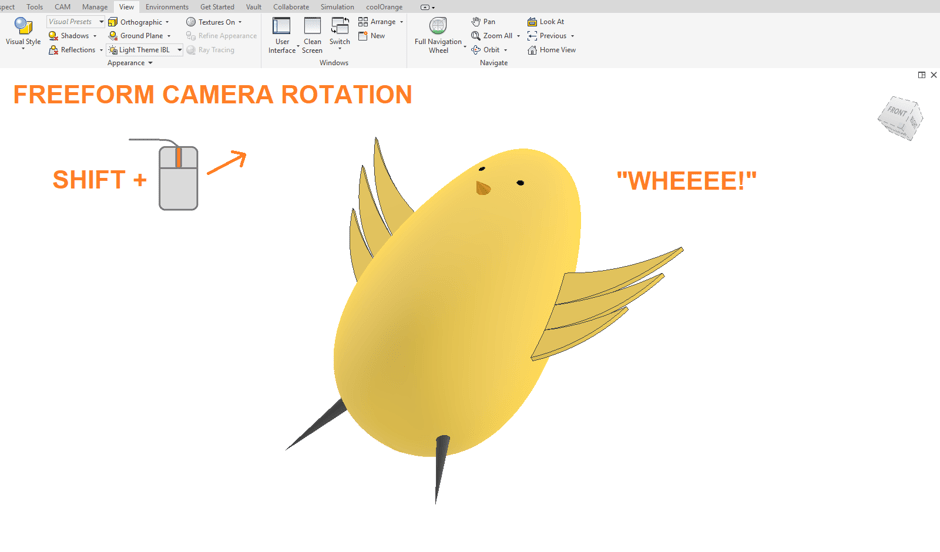
Method 1: Freeform camera rotation
The quickest and easiest way to rotate the camera is to simply hold Shift and the Middle Mouse (Mouse-Wheel) Button and dragging the mouse. This rotation is in a freeform manner.
Method 2: Orbit
The orbit tool provides a slower but more precise way of rotating your part.
- Clicking within the circle and dragging with the
mouse will rotate the part in a freeform manner. - Clicking along the rim of the circle and
dragging the mouse will rotate the current view clockwise/anticlockwise. - Clicking the vertical axis outside of the circle
and dragging the mouse will tip the model towards or away from you. - Clicking the horizonal axis outside of the
circle and dragging the mouse rotate the part to the left or right.
The orbit tool is particularly useful for lining up perfect screenshots.

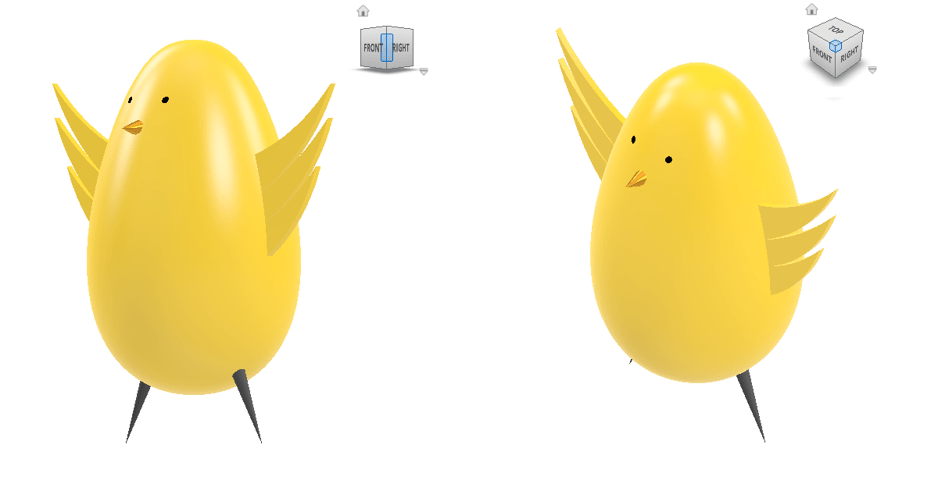
Method 3: ViewCube
The ViewCube is an interactive object that exists at the top-right of the graphics window. The orientation of the cube reflects the orientation of the camera with respect to the part’s front/top/side. Aside from keeping your bearings, the ViewCube can manipulate the camera in two ways:
- Clicking on the ViewCube’s faces, edges or
corners will reposition the camera to look at that face/edge/corner. - Clicking on the ViewCube and dragging the mouse
allows for freeform rotation.
The ViewCube is particularly useful for positioning screenshots, and for quickly assessing the alignment of features and parts.

Conclusions
We have explored various methods of controlling the camera’s rotation in Autodesk Inventor. While some may swear by the use of 3D mice, enough practice with the mouse and keyboard will have you as fast as the best of them.
If you’d like to learn more Inventor tips and tricks, check out our channel on Youtube! Link below!
https://www.youtube.com/channel/UCSzzWW_Lkw7Am4ikTouURHw
Still got Questions?
Book Training
Our range of Autodesk Inventor training courses will teach you how to create production-ready parts and assemblies through hands-on learning experience. Make sure you contact us to find out which course is best for you.
Contact Us
We are here to ensure you receive a consistently high service and quality solutions for your business needs. We promise you won’t regret speaking to us, and if we can’t help you, we will try to find someone that can.