In this blog I will show you how to upgrade your Autodesk software to 2019, this includes the likes of AutoCAD, Revit, Inventor etc. and although this guide is for the release of 2019, the steps are pretty much the same for any version.
Every year around March Autodesk release their latest instalments of their software solutions. Most people like to be working on the latest version but there is often confusion on how to upgrade your software and what happens to the existing software already installed.
What to know before you upgrade
There are a couple of pointers I want to mention before you upgrade to 2019:
• Upgrading to 2019 won’t remove your 2018 software, you will still have access to this.
• Likewise if you want to remove older versions use the Autodesk Uninstall Tool on your computer.
• Revit & Inventor files are forwards compatible only, once you open a project in 2019 it can’t be used in earlier versions.
• If you are on subscription you are entitled to the latest release plus the previous three releases too.
• If you have a network license you will need to update this separately before your software will work.
How to upgrade to 2019
There are two ways in which you can upgrade your Autodesk software, using the “Autodesk Desktop APP” or by signing into the Autodesk website. I will break this guide down to show you how to do both.
Upgrade via the Autodesk Desktop APP
Using the Autodesk Desktop App is by far the simpler of the two options. If you already have Autodesk software installed then the Autodesk Desktop App will already be on your computer.
1. Open the Autodesk Desktop App, if you don’t have a shortcut just search for it in the start menu.
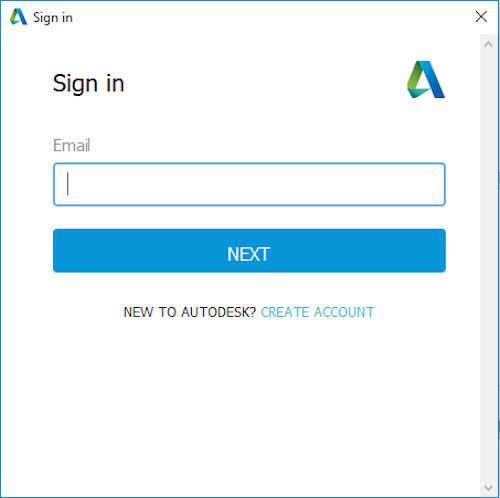
2. Sign into the Autodesk Desktop App with your Autodesk ID
3. In the Autodesk Desktop App menu on the left click the top button for “My Products and Tools”
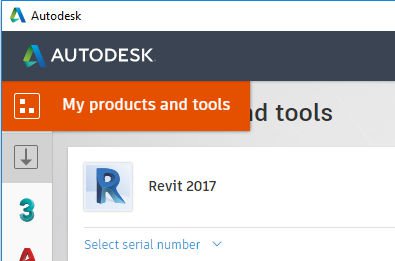
4. Find your software on the page and tick the box for “I agree to the Terms and Conditions” and then click install

This will start downloading your software and will open the installation window once complete. You can then install the latest release of your Autodesk software as normal.
Upgrade Via the Autodesk website
There is a few more clicks involved when installing via the Autodesk website but there are more options if you are having issues installing.
1. Go to http://accounts.autodesk.com and sign in with your Autodesk ID
2. Once signed in click “MANAGEMENT” at the top of the screen

3. Find your software in the list on the screen and click the download button on the right

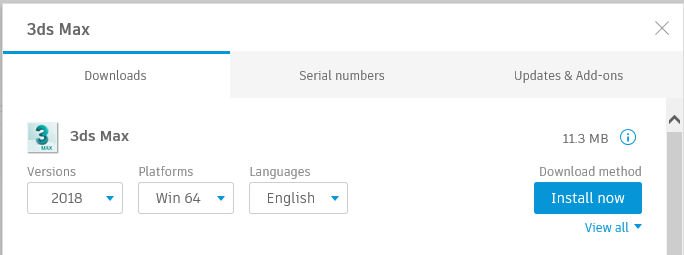
4. In the next window customise your install by making sure you have the right Version, platform and language selected. You can then click “Install Now” to start the download and install or for more options click “View All”
Conclusion
Upgrading your Autodesk software to the latest release is a very simple process these days and can be done in a few clicks. In most cases this should be all you need to do, however should you have issues, installing via the Autodesk website does give you more control.
If you struggle to upgrade and license your Autodesk software or if you are receiving an error please feel free to get in touch with Man and Machine for assistance.