Adding materials to objects in Revit can be frustrating if you don’t fully understand the process and settings involved in their creation.
There is a Built in Revit library of materials readily available, but these may not offer an extensive enough range of materials to meet your requirements.
Below I will explain how to create your own Revit Materials to set you on your way to getting the very best output from your renders.
How to create a material
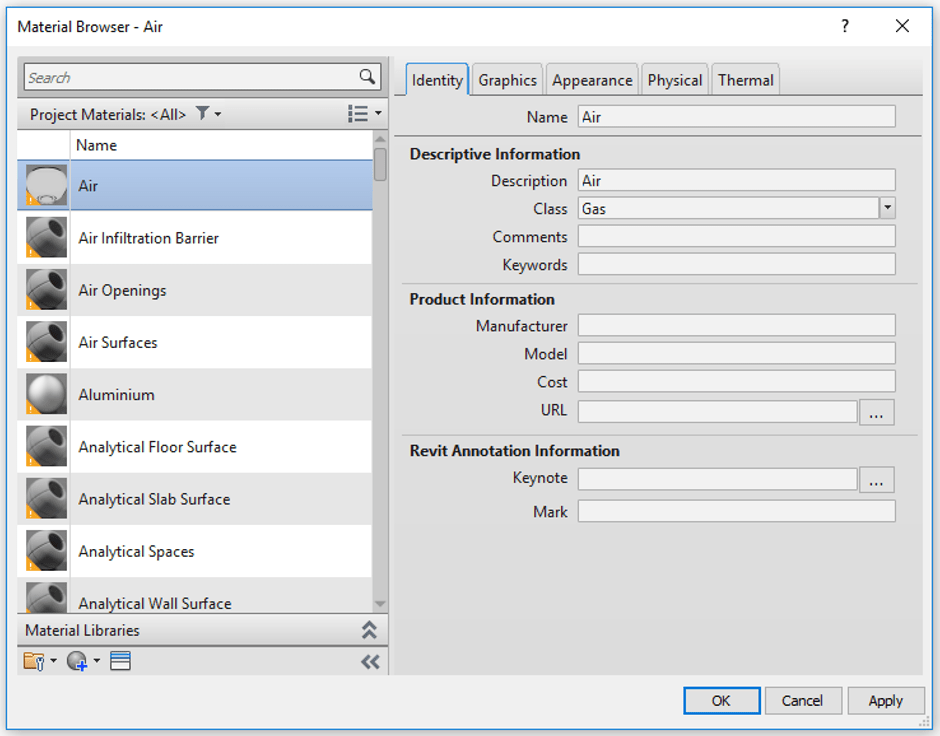
To access the available materials within your project go to the Manage Tab within Revit and select the Materials Button on the Left side of the settings panel.

This will open up a dialogue box into the Material Browser with a list of available materials on the left and associated properties for the selected material displayed on the right via the material editor.
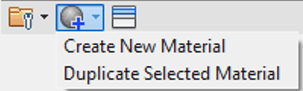
You have the option of creating a material from new or from a duplicate using the ![]() button.
button.
Create a material from new
To create a new material from scratch, select the Create New Material option.

A new material will be added to your project library as a Default New Material. you can then right click to see the shortcut menu where you can modify the material name as well as carry out some additional actions.
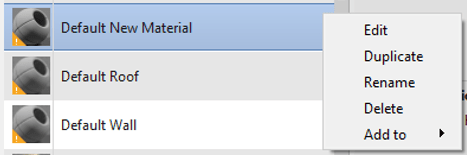
Rename the material to suit its purpose then make amendments to the Asset material properties via the material editor asset tabs where you can add information for Identity, graphics and the material appearance.
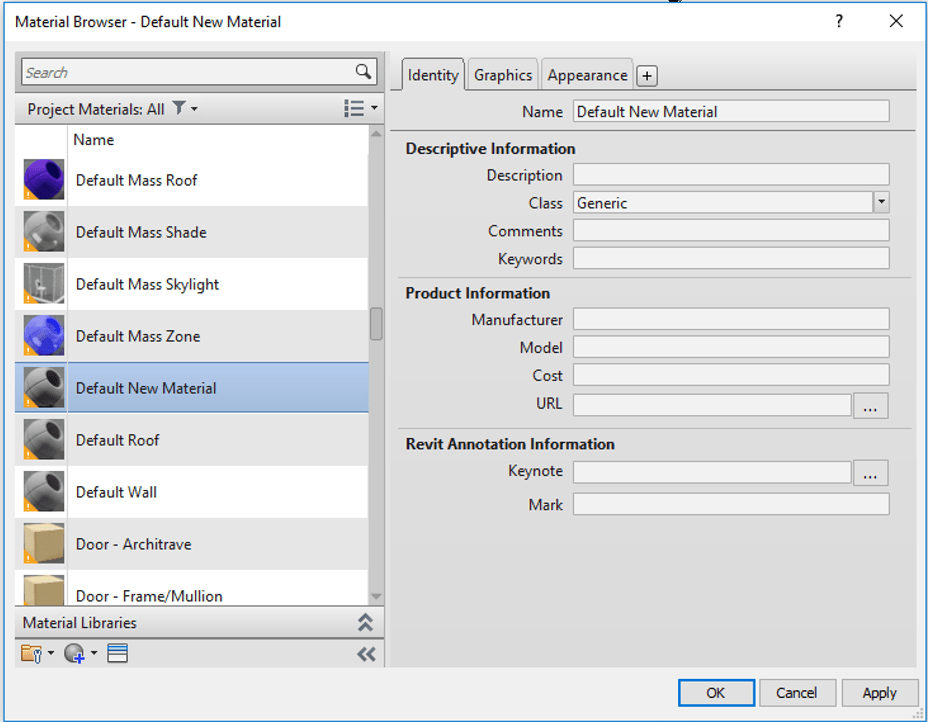
Add additional assets to materials for physical and thermal properties by using the plus sign next to the appearance tab.
By default the class for the new material is set to Generic.
Create a material from duplicate
There are 2 ways to duplicate a material within Revit.
Select an existing material that closely matches the material you want to create from within the project materials list. Right click to reveal shortcut menu.
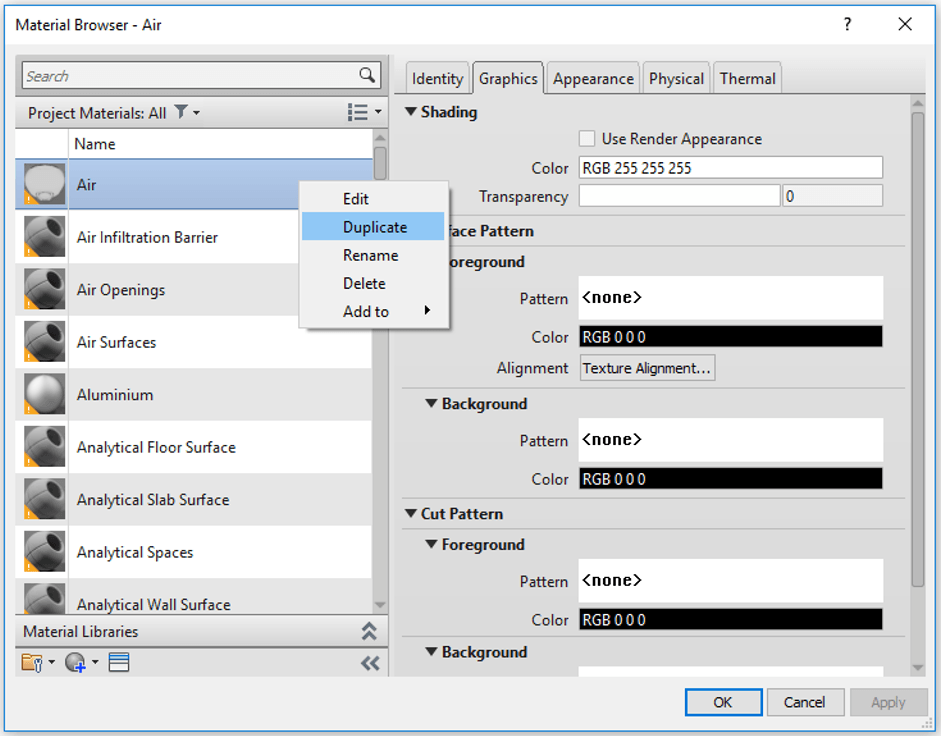
Select an existing material from the project list and then click on the ![]() button and click on the Duplicate Selected Material option.
button and click on the Duplicate Selected Material option.
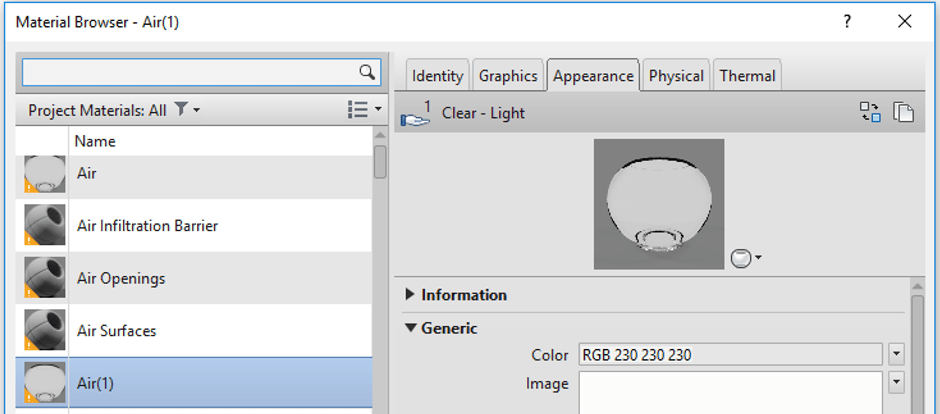
Once duplicated, you will notice that a copy of the existing material will be created with a number in brackets which will help you to identify the duplicate.

Properties and Asset information and Class will be duplicated from the source material. You can see how many Assets are shared via the appearance tab in the Material editor.
To disassociate the Asset information from the source material you will need to replace or duplicate the Asset so any changes can be made independently and not affect the source material.
To Replace Asset information click on the ![]() button which will allow you to select a new Asset for the material (for more information, see Materials Asset Browser).
button which will allow you to select a new Asset for the material (for more information, see Materials Asset Browser).
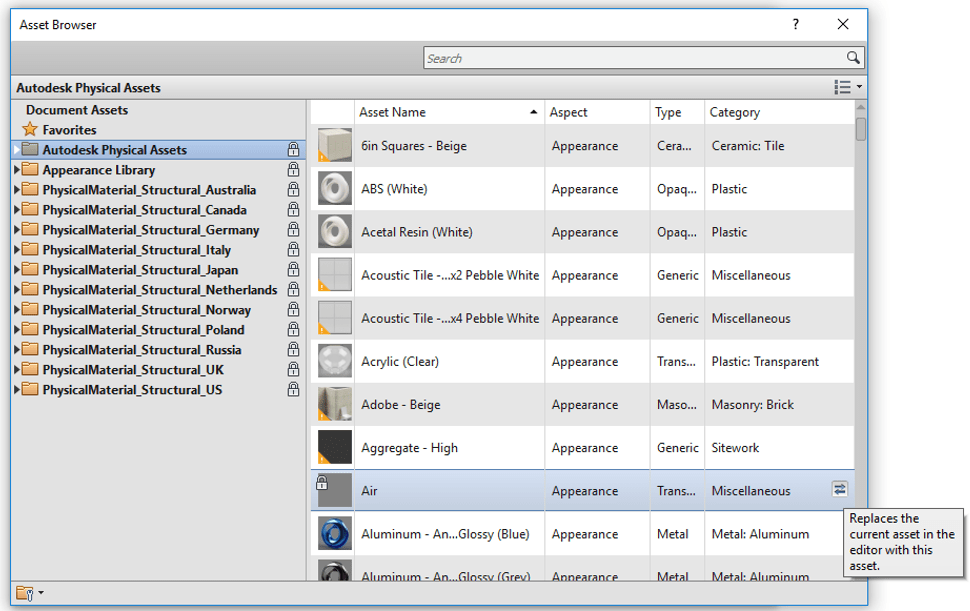
Select an Asset from the list to replace the current asset. Use the ![]() button to the right of the asset name to replace the existing asset information. Once selected close the asset browser to see the new asset information.
button to the right of the asset name to replace the existing asset information. Once selected close the asset browser to see the new asset information.

The number next to the ![]() icon indicates the number of materials that share this asset.
icon indicates the number of materials that share this asset.
To Duplicate the asset click on the ![]() button which will create a copy of the asset and add an incremental number in brackets to help identify the duplicate.
button which will create a copy of the asset and add an incremental number in brackets to help identify the duplicate.

You can then make any necessary amendments to the Material information to help add definition to it via the different Asset tabs.
For more information on this blog post or if you have any other questions/requirements, please complete the below form:
Related Links
Autodesk Revit – Autodesk Platinum Partner | Man and Machine
Revit Training Courses – BIM Modelling Skills | Man and Machine
Autodesk AEC Collection – Platinum Partners | Man and Machine