
**Please note, as of 24th March 2026, the Autodesk Construction Cloud has joined the Forma industry cloud and has been rebranded as Forma. Find out more details here.**
In construction projects, you capture hundreds or thousands of photos every week; site progress, HVAC ducts, rebar, finishes, safety checkpoints etc. Within Autodesk Build (part of the Autodesk Construction Cloud) the Photos tool gives you far more than just storage. When used properly, tags turn your photo library from a wild dump of images into a searchable, organised asset.
In this blog I will walk you through what photo tags are in Autodesk Build, why you should use them, how to set them up (manual and automatic), and best practices for making tagging work well on a construction project.
What are Photo Tags in Autodesk Build?
In Autodesk Build’s Photos tool, a tag is simply a metadata label you assign to a photo (or the system adds automatically) so you can categorise and later filter/search for that image.
There are two types of tags in this tool:
- Manual Tags: you (or someone on your team) creates tags.
- Autotags: Autodesk’s machine-learning engine scans a photo and applies tags automatically, recognising items like ‘ductwork’, ‘rebar’, ‘metal framing’ etc.
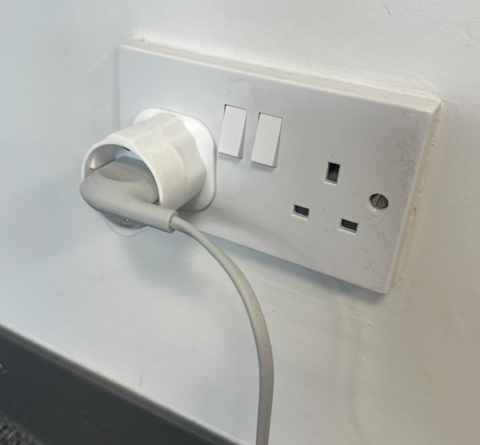
For example, when you upload a photo of a site showing exposed rebar and formwork, the system might apply the following tags; Rebar, Formwork, Concrete and Structure. That means later you can filter your photo gallery to just show ‘Rebar’ photos across the project.
Why Use Tags for Photos?
Here are some of the key benefits when you apply tagging thoughtfully:
- Rapid Retrieval: Instead of scrolling through thousands of photos trying to find the one showing ‘floor finishes’ or ‘duct hanger installation, you simply filter by those tags.
- Context and Clarity: Tags add context; what the photo shows (ductwork, formwork), where it is (level 02), which discipline (MEP), or status (installed, inspected). This help the field, QA/QC and hand-over teams.
- Better Analytics and Reporting: A properly tagged photo library enables you to answer questions like ‘How many images of fire-protection sprinklers do we have?’ or ‘Find all photos of structural steel on building A, level 04’.
- Leveraging AI: Auto-tagging reduces manual effort and ensure consistency; you don’t have to rely solely on users remembering to apply tags.
How to Work with Tags in the Photos Tool
- In Autodesk Build, open a project you are working with and click on Photos tool on the left of your screen.

Adding/Removing Tags (Manual)
- On web or mobile, select the photo you want to tag.
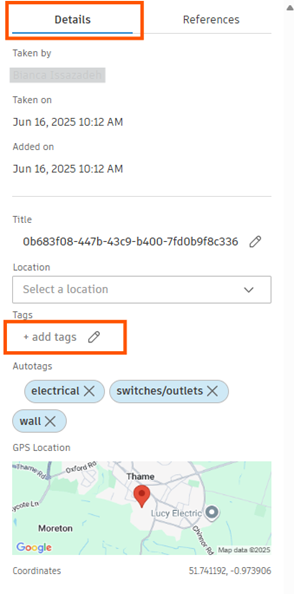
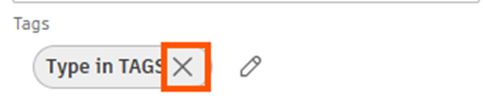
- In the details tab, look for ‘Tags’ and click the pencil (edit) icon.
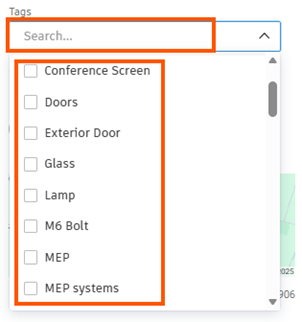
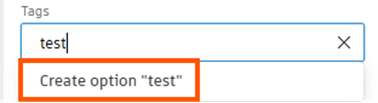
- To add a tag, type the tag name, press enter or click ‘Create option ‘test”, or select from the dropdown. The tags seen in the dropdown will have been recorded from the previously created tags.
- To remove a tag, click the ‘x’ on the tag.
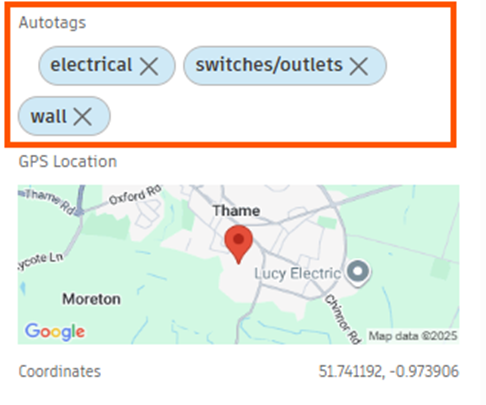
Autotags (Automatic Tagging)
- The system automatically recognises elements in photos and adds relevant tags. For instance ‘electrical’, ‘switches/outlets’, ‘wall’.
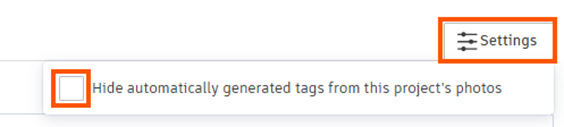
- If you don’t want autotags, you can disable them in the photo gallery settings in the top right of the screen.
Filtering and Searching by Tags
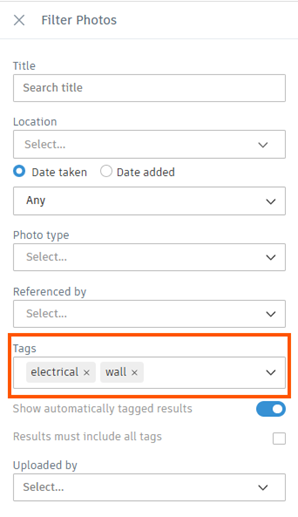
- Use the Filter icon (top right of the screen) in the Photos gallery. Filter by tag(s) to narrow down your results.
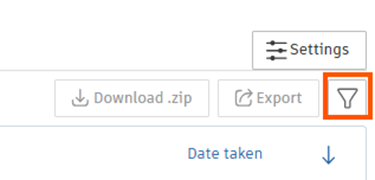
- You can combine multiple tags. For example, filter: electrical & wall.
Using tags within the Photos tool in Autodesk Build transforms a sprawling photo gallery into a searchable, organised and efficient resource. Whether you’re doing construction progress monitoring, QA/inspections, payment verification, or hand-over documentation, the ability to filter quickly by meaningful tags gives you a major productivity boost.
Start with a structure approach. Define your tag taxonomy, use autotags and manual tags, use filters regularly, training your users and govern your tag list. The payoff is faster photo retrieval, better data quality and smoother workflows.
Still got Questions?
Book Training
We have developed a robust set of onboarding and deployment services to ensure best-in-class implementation of Autodesk Forma (formerly the Autodesk Construction Cloud)
Contact Us
We are here to ensure you receive a consistently high service and quality solutions for your business needs. We promise you won’t regret speaking to us, and if we can’t help you, we will try to find someone that can.