Did you know you can customise the Revit project browser? You can re-organise many aspects of it and also use filters to choose what you can see and what to hide.
5 Steps to Customising the Revit Project Browser
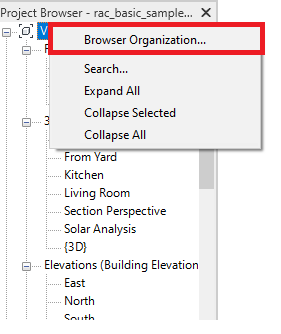
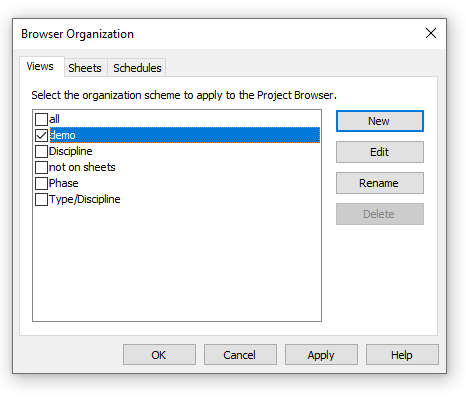
Step 1: Right click inside the project browser and select “Browser Organisation…”
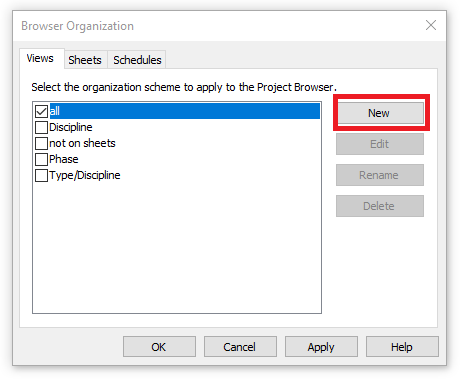
Step 2: Choose what you want to customise using the tabs and click “New” and give it a name.
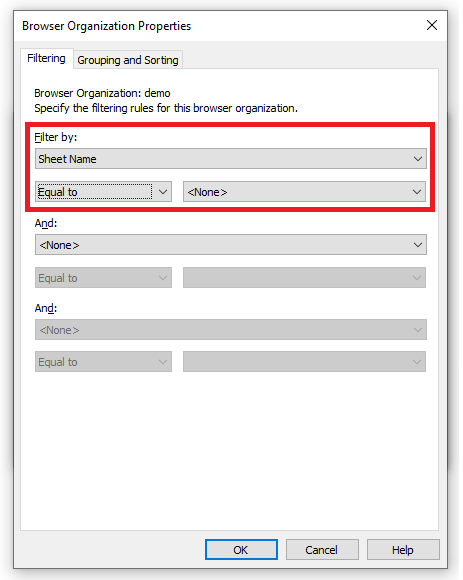
Step 3: Use the filters to customise what views to show or not show.
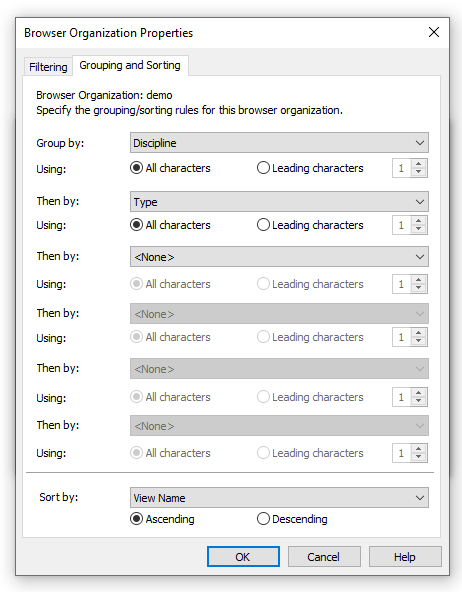
Step 4: Choose how you want your views to be grouped and organised.
Step 5: Click OK and check your new scheme, again clicking OK.
Congratulations, you have now customised the views in your project browser.
Summary
You will most likley want to customise the project browser to some extent, removing used views and arranging them to your workflows. You can even go a step further, creating your own custom view parameters and then using that, maybe by planning stages or based on an internal code.
For more information on this blog post or if you have any other questions/requirements, please complete the below form:
Related Links
Autodesk Revit – Autodesk Platinum Partner | Man and Machine
Revit Training Courses – BIM Modelling Skills | Man and Machine
Revit Architecture Training – Platinum Partner | Man and Machine
Autodesk AEC Collection – Platinum Partners | Man and Machine