
Autodesk have started rolling out a new method of creating deployments through the Autodesk account, which gives users the ability to create the deployment with all its settings right in the account without having to install anything first.
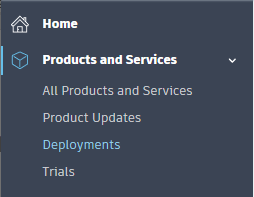
While this may not be available for every product yet, there are a substantial number of products this is available for. To get to this you will need to be signed into your Autodesk account on manage.autodesk.com, under Products and Services>Deployments.
You will first be met with the Add Product tab, where you will be given the following options:
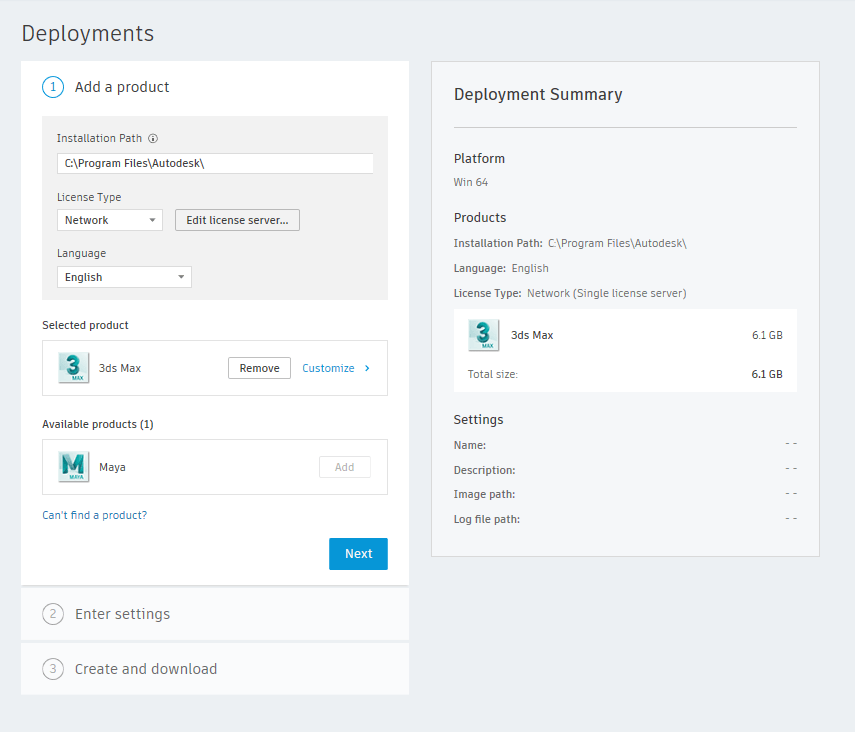
Installation Path is where the files will install on the user’s computer, this is usually set to C:\Program Files\Autodesk
License Type allows you to choose between Network License or Serial Number.
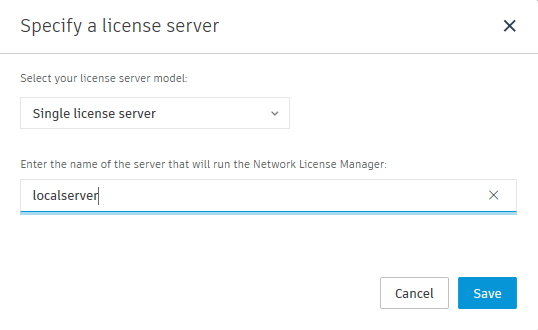
Please choose Network License if you are using a multi-user license, this will then ask you to Edit License Server… where you can enter the server details.
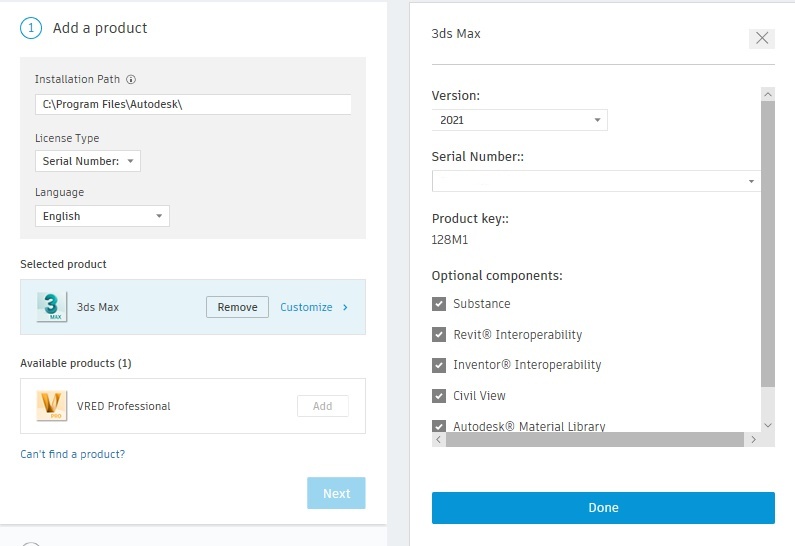
If you are using a Single User License, you can select the Serial number and version under Customize.
Once you are happy with these settings you can select Next.
You will then be taken to the Enter Settings tab, and given the following options:
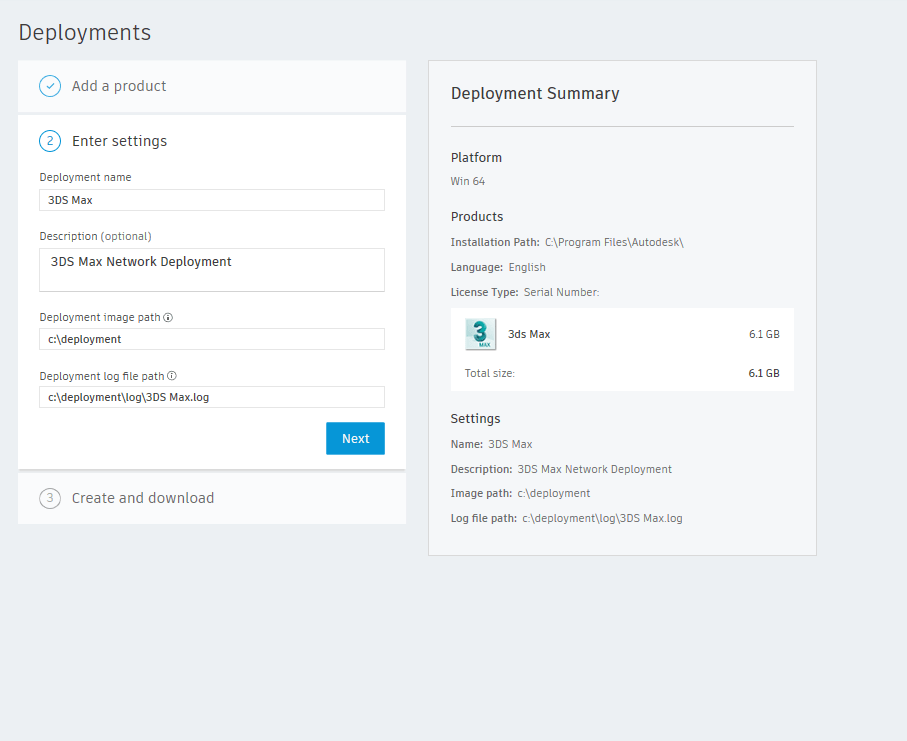
Deployment Name where you will give the deployment a name which will help your users identify the deployment to run.
Description allows you to enter a description of the deployment.
Deployment Path will be where the deployment is kept, this is usually a shared location on a network drive that all the users will have access to.
Deployment Log File Path auto fills when you select the Deployment Path, but if you wanted to change the location of the Deployment Log File you can do it here. The Deployment Log File will keep a log of all the installations to occur from this deployment.
Once you have filled these in, you can select Next, which will allow you to Create and download the deployment, this will run through on it’s own.
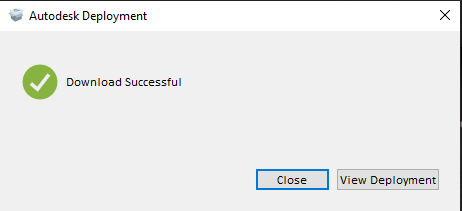
Once this has downloaded you can View Deployment which will take you to the location of the deployment.
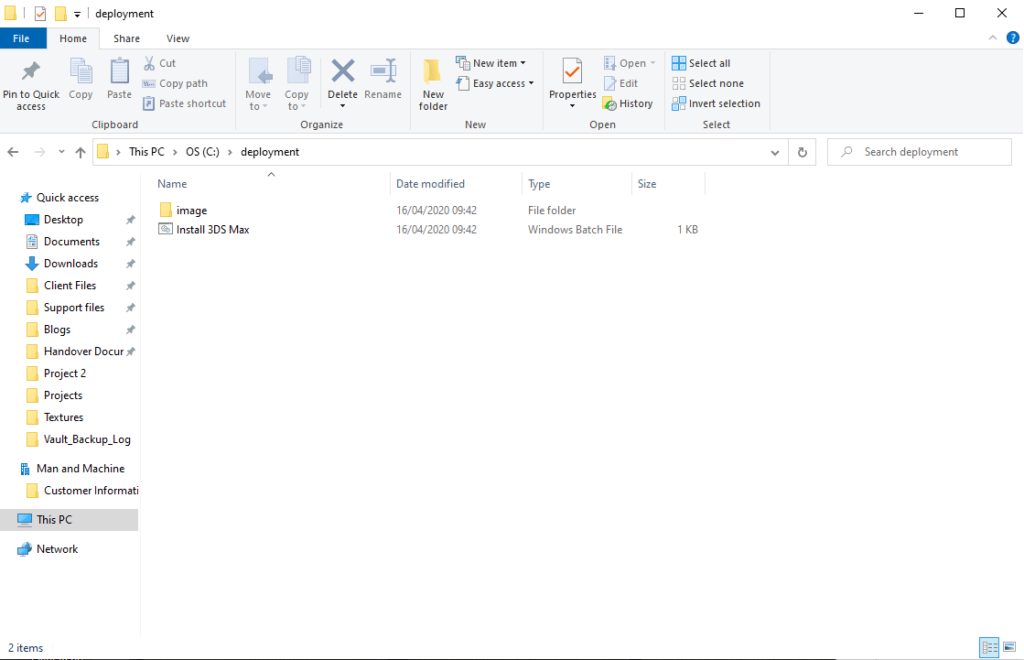
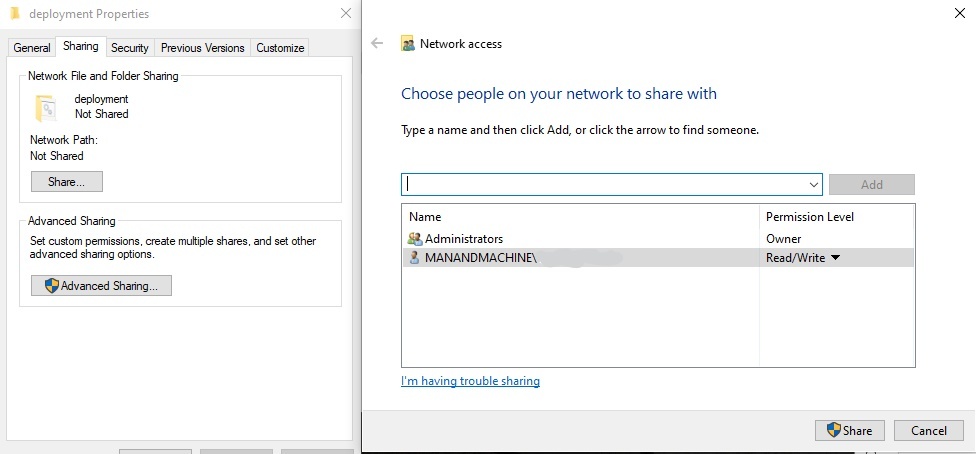
You can ensure that the location is a shared location by right clicking on the “Deployment” folder, selecting Properties, and within the Sharing tab select Share… This will give you the sharing options and administration. If this is in a shared folder this should already be set up.
Now all that is left to do is install the software on the computers, all the users will need to do is click on the Install<product> within the deployment location, and Autodesk will continue running through the process in the background silently.
Once the install has completed, your users will be able to open the software from the designated locations and run it on the license assigned.
Still got Questions?
Buy Software
Autodesk is a global leader in software for architects, builders, engineers, designers, manufacturers, 3D artists and production teams. Contact us now to find out which software is right for you.
Contact Us
We are here to ensure you receive a consistently high service and quality solutions for your business needs. We promise you won’t regret speaking to us, and if we can’t help you, we will try to find someone that can.