
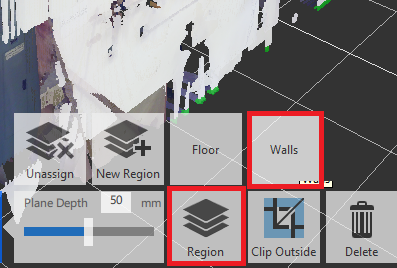
In Autodesk ReCap we can specify layers, or Plan Regions as they are called in ReCap, for the points we have such as walls, floors and ceilings. By separating the points on these layers, you can start to add some simple intelligence to what otherwise is just a bunch of points.
This is a fairly simple process, so we will quickly show you how to do this. We will cover what you can do with Plan Regions once created, in a separate post.
Creating Scan Regions in ReCap
Step by Step Guide
Step 1
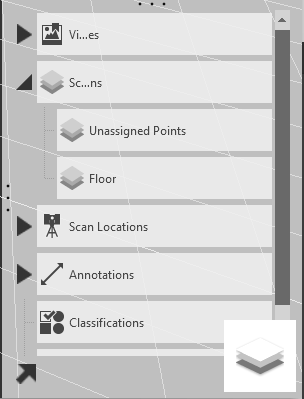
Go to the Project
Navigator
Step 2
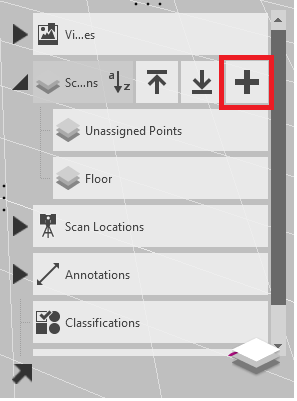
Go to Scan Regions >
Plus Icon
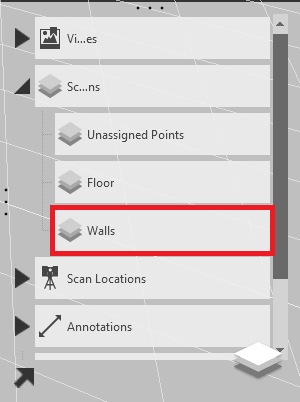
Step 3
Name the new Scan
Region
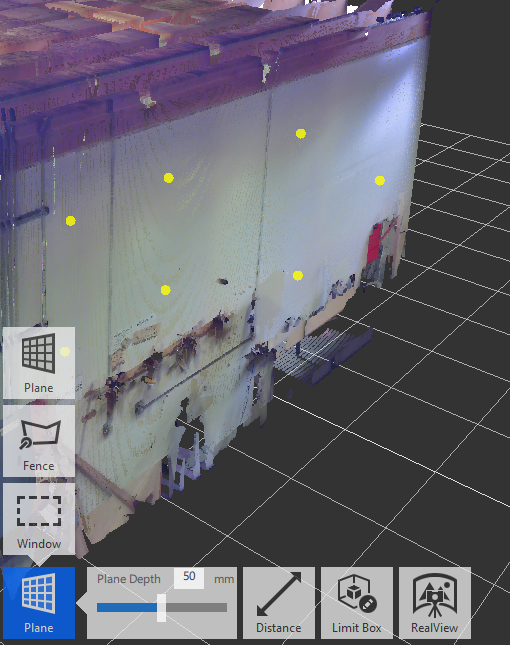
Step 4
Use the Selection Tools to select some Points
Step 5
Add Points to the Scan Region
Conclusion
Congratulations, all you need to do now is divide up the rest of the points into layers, where we can start turning them off and on, and export to other applications.
Pro-tip: Don’t delete any points. Create a layer called ‘Trash’ and turn it off. This way you can recover any points if needed.
Still got Questions?
Buy ReCap
Autodesk ReCap Pro is a reality capture and 3D scanning software that allows you to transform the physical to the digital. It helps designers capture high quality, detailed models of real-world assets.
Contact Us
We are here to ensure you receive a consistently high service and quality solutions for your business needs. We promise you won’t regret speaking to us, and if we can’t help you, we will try to find someone that can.