


Autodesk Inventor’s Bill of Materials isn’t just a table of parts, it’s a decision point that shapes how your model behaves downstream. Choosing the right BOM type determines how your assembly is interpreted, counted and ultimately built. In this blog, we’ll break down the three BOM types in Autodesk inventor, why they exist, and how each one influences your workflow.
Where to Find Our Bill of Materials
Bill of Materials can be found in the assemble table in the manage panel.
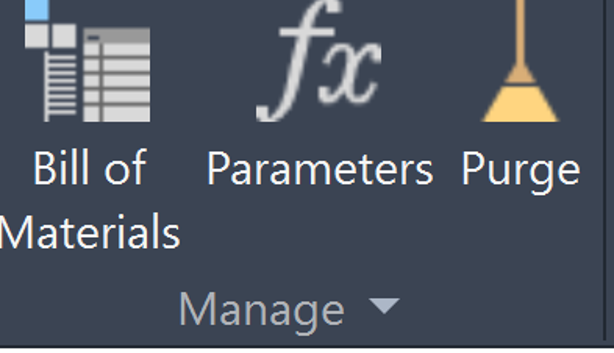
The BOM Menu
Autodesk Inventor gives you three BOM views, each showing your assembly in a different way – Model Data, Structured and Parts Only.
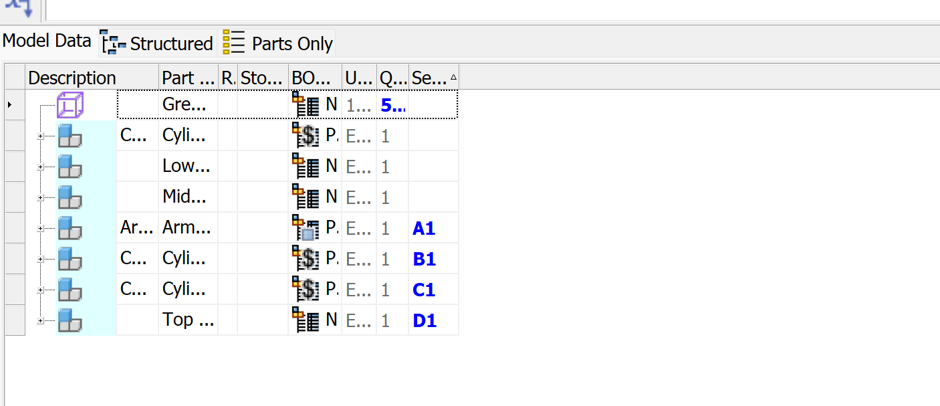
- Model Data: Shows the assembly exactly as built – every components, every levels, no item numbers, no BOM rules.
- Structured: Shows a hierarchical BOM – assemblies and subassemblies, item numbers, phantom flattening, references removed.
- Parts Only: Shows a flat list of all parts – no assembly levels, just total quantities of every part in the top-level assembly.
BOM Structure
The BOM Structure column lets us control how each subassembly behaves in the Bill of Materials, and any change we make here directly affects how that item appears in both the Structured and Parts Only BOM views.
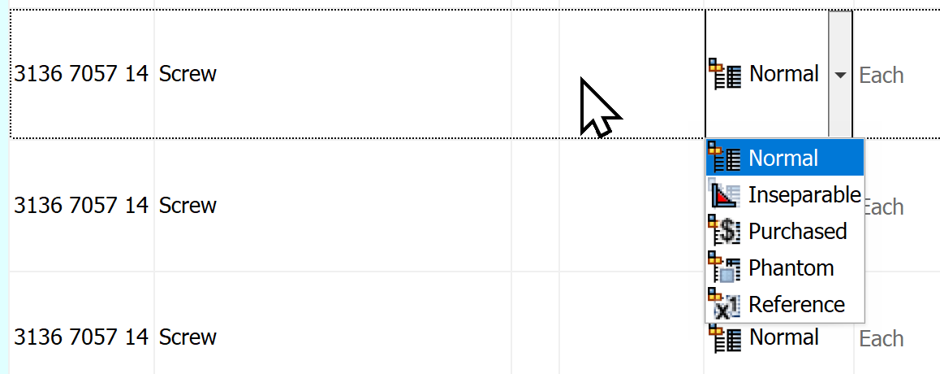
Explanation of the BOM Structures
- Normal: A real, physical component. It appears in both Structures and Parts Only BOMs, gets an item number and is counted.
- Reference: A non-physical component. It is ignored in both BOMs – no item number, no quantity, no listing.
- Phantom: A logical grouping, not a real assembly. The assembly itself it removes, and its children are rolled up into the parent’s BOM.
- Inseparable: A subassembly that can’t be taken apart. Shows as one item, children are hidden ie, a welded assembly becomes on part.
- Purchased: A subassembly bought as a complete unit. Shows as one item, children are hidden.
In the Structured BOM, this subassembly is set to Phantom, so Autodesk Inventor promotes its parts up one level. The subassembly itself disappears from the list, and the arrows show that each part has been rolled up into the parent assembly.
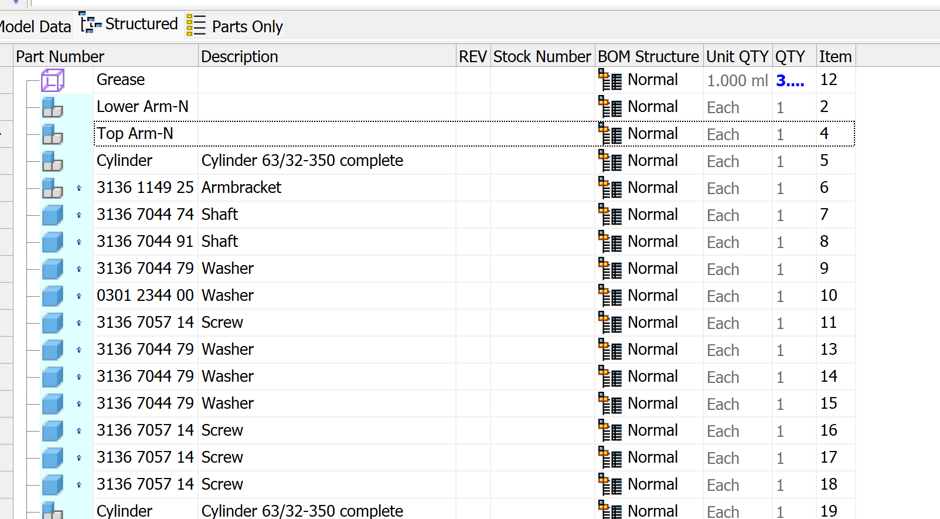
In this example, we set the subassembly to Purchased, so Inventor collapses it into a single line in both the Structured and Parts Only BOM. Because it’s a bought-in unit, the individual parts are hidden – we only care about the complete purchased assembly.
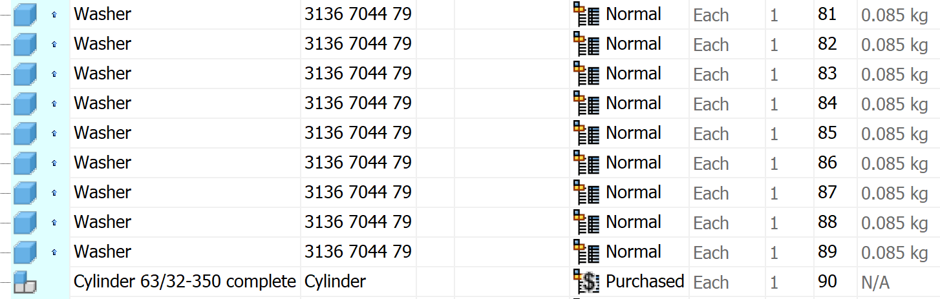
By choosing the right BOM Structure for each component, we control exactly how our assemblies report, ensuring the BOM reflects the way the product is built and delivered.
Still got Questions?
Book Training
Our range of Autodesk Inventor training courses will teach you how to create production-ready parts and assemblies through hands-on learning experience. Make sure you contact us to find out which course is best for you.
Contact Us
We are here to ensure you receive a consistently high service and quality solutions for your business needs. We promise you won’t regret speaking to us, and if we can’t help you, we will try to find someone that can.