
AutoCAD has made several improvements to hatching over recent versions (especially from AutoCAD 2021 onwards), making it more flexible, intuitive and efficient for users. You no longer need a closed loop or even geometry to place Hatch.
Let’s have a look at how to place Area, Area with no closed loop and Path:
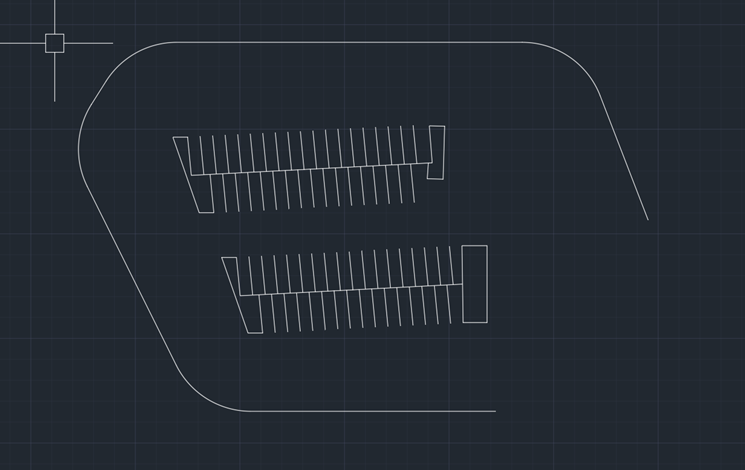
- Open AutoCAD, draw up something like the below image using line and polyline command. You can use any of your existing drawings.
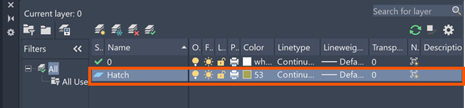
- Create a layer for your hatch and start the Hatch command. (Look out for a bonus tip at the end of this blog).

- Click the endpoints in a counter-clockwise direction and press space bar once the loop is closed to move onto the next area. Continue until you have added the areas you need, and enter to end the command.
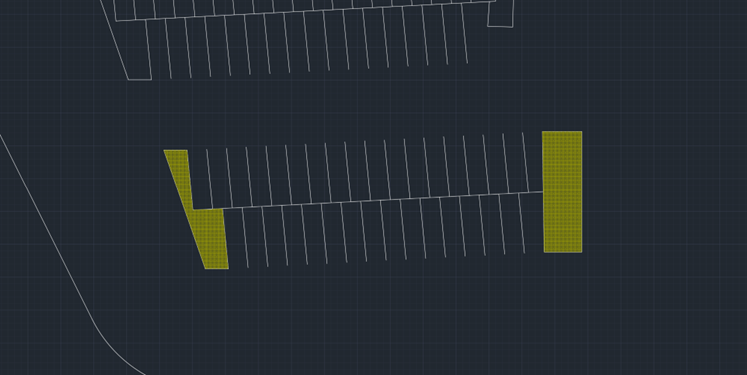
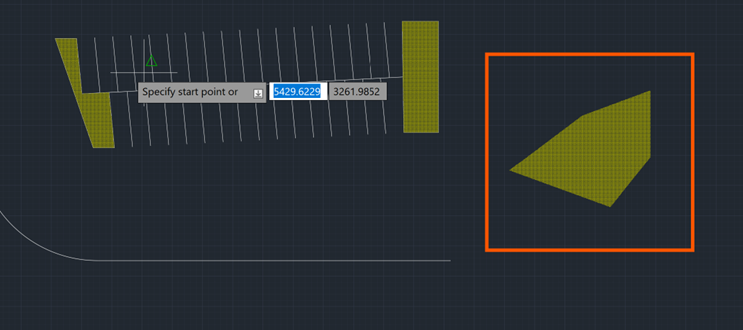
- With the improvements, you can now also select empty areas to create Hatch, no longer requiring closed loops.
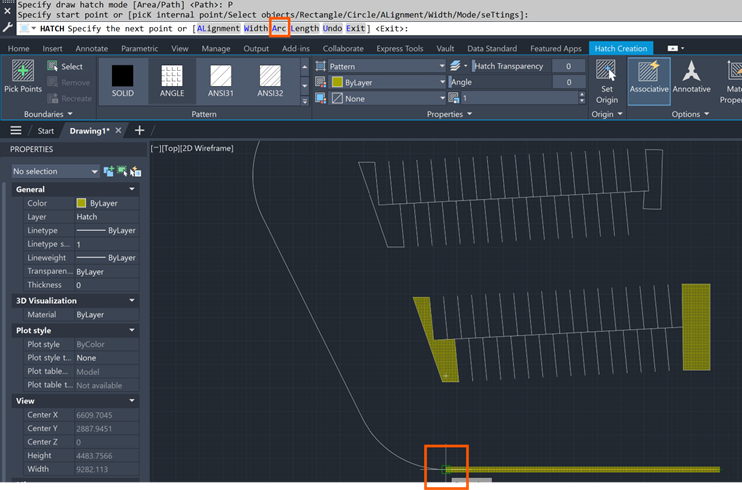
- Repeat the Hatch command, select Width and set the width value, ie 60 in my example.

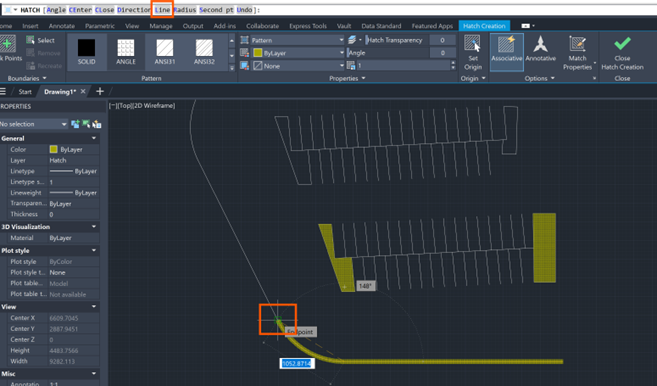
- Then select Path from the CLI.

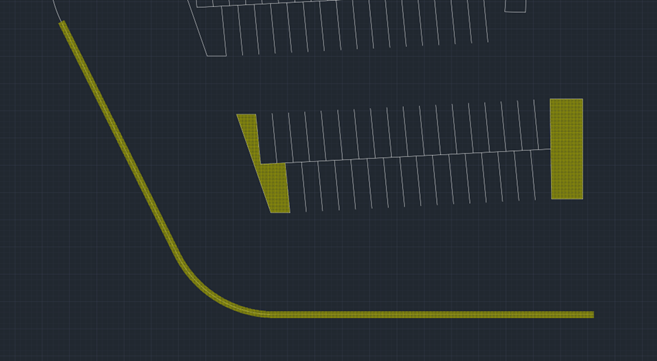
- Draw over your polyline using the Hatch command with these setting, toggle between line and arc as you would in polyline creation. Press the enter key once complete.
Bonus Tip: If you create a layer for Hatch and want all Hatch to, by default, sit on this layer without having to remember to set the Hatch layer current; type: HPLAYER in the CLI or in your display area, and type the layer name HATCH, as shown below.
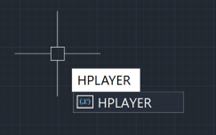

Result: Any Hatch created using the Hatch command, will automatically be placed on this layer. It will not make the layer current, only place all Hatching on this layer. You can use this for example text and dimensions (textlayer and dimlayer).

Still got Questions?
Book Training
With our range of AutoCAD courses we can teach you best-in-class 2D and 3D design skills. This includes drawing, taking measurements, producing templates and everything required to create your designs.
Contact Us
We are here to ensure you receive a consistently high service and quality solutions for your business needs. We promise you won’t regret speaking to us, and if we can’t help you, we will try to find someone that can.