Many Architects are leveraging tools such as Rhino or Catia for their surfacing capability, but wanting to take that data across to Autodesk Revit to integrate into their BIM Authoring Environment. Traditionally, this can be a painful and manual process, but there are ways of getting a good quality, and smooth representation of aesthetically pleasing curved surfaces inside of Revit by leveraging Autodesk Inventor’s BIM Exchange, without getting a faceted result.
The key is Inventor’s IFC Export…but we will not be using the faceted IFC inside of Revit. Inventor uses the Autodesk Revit DLL files known as Revit Server, not to be confused with the other Revit Server we already know and use. Essentially, Inventor is not exporting the IFC. It is sending the data to the main DLL files of Autodesk Revit to have the IFC produced there. That means, that there must be a Revit Project file (RVT) involved somewhere down the line?
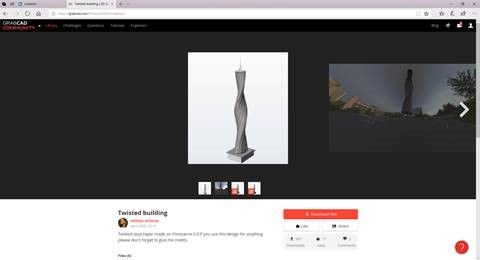
In this example, I have downloaded a Rhino model of a building from GrabCAD. Thanks to the author for sharing this model (https://grabcad.com/library/twisted-building-2)
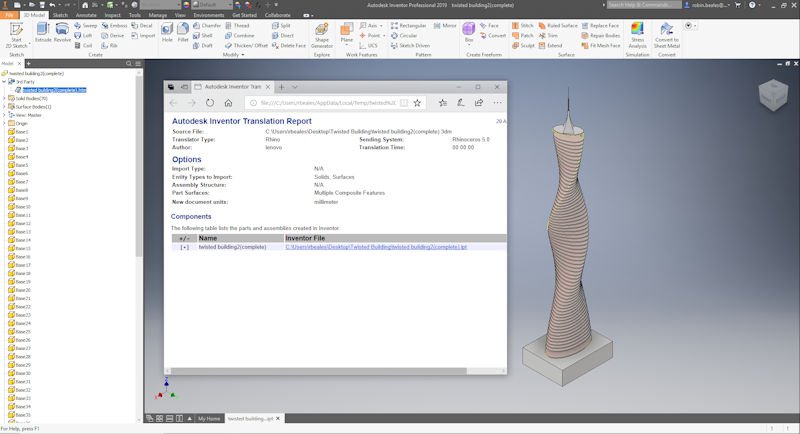
I have opened this into Inventor 2019 in my case, but older versions of Inventor will also do the job. I have gone for a selective import for the purposes of this blog, just giving me the floors and walls of the building. The geometry is imported as a multi body solid. The key for a decent Revit import is to have no surfaces that do not have a volume. These will not import nicely inside of Revit. If you are really struggling to remove volume less surfaces, try a derived part inside of Inventor to strip them out completely. The repair or construction environment can also help to ensure that all surface geometry is stripped out and converted where necessary to solid data.
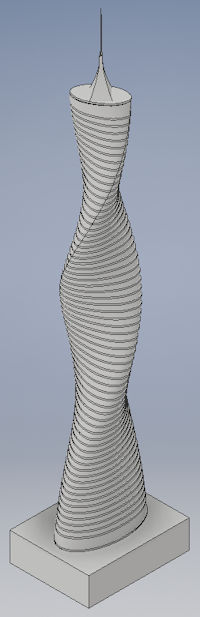
With this exact example, if you are following step by step, the wall normals need reversing using the repair geometry environment before adding boundary patches and stitching to create a solid.
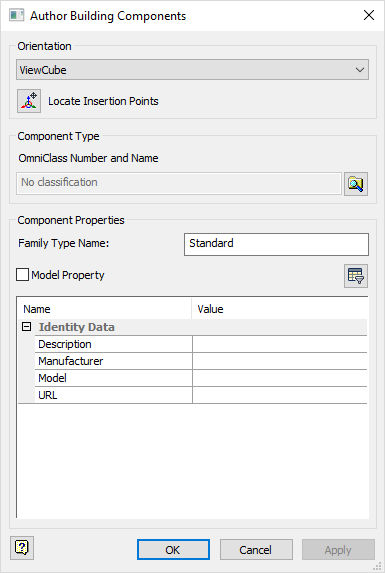
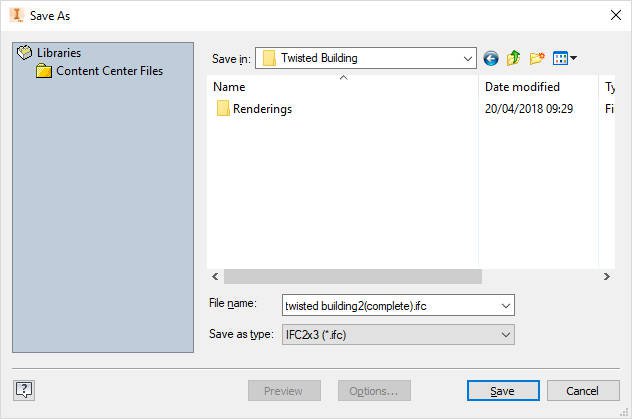
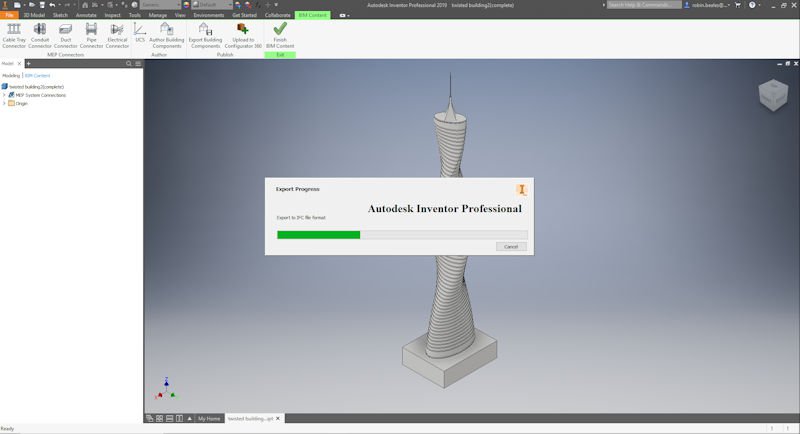
After saving the model, you may want to tidy the model with any discrepancies after the import, or simply remove any data that you do not want to see inside of Revit. Once done, head over into your Environments > BIM Content tools, ensure your UCS and Authoring options match your required outputs before heading over to Export Building Components and carrying out an export to IFC. Not ADSK or RFA.
Once the export progress is complete, head over to your Windows Temporary folder (Type %TEMP% in the address bar inside of Windows Explorer, or on the Window 10 start bar. By default, this location can be found here:
C:\Users\USERNAME\AppData\Local\Temp
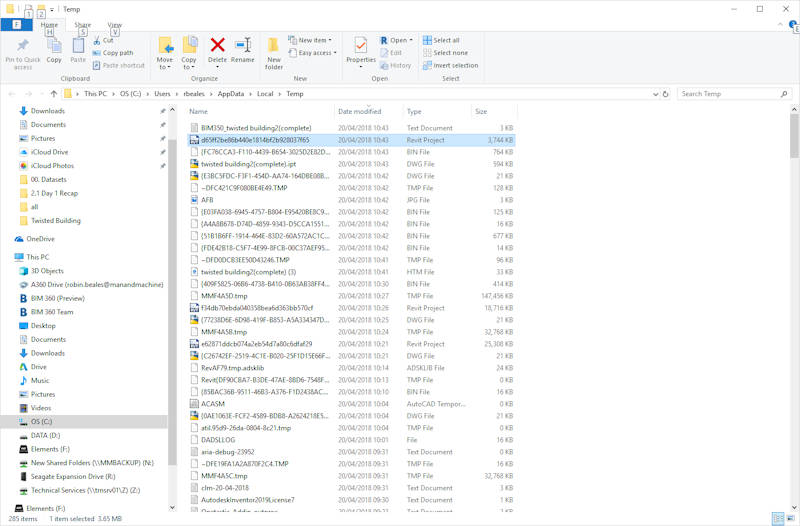
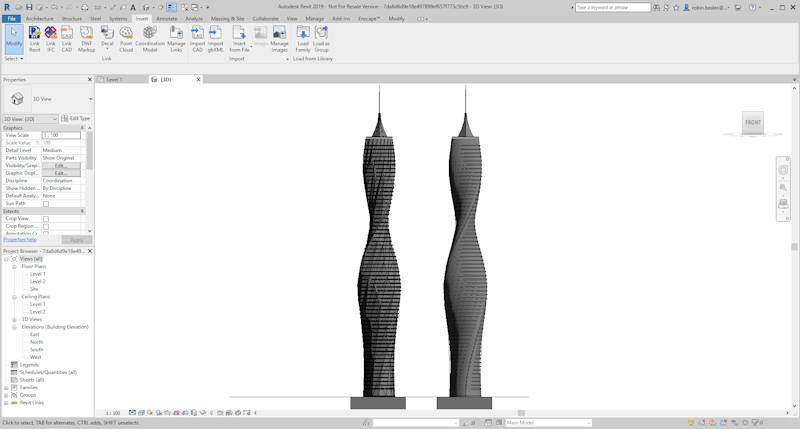
You will notice a Revit Project file has been created at the time of export. Open this file inside of Revit and you will see smooth and non-faceted geometry that you can use as desired inside of Revit. If you compare this to the default IFC output, which is very heavily faceted, you get a much nicer and more desirable result. In the image below, the RVT output can be seen on the right, with the faceted IFC output on the left.
This particular example is far from perfect, but hopefully this gives you an idea of what is capable, and helps with your current workflows.