In this blog I will explain Revit design options and how they work.
Design options allows you to create and manage multiple designs within the same project. By using design options within Revit you can create multiple options within the same space without them conflicting with each other.
Design options can be anything from furniture layouts in existing spaces, deciding room sizes and wall placements or just about anything where you may want to have more than one option.
Setting up Design Options
As mentioned a design option allows you to design multiple options in the same space. Lets look at an example.. Below, I have a blank room which I want to create two classrooms out of:
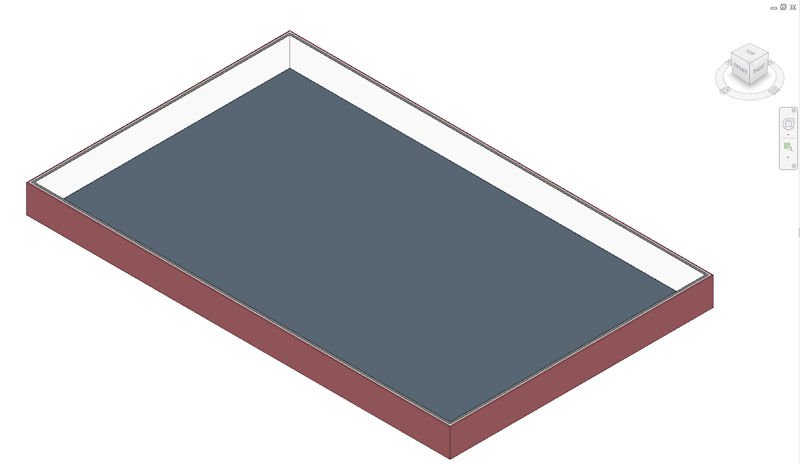
This is my existing project, but I now want to create my first option.
To create a Design Option I first go to the “Manage” tab in my ribbon bar and find the section for Design Options:
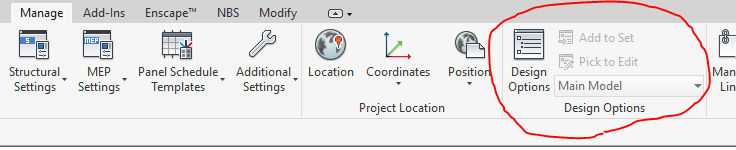
From here I can click the Design Options button to manage my design options or from the dropdown I can select which Design Option I am working in on the project. Until I create some design Options this is going to be set as “Main Model”.
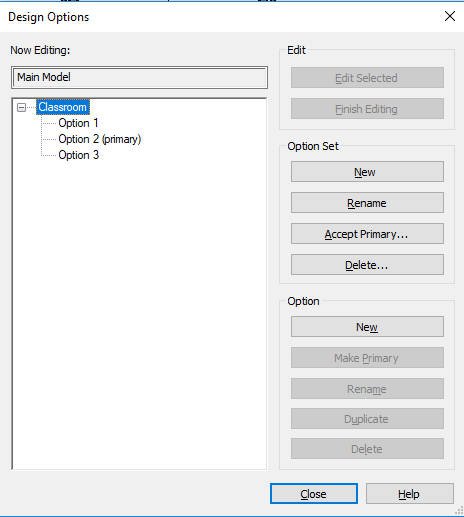
I’m going to go ahead and click the Design Options button. I now get the following window:
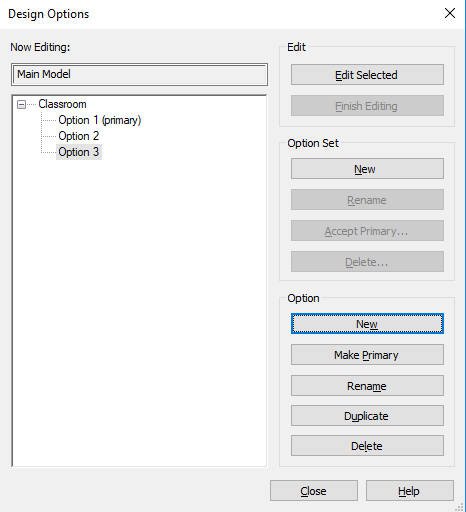
On the right I have a section for “Option Set” and for “Option”.
• Option set – this allows me to create a new group of Design options. In this case, it is going to be the classroom but this is usually whichever area of the project you are creating multiple options for. I could create more than one option set, as well as the classroom. In this example, I might have wanted Design options for the reception, playground or staff room.
• Option – Once I have created an Option Set I can create my options in that set. In this example my Option Set is Classroom but I can then have multiple options such as option 1, option 2 etc.
Creating your first Option
Now that we have our Design options setup we are going to design our first option.
In the Manage tab in the section for Design Options, from the dropdown I am going to select “Option 1”.
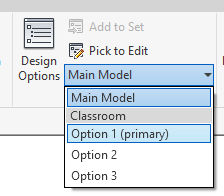
With this set to Option 1, anything I now create on my project will only exist under Option 1 and isn’t part of the main model.
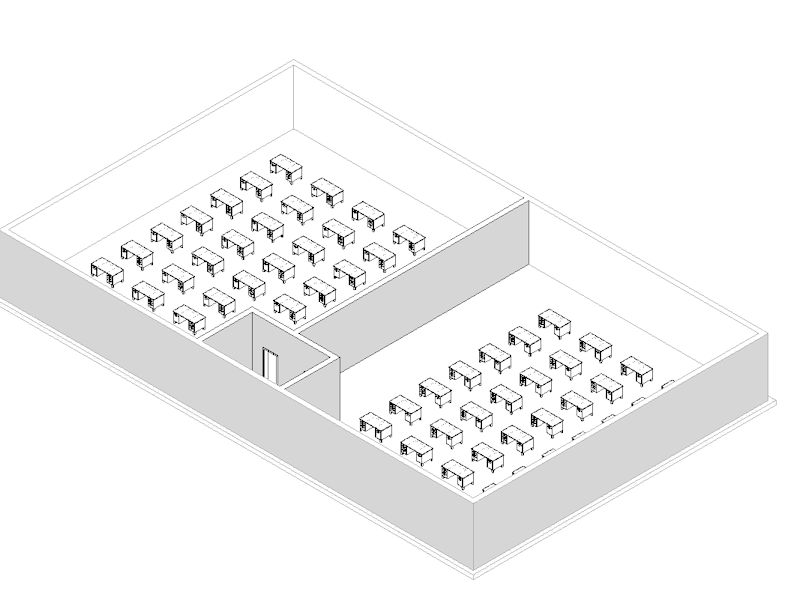
As you can see, I have designed my first option for the classroom layout. The main project has become greyed out and I can only edit anything created under option 1.
Next I will switch to Option 2. You will notice that everything created under option 1 has disappeared. This is because these designs only exist under an option and are not part of the main project.
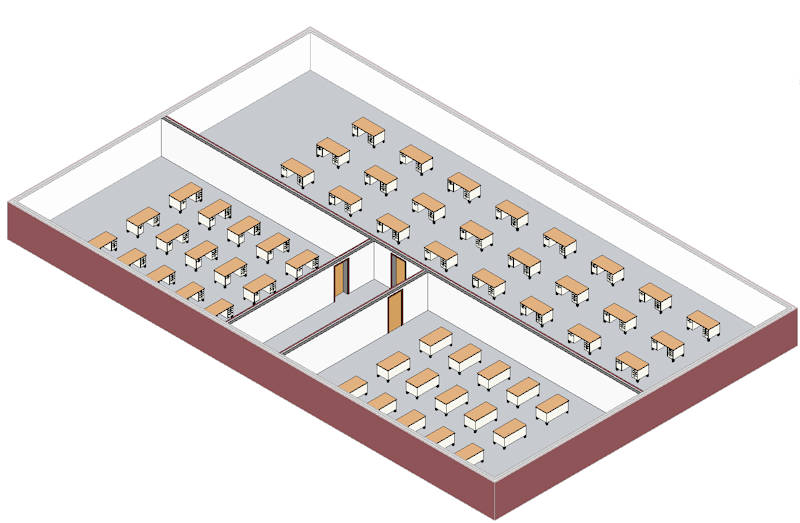
I have now designed option 2:
I now keep going creating as many Design Options as I need to.
Choosing to go with a Design Option
You may have noticed that one of the Design Options is set as Primary. There always has to be a primary option and this is the option you are most likely to go with. Once you have chosen a Design Option and are happy to move it to the Main Model we just need to accept it.
From the Design Option window set the option you want as the Primary, then from the Option Set menu on the right press “Accept Primary”.
When you do this all other Options will be deleted so be sure that you do want to accept a Design Option. When you do this all elements in that Design Option will become part of your Main Model.
Conclusion
Congratulations! You now know what a Design Option is and how it works.
Design Options are really useful for early designs where the client is open to what they would like. This allows you to keep designing the main model without it being necessary to create multiple Revit projects Once accepted, a design option can be added in just a couple of clicks.