This is going to be a quick step by step on registering scans in Recap Pro. I will talk about some of the issues I have had and how to overcome them. Recap will automatically register scans by looking for common points. However, I have found there can be some discrepancies which is where you might manually register the scans together.
You will need;
– Recap Pro, with the logo not to be confused with Revit.

– Some Raw laser scan data.
Arrange your scans into one folder. The scanner I had placed them in separate folders with some of the images and other file types so making sure you can place them all in at the same time just speeds things up. Also, a tip is to try to make sure your scans are numbered in order of the path you want to stitch them together. It just makes it easier to order during registering if you have lots.

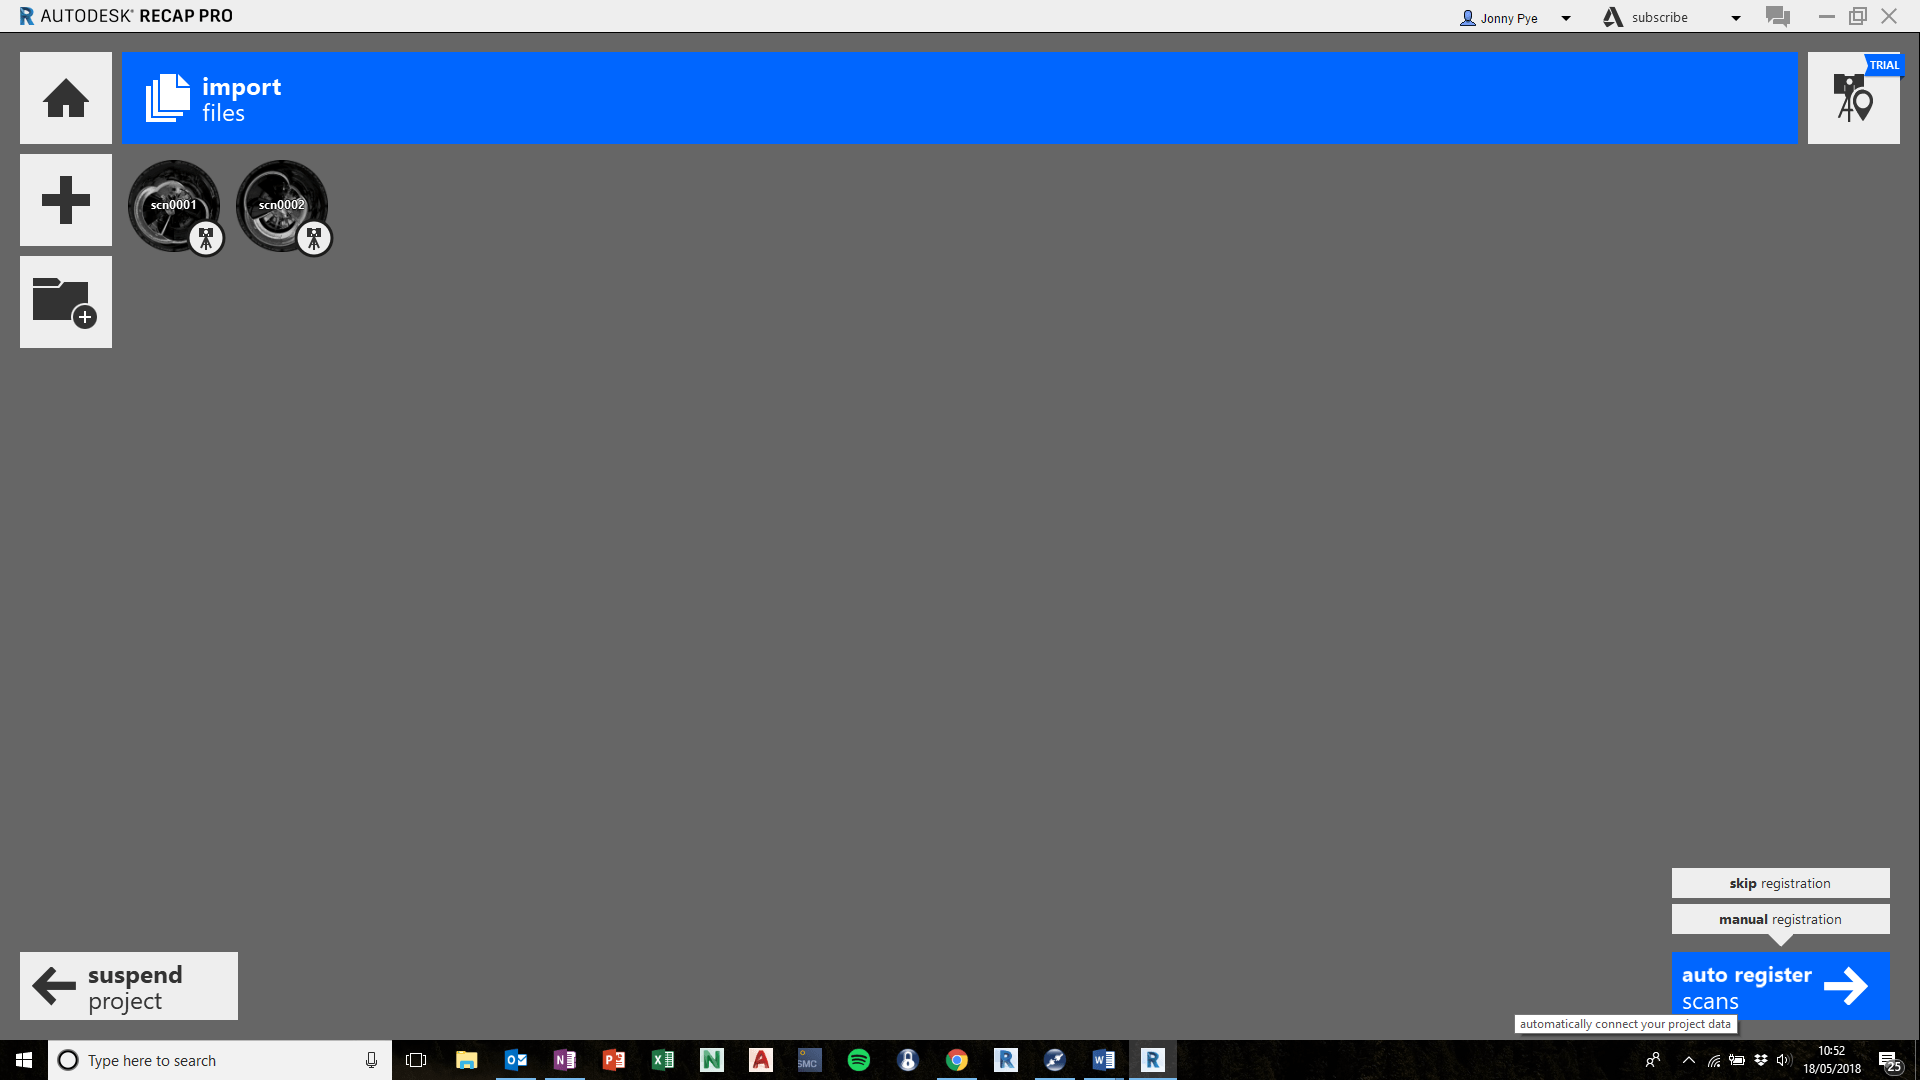
Start a new project and import point cloud.
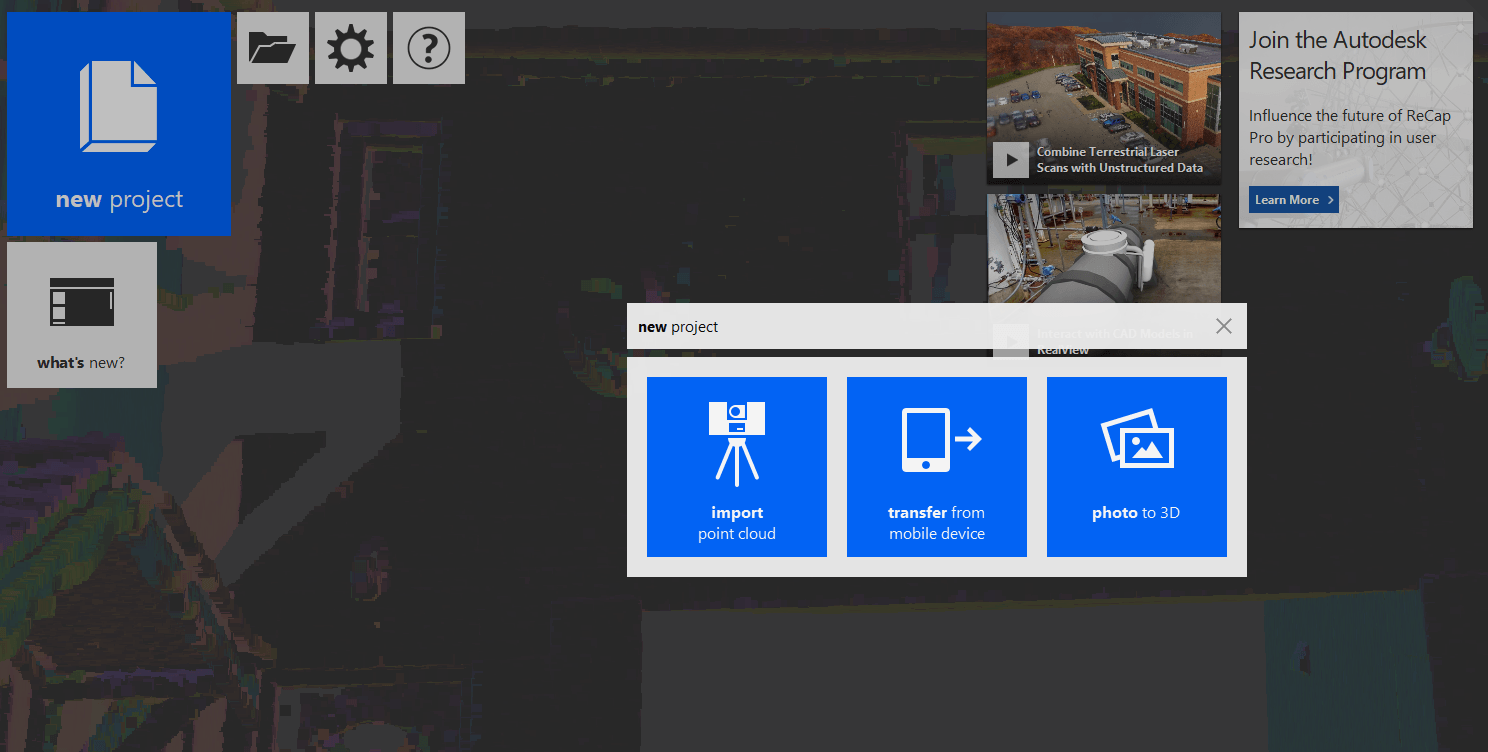
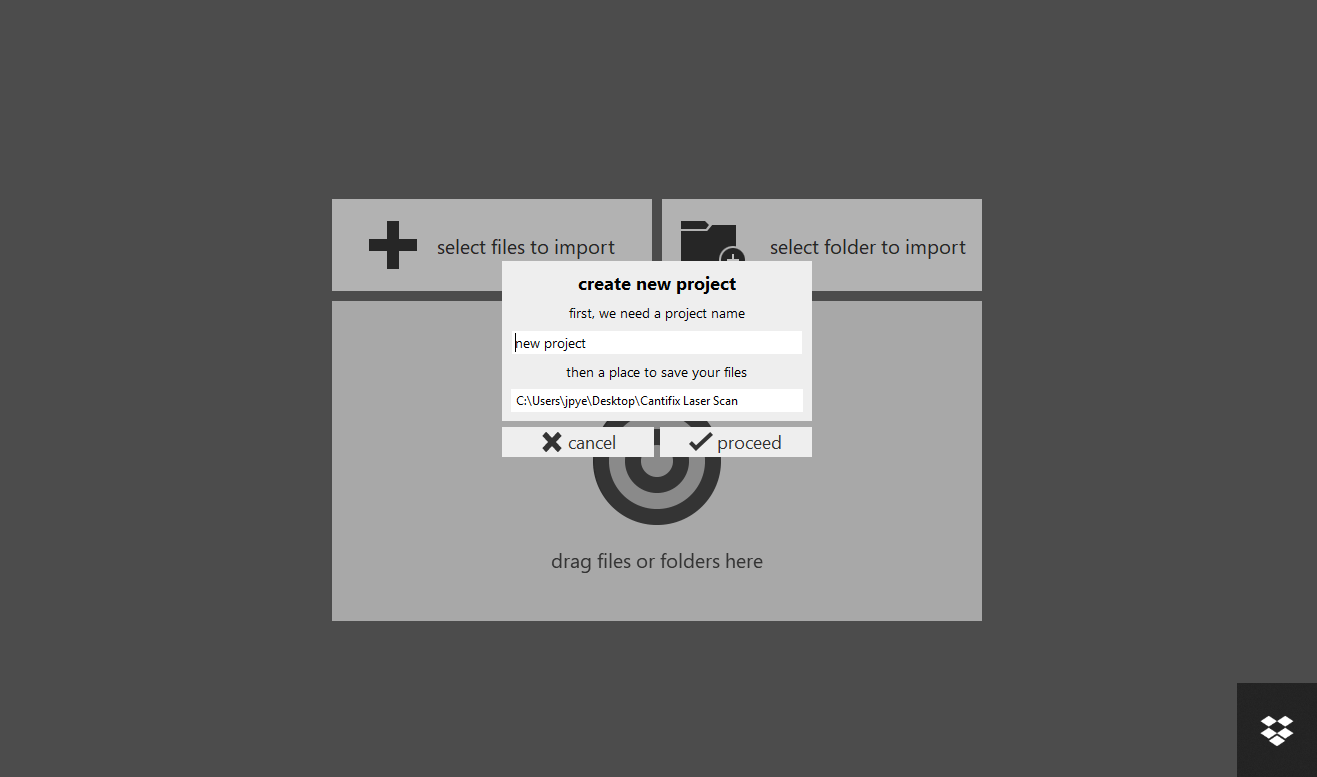
Choose a location for the project, name it and select the files to import. (Something to be aware of if you are starting to use point clouds is that they can quickly fill up your hard drive if you are working with lots of scans. The scans I took are around 180MB each, 12.5mm accuracy over 10m)
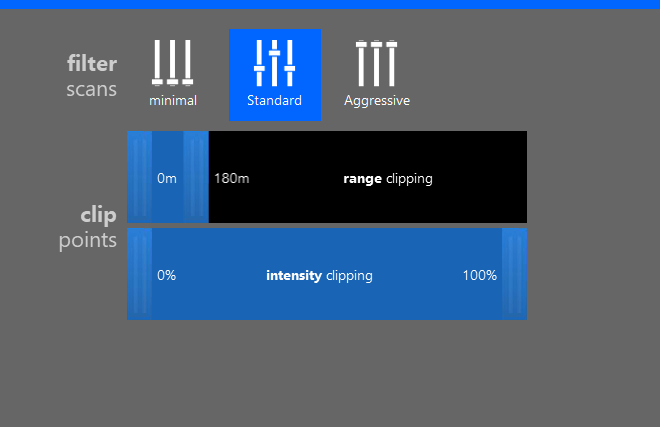
Choose the clipping range you want to apply from each scan. I recommend making sure this is within a reasonable tolerance of what you need, as I found that leaving it at 180m (default) would crash Recap sometimes. 25m or lower is acceptable for interior scans usually. The filter scans refer to the points it will clean up on entry, if you chose minimal, all points would be included, if you chose aggressive, it will delete most points that do not seem to conform to a surface.
The files will load in and you will have the option to auto register or manually register, choose manually register.
Choose the scan you want to use as starting reference. (Note that the scan needs to be structured, i.e taken by a static scanner, hand scanners will create unstructured data).
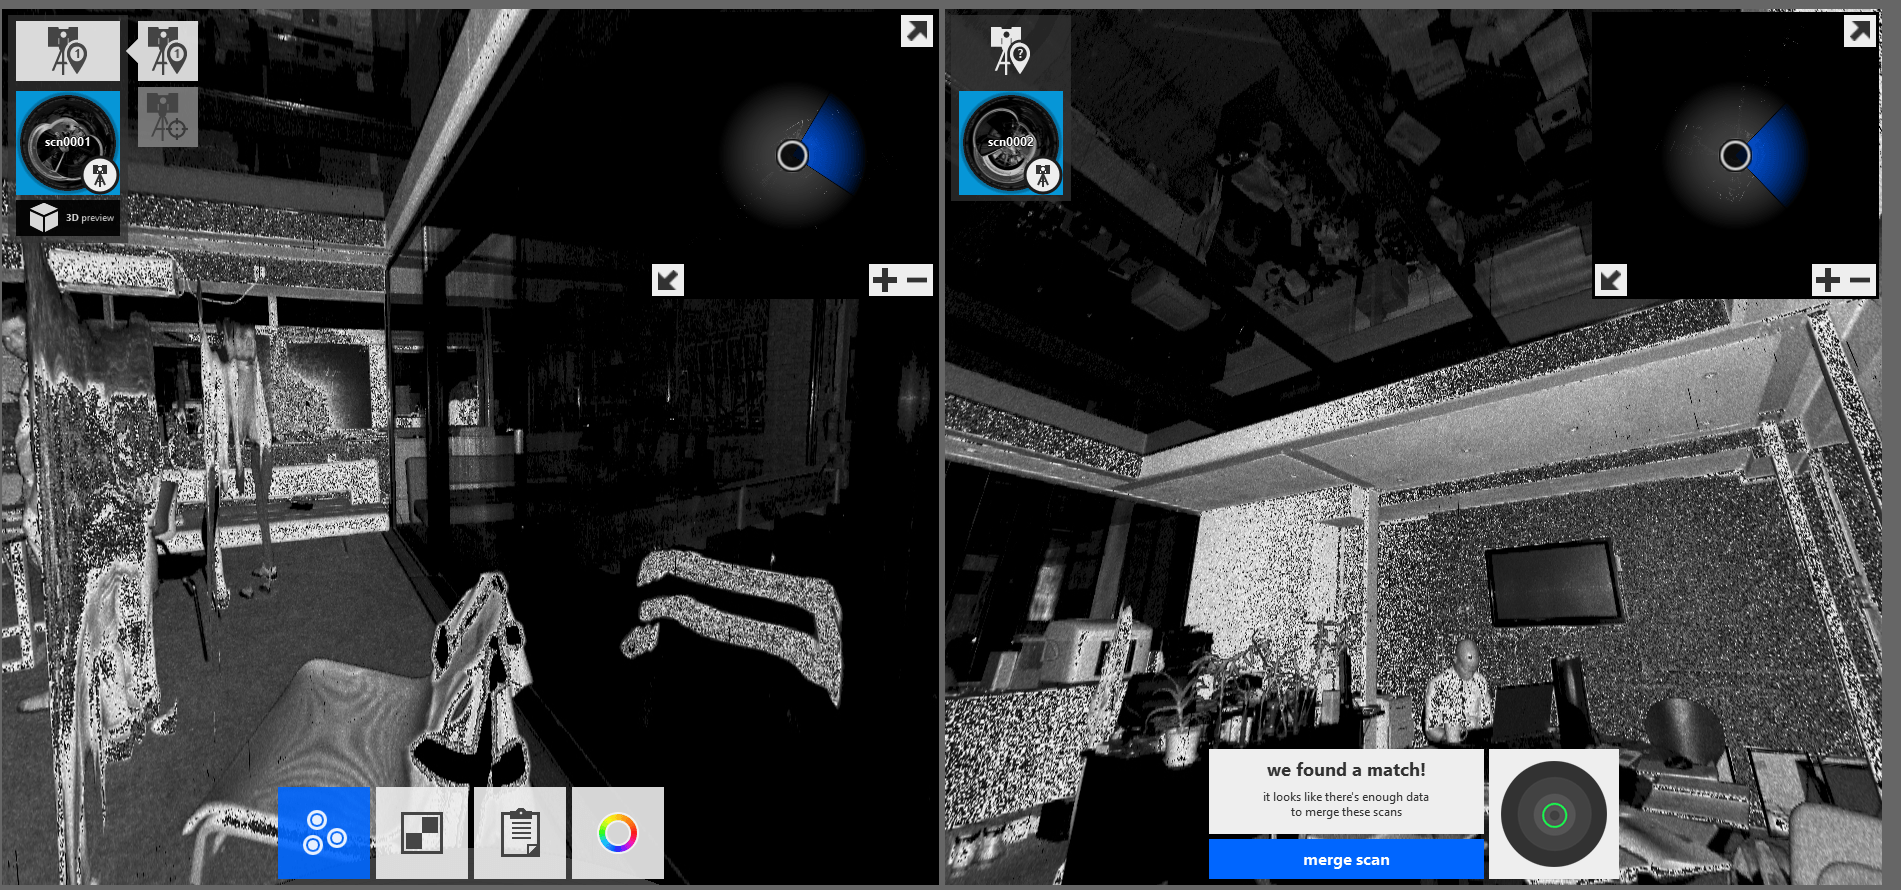
Pick common points in the scans by using the three different colours dot sights.
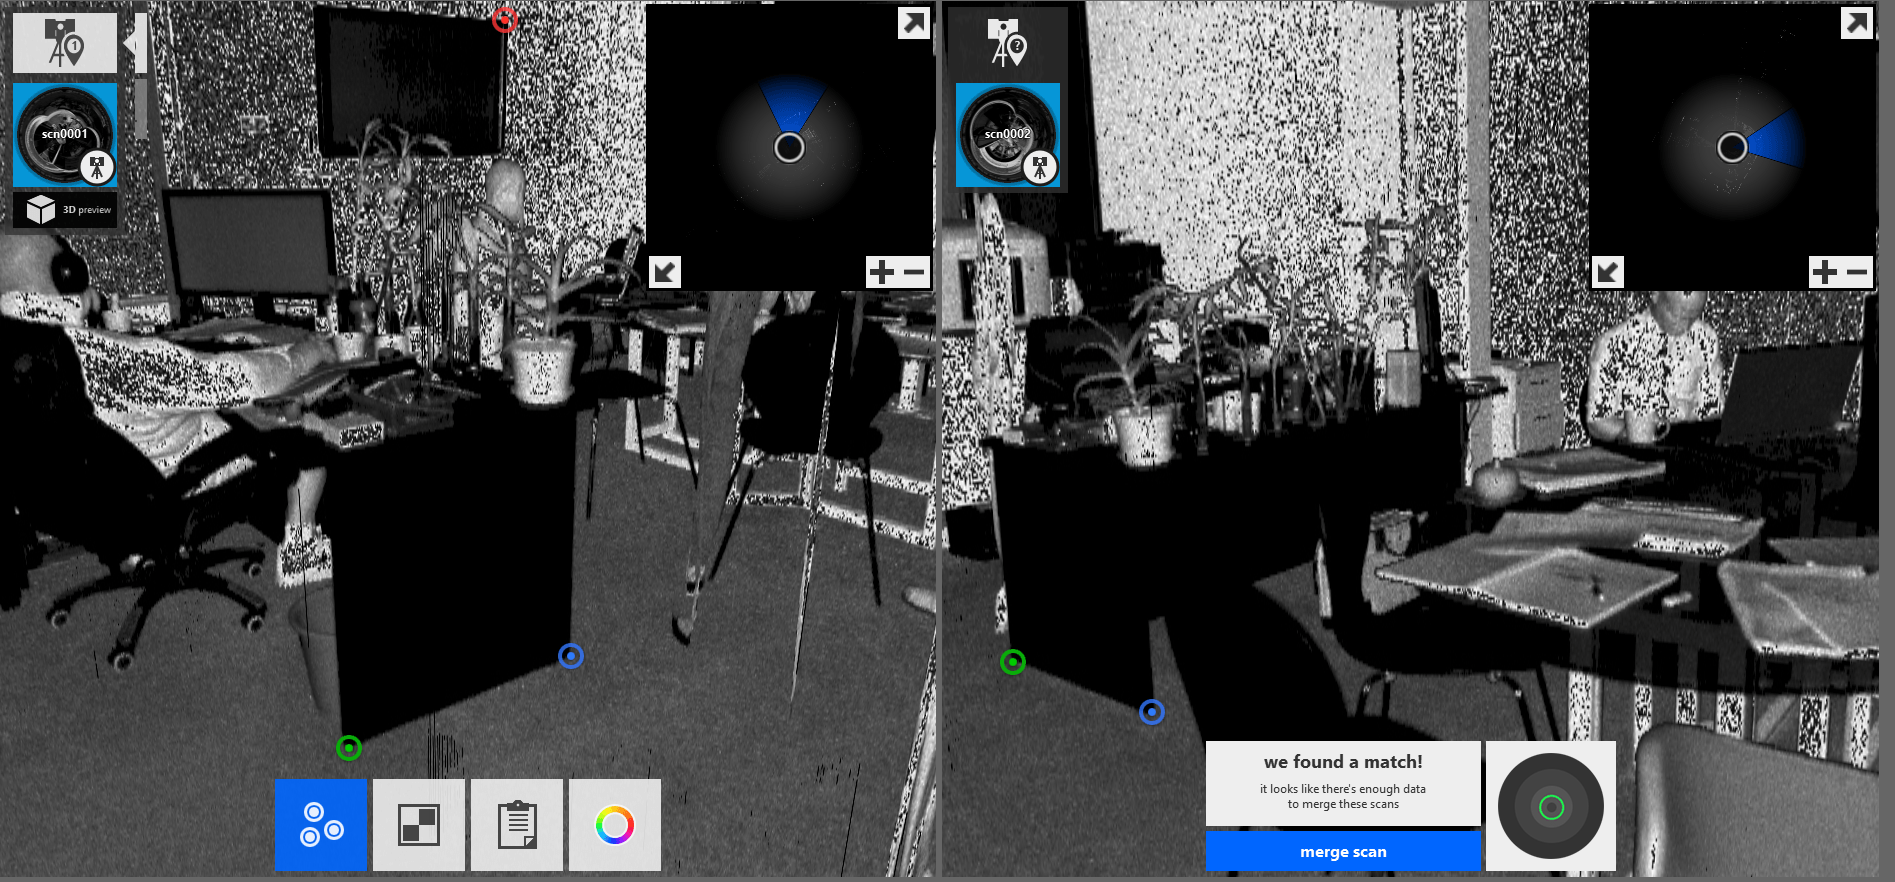
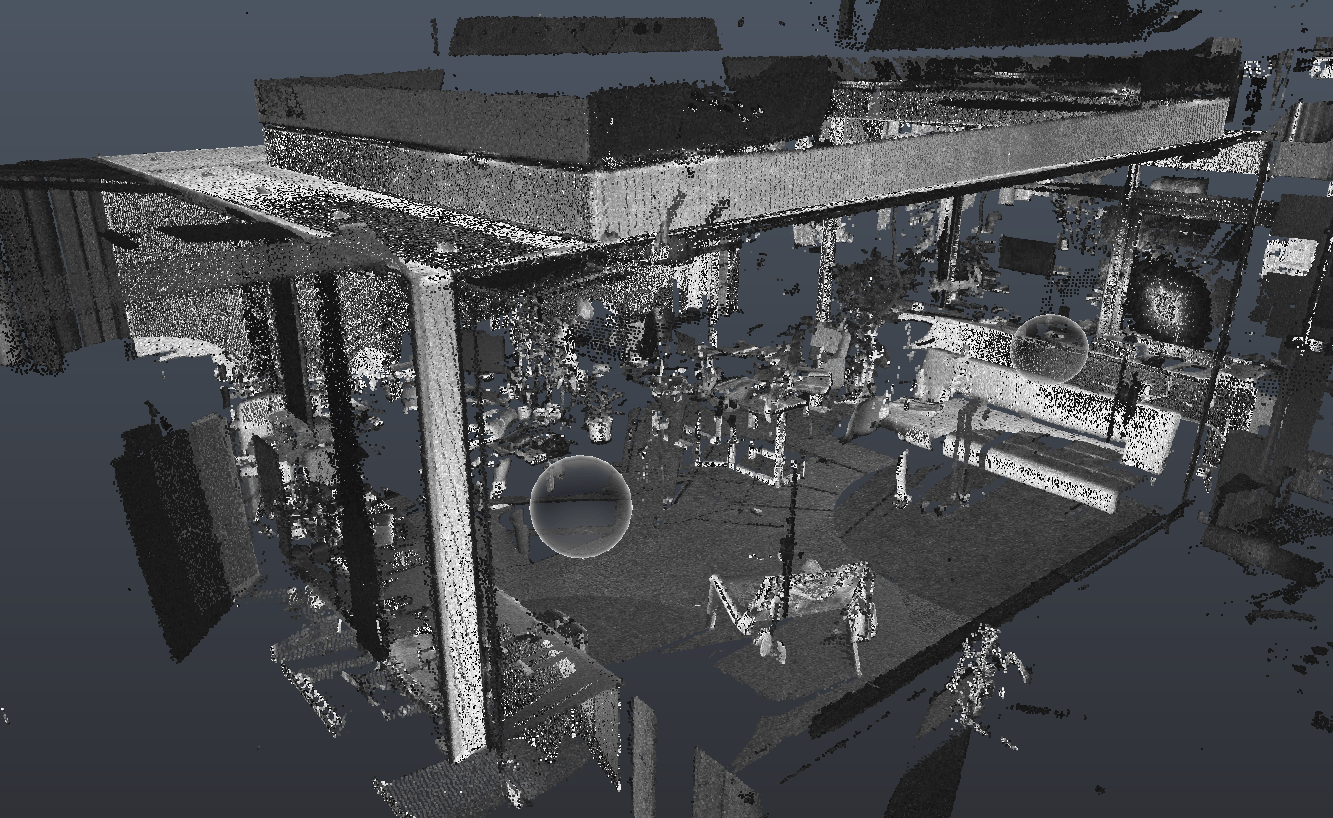
Hit merge scans, Recap will look for common points around the targets you have selected and stitch the scans together. Once this is done hit index scans (this can take a little while depending on how many scans you have). Once it is indexed, hit launch project and you are away. The file created is an RCP file that can be placed into Revit or Autocad and used very effectively as an underlay to draw around.
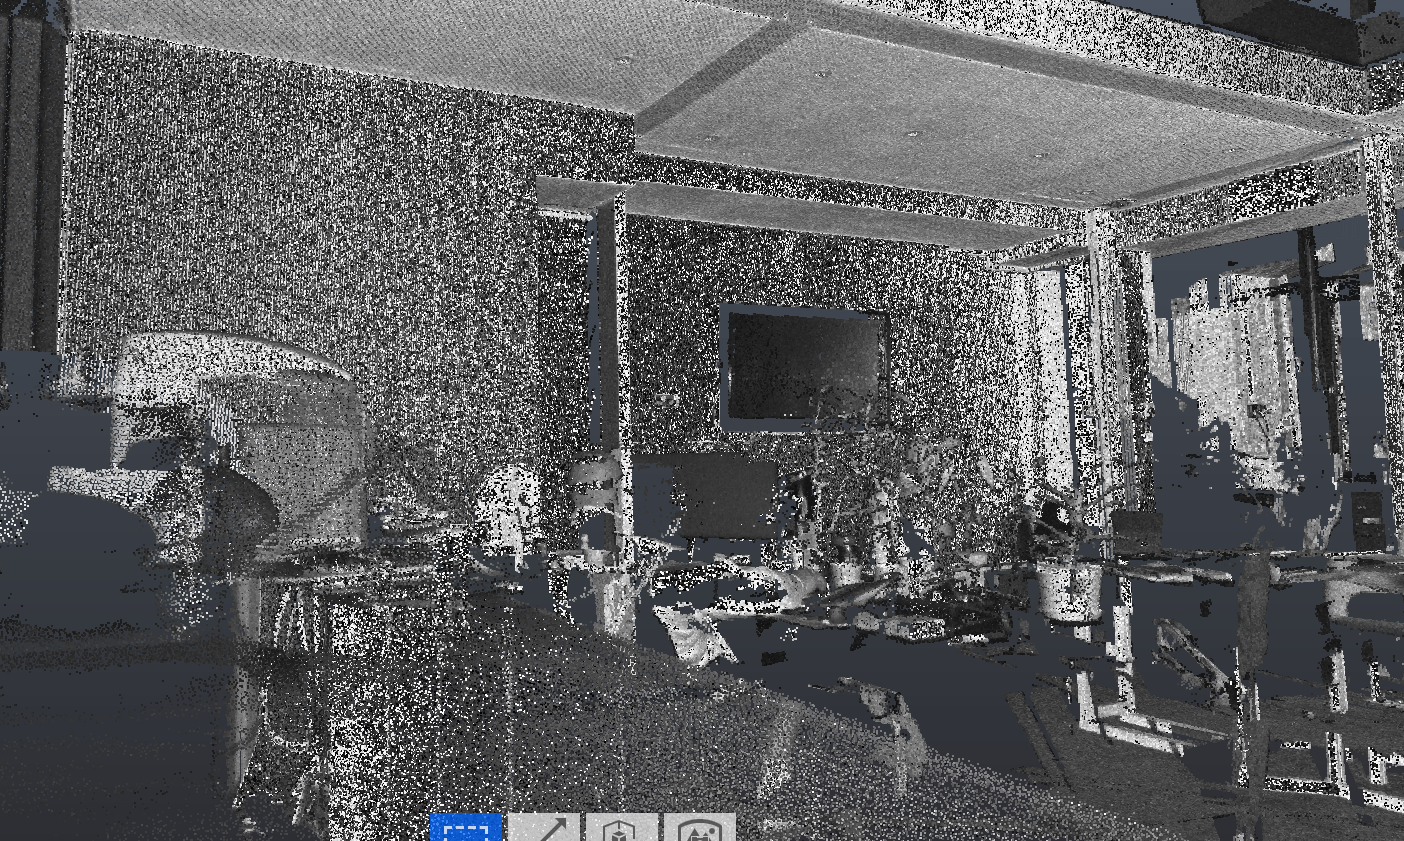
You will undoubtedly have lots of points you do not want from the scan – it is best practise to clean the scan up within Recap, which I will cover in another blog. For now, relish in the fact that when you get given some raw scan points you can now register them manually.
For more information on this blog post, or if you have any other questions/requirements, please complete the below form: