In this blog I will show you how to create a walkthrough of your Revit project using Enscape. Walkthroughs are very easy to create in Enscape and once created can be exported as a video file.
What is Enscape?
Never heard of Enscape? Not to worry, you can check out our live demonstration of Enscape here: https://www.youtube.com/watch?v=oeJZwJWV-IE
What is a Walkthrough?
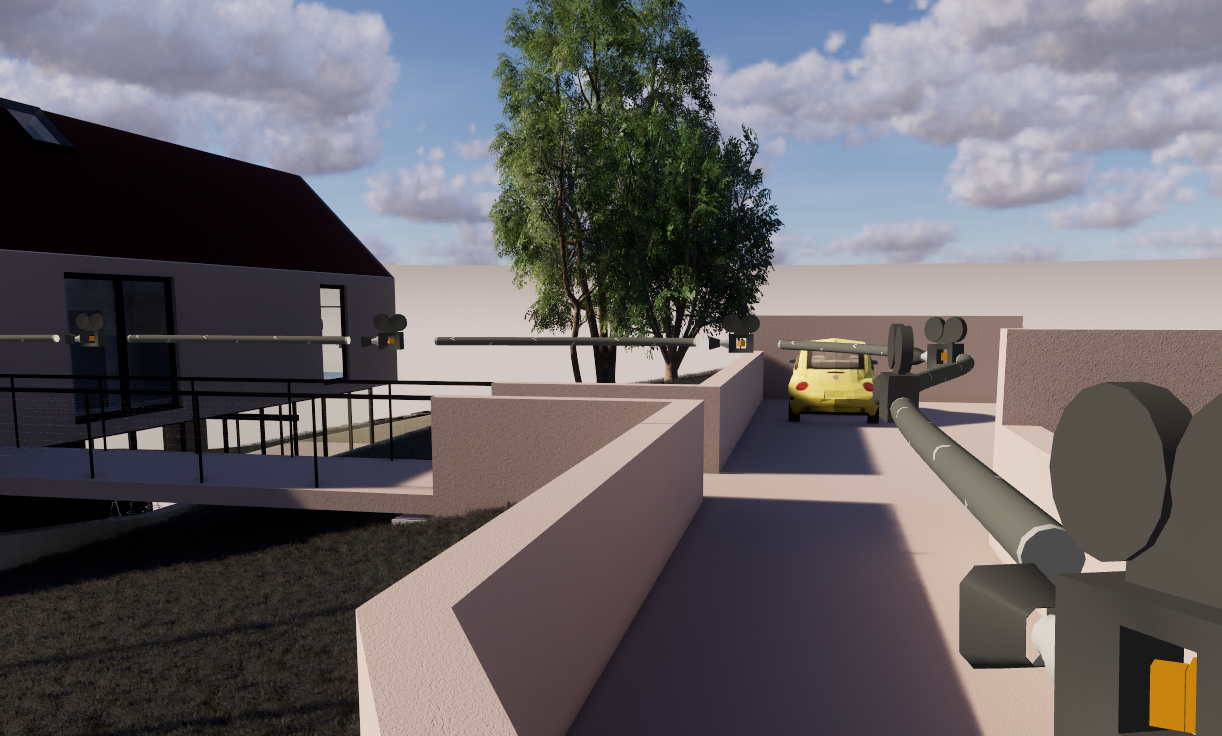
A walkthrough is a predetermined path that an imaginary video recorder is going to travel down. As it travels it will record the path it follows allowing you to create a video of your project from a chosen point of view.
For example, you could create a recording as though you are walking down a corridor or perhaps approaching the entrance to the building. You are not restricted by physics, so you can “Fly” in from the east and enter the building by an open balcony door.
How to Create a Walkthrough
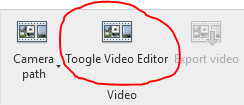
1. Launch your project in Enscape and from the Enscape tab in Revit click the “Toggle Video Editor” button.
2. The Enscape controls will now display the video editing controls.

3. Position yourself at the start location for the walkthrough and press the “Add Keyframe” button.
4. Walk through your project pressing the “Add Keyframe” button at key locations throughout the walk, Enscape will join these keyframes together to create the path.
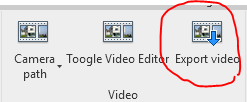
5. When you are happy with the path, head back to Revit and on the Enscape tab click “Export Video”.
Congratulations, you have created a walkthrough and saved it as a video file.
Conclusion
Enscape is a powerful visualisation application and can very quickly create a respectable walkthrough. The tools used to create the walkthrough are both clear and simple making this tool very accessible with very little previous knowledge or skills required.
For more information on this blog post, or if you have any other questions/requirements, please complete the below form:
Related Links
Autodesk Revit – Man and Machine
Autodesk AEC Collection – Man and Machine
Autodesk Revit Training – Man and Machine
Autodesk Revit Demonstrations – Man and Machine
Autodesk Revit – Autodesk Platinum Partner – Man and Machine
Autodesk Revit LT – Autodesk Platinum Partner – Man and Machine
Autodesk Revit LT Suite – AutoCAD & Revit LT – Man and Machine
Revit Architecture Training – Platinum Partner – Man and Machine
Autodesk AEC Collection – Platinum Partners – Man and Machine