Often when creating images or visualisations within Revit the details are what sets the project apart and adds that extra level of realism detail which can be easily achieved with the often-missed decal tool.
The Decal tool will allow you to place images within your scene which will be applied directly to surfaces and scaled as required. Within the tool it does not require you to only place rectangular images either as you can create ‘cutout’ masks to allow you detail to have a specific shape should you need to. Decal images can add a lot of interest and depth to an image with relatively little effort.
You can access the decal section from the Insert Tab and you will see a button which is labelled Decal. Within the dropdown of the button you will have two options, Place decal (default option) and decal types which is in your decal image management dialogue box.

Starting with the management dialogue box we can start to create, name and manipulate our images in various ways to add the visual enhancements we need. As you can see from the image below we can use the button on the bottom left to create a new decal and name it appropriately. For simple image decals we can then select an image from a file which might be a JPEG, PNG or TIFF image using the browse button and we will then see a preview of this image at the top. Like materials we will have some opportunity to modify its brightness, reflectance or transparency and even give it a level of illuminance if it is acting like an illuminated sign or tv screen.
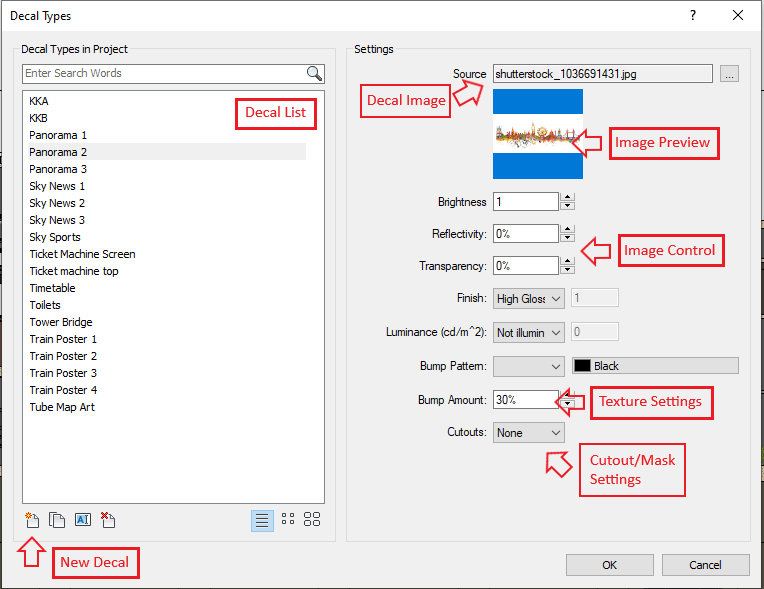
We also can add a bump map image to provide some texture and at the bottom of the list we have some mask settings which we will touch on at the end of the blog for more advanced shaped decals.
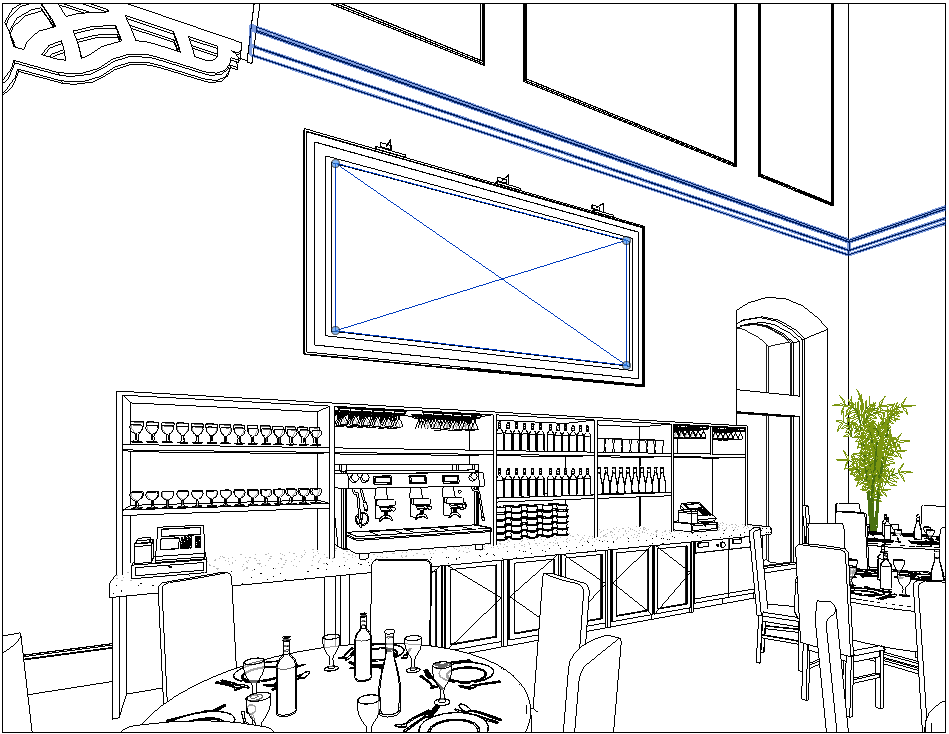
Once we are happy with the image and its settings, we can exit this dialogue and place the decal image on our model. It will look for a face to snap to within the model and it might be easiest to control its placement and rotation in elevation or 3D view. We also have the opportunity to change its relative size using the contextual toolbar and alter its x and y ratio should we want to stretch it to a specific size.
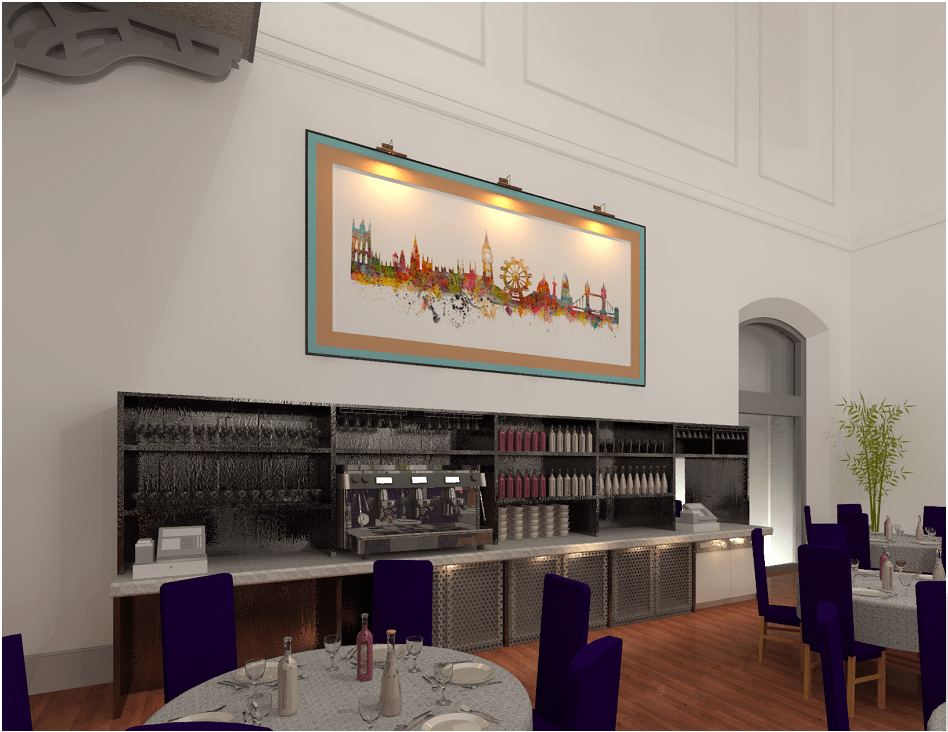
Once created and placed we can select the place decal button again to place a duplicate of the same image or if you have created multiple decals we can select the one we want to place using the properties toolbar type drop down. Once decals have been placed these can be viewed in camera views, 3D views or elevations by changing the visual style to Realistic or if using Revit 2020 or before, the Raytrace option will also allow the decal to be visible. Revit 2021 has removed the Raytrace option in the latest release. Alternatively you can also Render the image for a higher quality detailed output as the example below shows.
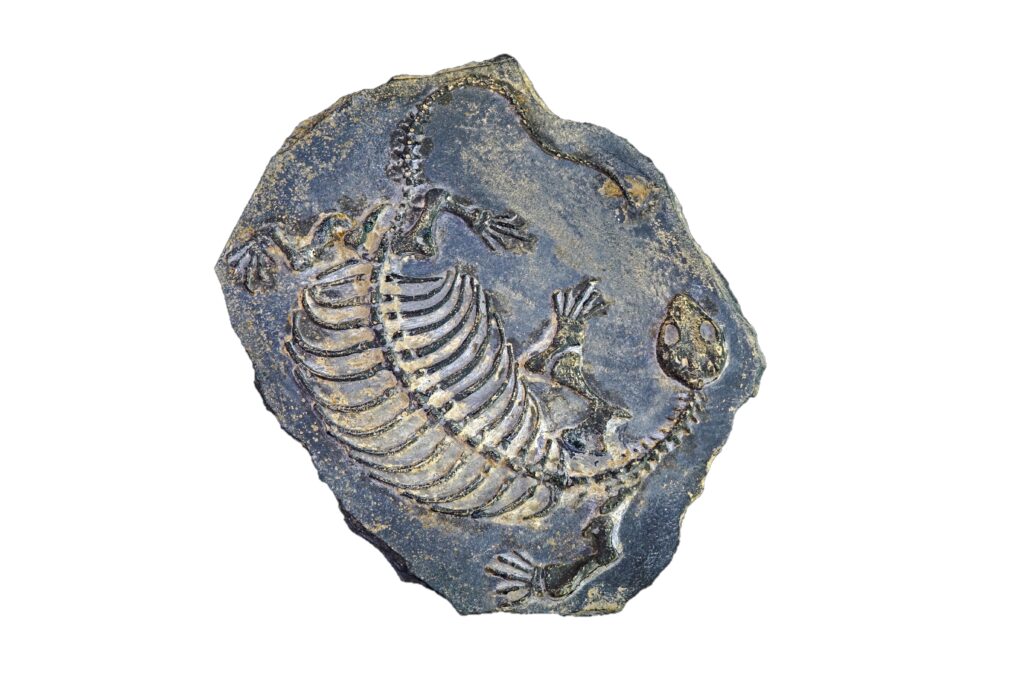
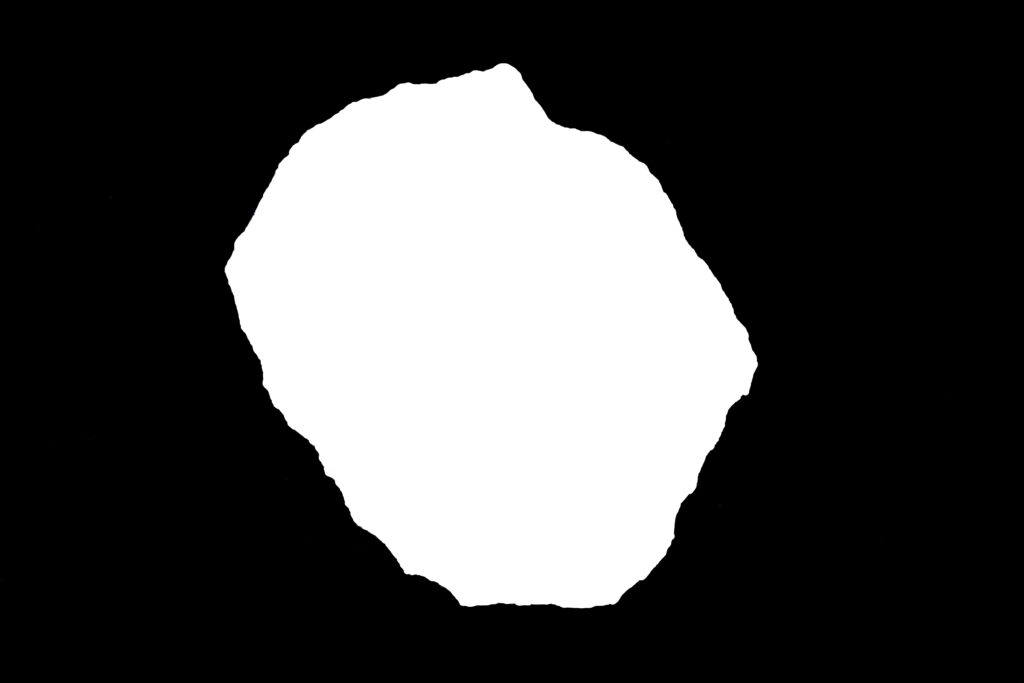
Back to non rectangular images and cut outs. Should you want to place an image of an object which does not have straight edges you will need to prepare the image and a masking image so that Revit understands what you are trying to achieve. Using the simple rules below you can add these details easily.
- Your base image that you want to use must have a white background
- Create a duplicate of this image and colour the background in black
- Then remove the original object from the background leaving a white silhouette of what you want to keep.
- Add your image as a base decal image as before then select cutout ‘from image’ and add your masking image with the black background.
- Revit should do all the rest once you place the image
And there you have it, a simple process to adding additional details to your eye catching visualisations within Revit.
Should you require further details on Revit tools or processes inside the software to help with your organisations project delivery and model creation, then please contact the team at Man and Machine by filling out the below form: