In this blog I discuss a technique for using BIM 360 to do model coordination between Plant 3D and Revit models.
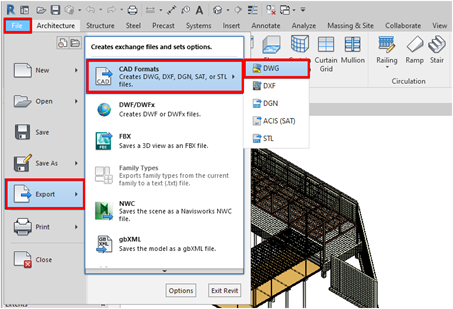
Exporting Revit to DWG
BIM 360 Design can be used to create a collaborative environment to assess models from different platforms such as Revit and Plant 3D.
First, all models need to be correctly coordinated and aligned. For Plant 3D you can export the Revit model to dwg format so that it can be added to the Plant 3D project.
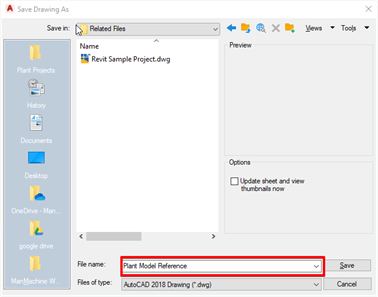
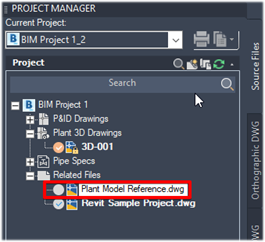
Save the file to the ‘Related Files’ folder in the relevant Plant 3D folder.
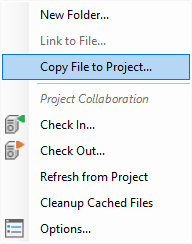
Add Revit DWG to Plant Project
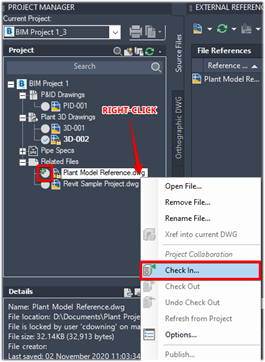
Once saved, open the Plant 3D collaboration project, right-click on the related files folder inside the project, select the ‘Copy File to Project’ option from the menu.
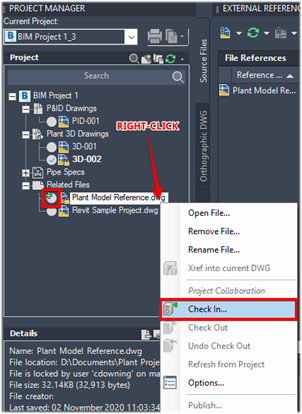
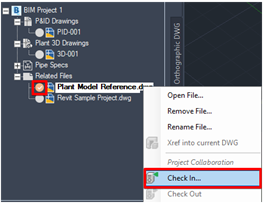
Once added to the Plant 3D project, right-click the new file to select the ‘Check In’ option, adding it to BIM 360.
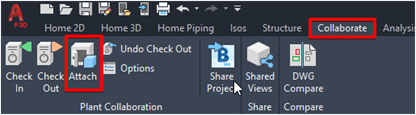
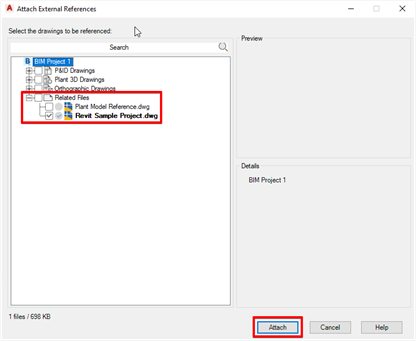
When the file has been checked-in, attach the file to the Plant 3D model as shown below. A Plant 3D Collaboration project can only attach files from within the project, using the Collaboration ‘Attach’ command.
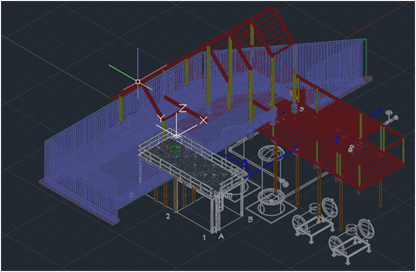
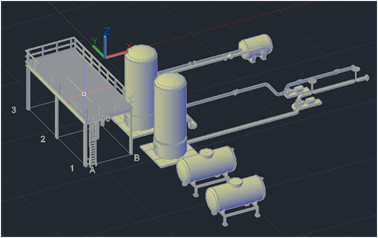
Once the Revit dwg model is attached to the Plant 3D dwg model drawing, you can move and align the Plant 3D into the correct position in relation to the Revit model or vice versa, if required.
For collaboration we must define a folder within the BIM 360 Project as the coordination folder, in the next example in section 4.3 I will use the Related Files folder as the collaboration folder. For the coordination to work the folder must contain all the relevant model files. As we already have the Revit export dwg file in the Related Files folder, we need to create a file which references the Plant 3D model as well.
Create a new dwg file in the Related files folder of the Plant 3D Project, use the ‘Copy to Project’ option to add the new file to the Plant 3D Project, check-in the new file to add it to the BIM 360 project.
Once added to the project you can attach the Plant 3D model to the new drawing file so that it references all the relevant Plant 3D models.

Make sure that the BIM 360 project is up-to-date, check-in the updated Related files.
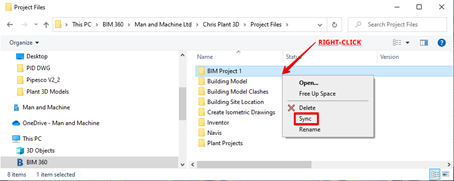
Also check the Windows folder to ensure everything is fully up-to-date.
Model Coordination
Open the BIM 360 Project https://docs.b360.autodesk.com/.
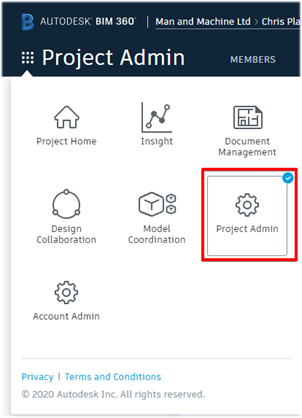
Open the Project Admin menu as shown below.
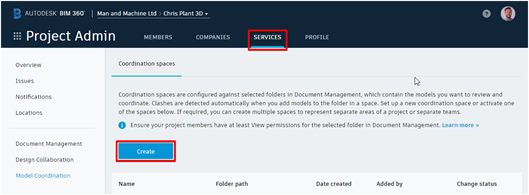
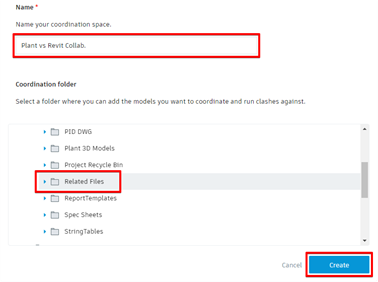
Select the Services tab as shown below and select the Create option to create a new Coordination space.
As stated before in section 4.2, use the Related Files folder as the coordination space.
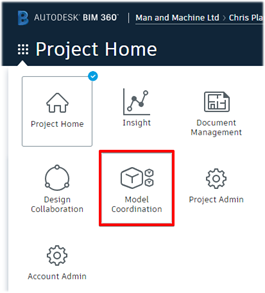
Once the coordination space is complete view the files within this space via the Project Home, Model Coordination tab.
Select the new coordination space at the top right corner of the Model Coordination page.
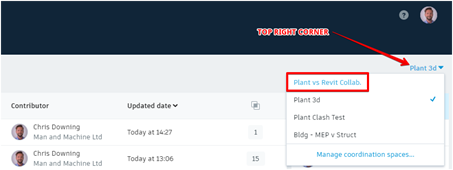
Once selected you can see all the readable files within the coordination space.
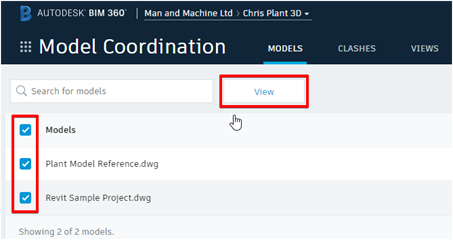
Select the models you wish to analyze. Click the View button to view the models online in the BIM 360 environment.
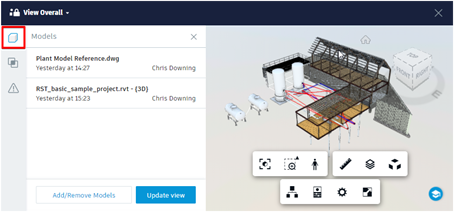
The image below shows the Model view.
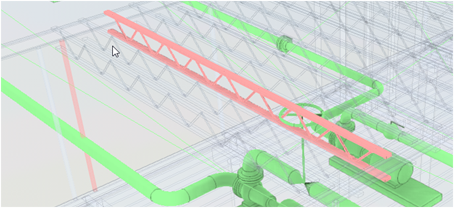
The images below show the Clashes view, there are two clashes in this example.

It is possible to add the native Revit model to this folder in the BIM 360 Design environment if changes are made to the Revit model, simply copy/paste the latest Revit model to this folder to carry out a clash detection.
NOTE
It is possible to create an external reference dwg file, referencing the Plant 3D model, in the Revit project folder. You may prefer to use this method so that you can use the Revit project folder space as the coordination folder if preferred.
For more information on this blog post or if you have any other questions/requirements, please complete the below form:
Related Links
Plant Design Training – Plant 3D and P&ID | Man and Machine